 by
by 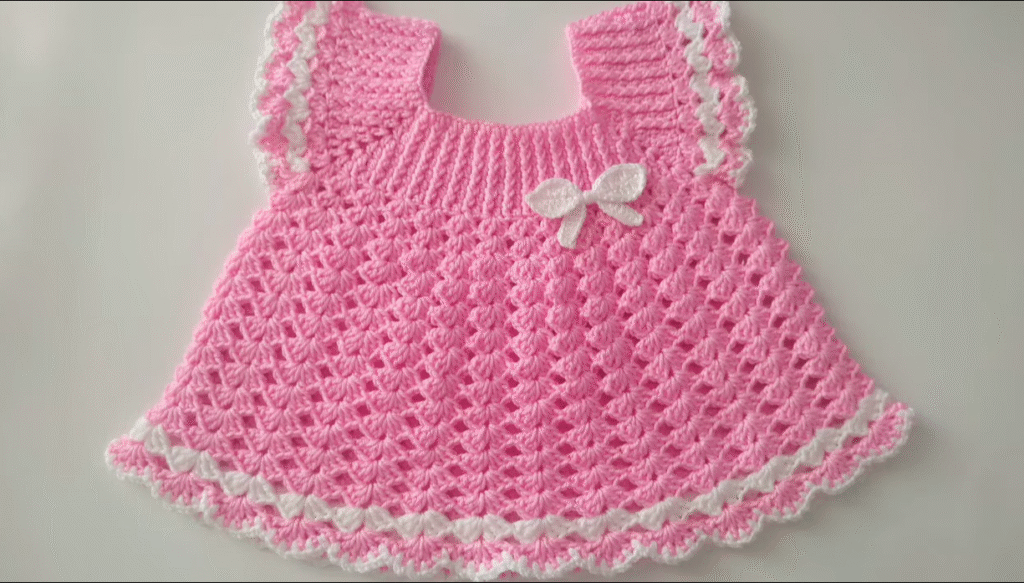
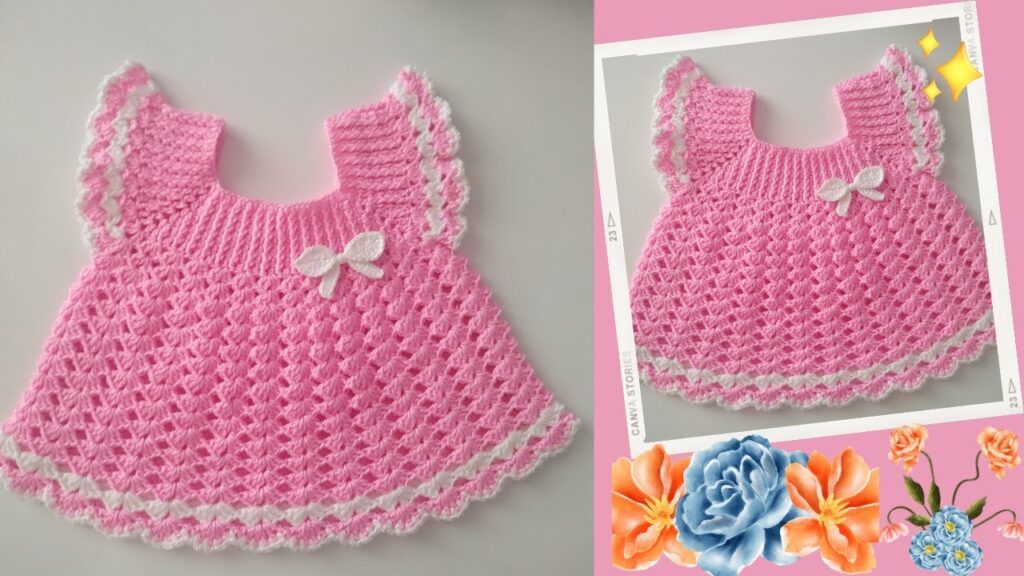
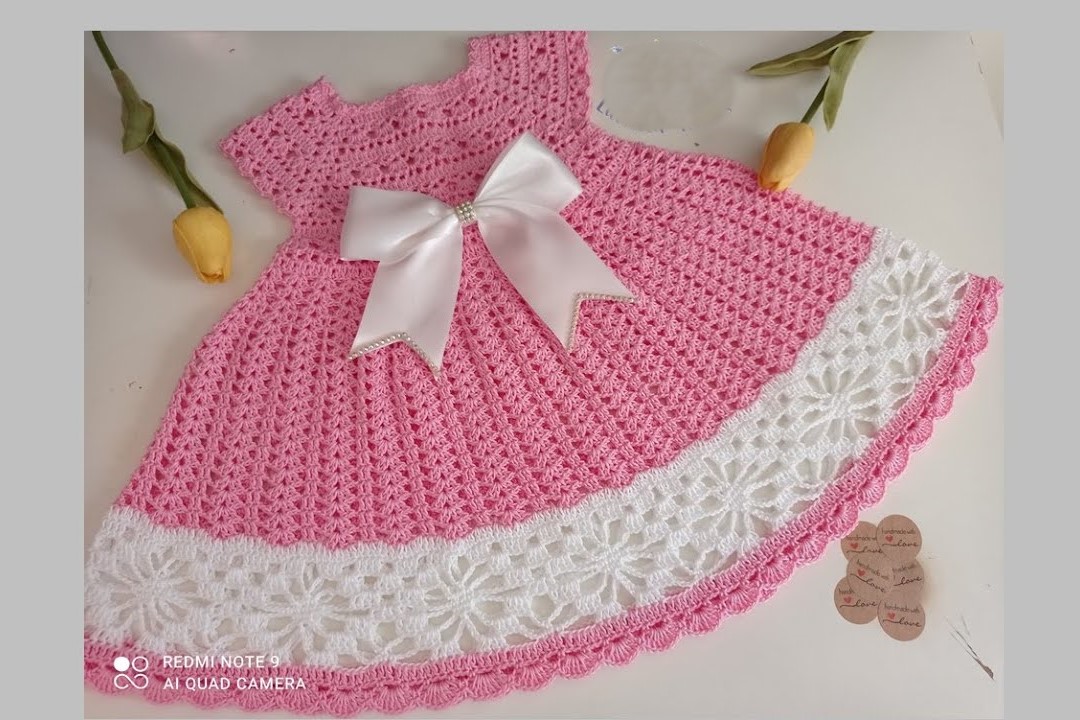
There’s something incredibly special about dressing a baby in a handmade outfit, and this charming crochet dress is no exception! Featuring a beautiful textured skirt, a neatly shaped bodice, and delicate white ruffled edges, it’s perfect for celebrations, photoshoots, or simply adding a touch of handmade sweetness to everyday wear. The little bow detail adds the perfect finishing touch!
This pattern is written for a baby size (approximately 3-6 months), but I’ll include notes on how to adjust the size for a larger fit.
Difficulty Level: Intermediate (familiarity with basic crochet stitches and construction)
Materials You’ll Need:
- Yarn:
- DK weight (Category 3) yarn in Main Color (MC – Pink in the example) – approx. 150-200 yards
- DK weight (Category 3) yarn in Contrasting Color (CC – White in the example) – approx. 30-50 yards
- Suggestions: A soft, baby-friendly acrylic or a cotton blend for breathability.
- Crochet Hook: 3.5mm (E/4) or size needed to obtain gauge
- Tapestry Needle: For weaving in ends
- Scissors
- Stitch Markers (optional, but helpful for marking repeats or the start of rounds)
Gauge (worked in DC): 5 DC and 3 rows = 1 inch (2.5 cm) Always check your gauge! Adjust hook size if necessary to achieve the correct sizing.
Abbreviations (US Crochet Terms):
- ch: chain
- sl st: slip stitch
- sc: single crochet
- hdc: half double crochet
- dc: double crochet
- tr: treble crochet
- inc: increase (2 stitches in the same stitch)
- sk: skip
- sp: space
- st(s): stitch(es)
- rep: repeat
- RS: right side
- WS: wrong side
- MC: Main Color
- CC: Contrasting Color
Special Stitch: Shell Stitch (for skirt and borders)
- (3 dc, ch 1, 3 dc) in the same stitch or space. (For the skirt, we’ll adapt this to (3 dc) in the space, then a sc).
Pattern Instructions
The dress is worked from the top down, starting with the yoke, then transitioning to the skirt.
Part 1: The Yoke (MC – Pink)
The yoke is worked in rows, then joined to form a round.
- Ch 58. (This will be the neck opening. Adjust initial chain in multiples of 6 + 4 for larger sizes).
- Row 1 (RS): Dc in 4th ch from hook (counts as 1st dc) and in next 8 ch (9 dc for back panel 1). (Dc, ch 1, dc) in next ch (corner 1). Dc in next 12 ch (12 dc for shoulder 1). (Dc, ch 1, dc) in next ch (corner 2). Dc in next 18 ch (18 dc for front). (Dc, ch 1, dc) in next ch (corner 3). Dc in next 12 ch (12 dc for shoulder 2). (Dc, ch 1, dc) in next ch (corner 4). Dc in last 9 ch (9 dc for back panel 2). Turn. (Total 60 dc + 4 ch-1 spaces).
- Row 2 (WS): Ch 3 (counts as 1st dc), dc in each dc to first ch-1 sp. (Dc, ch 1, dc) in ch-1 sp. Repeat from * 3 more times for remaining corners. Dc in each remaining dc to end of row. Turn.
- Repeat Row 2 for 3 more rows (or until yoke measures approx. 3.5-4 inches from neck edge). You will have 4 rows total for the yoke. The stitch count between corners will increase by 2 dc each row.

Part 2: Joining Yoke and Armholes
- Next Row (RS): Ch 3 (counts as 1st dc), dc in each dc until first ch-1 sp. Dc in ch-1 sp. Skip all stitches between this ch-1 sp and the next ch-1 sp (this forms the first armhole). Dc in next ch-1 sp. Dc in each dc until next ch-1 sp. Dc in ch-1 sp. Skip all stitches between this ch-1 sp and the next ch-1 sp (this forms the second armhole). Dc in next ch-1 sp. Dc in each remaining dc to end of row. Turn.
- You’ve now connected the front and back sections, creating the armholes.
Part 3: The Skirt (MC – Pink)
The skirt is worked in rounds.
- Round 1 (RS): Ch 3 (counts as 1st dc), dc in each dc around. Sl st to join to top of ch 3. (You’ve now closed the circle for the skirt).
- Round 2 (Shell Stitch Base): Ch 1, sc in first st. Ch 2, sk 2 sts, (3 dc) in next st, ch 2, sk 2 sts, sc in next st. Repeat from * around. Sl st to join to first sc.
- Round 3 (Shell Stitch Pattern): Ch 3 (counts as 1st dc), 2 dc in same sc (this forms half of a shell to start the round). Sc in the middle dc of the 3-dc group from previous round. (3 dc) in next sc. Repeat from * around. End with 3 dc in the same sc where you started the round. Sl st to join to top of ch 3.
- Round 4 (Shell Stitch Pattern): Ch 1, sc in first st. (3 dc) in next sc. Sc in the middle dc of the 3-dc group from previous round. Repeat from * around. Sl st to join to first sc.
- Repeat Rounds 3 and 4 for the skirt pattern. Continue repeating these two rounds until the skirt reaches your desired length. For a 3-6 month size, approximately 10-15 rounds should be good, or until the dress measures about 12-14 inches from shoulder to hem.
Part 4: The Borders and Ruffles (CC – White)
Sleeve Ruffles (Make 2):
- Attach CC yarn to the bottom edge of one armhole.
- Round 1: Ch 1, sc evenly around the armhole opening. Sl st to join.
- Round 2 (Ruffle): Ch 1, 2 sc in next st, 3 dc in next st. Repeat from * around, adjusting to end neatly. Sl st to join.
- Fasten off.
- Repeat for the second armhole.
Bottom Ruffle:
- Attach CC yarn to the bottom edge of the skirt.
- Round 1: Ch 1, sc evenly around the bottom edge of the skirt. Sl st to join.
- Round 2 (Ruffle): Ch 1, 2 sc in next st, 3 dc in next st. Repeat from * around, adjusting to end neatly. Sl st to join.
- Fasten off.
Neckline Border:
- Attach CC yarn to one corner of the neckline.
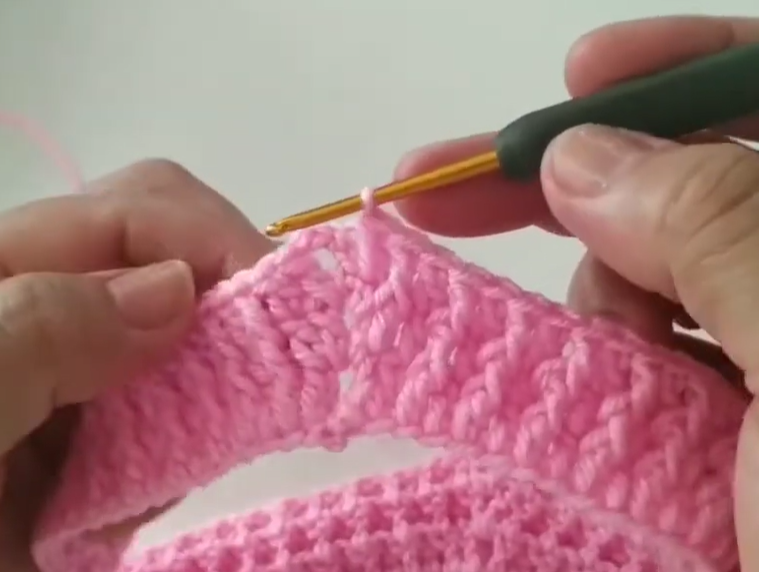
- Row 1: Ch 1, sc evenly along the neckline edge. Turn.
- Row 2 (Ruffle): Ch 1, 2 sc in next st, 3 dc in next st. Repeat from * across.
- Fasten off.
Part 5: Finishing Touches
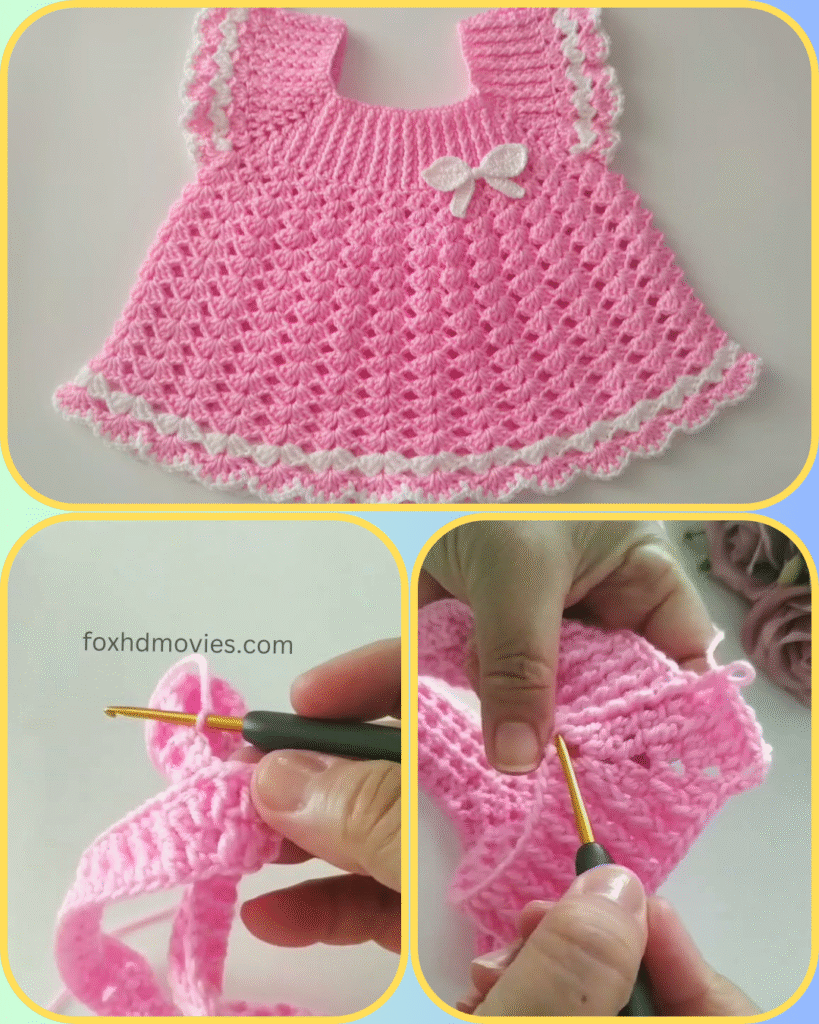
- Weave in all loose ends with your tapestry needle.
- Crochet a small bow:
- Ch 15. Sc in 2nd ch from hook and in each ch across. (14 sc)
- Work 2-3 more rows of sc.
- Fasten off, leaving a long tail.
- Pinch the center of the rectangle to form a bow shape. Wrap the long tail tightly around the center several times to secure the bow.
- Sew the bow securely to the front of the dress, near the neckline.
- Block your dress gently to shape and set the stitches.
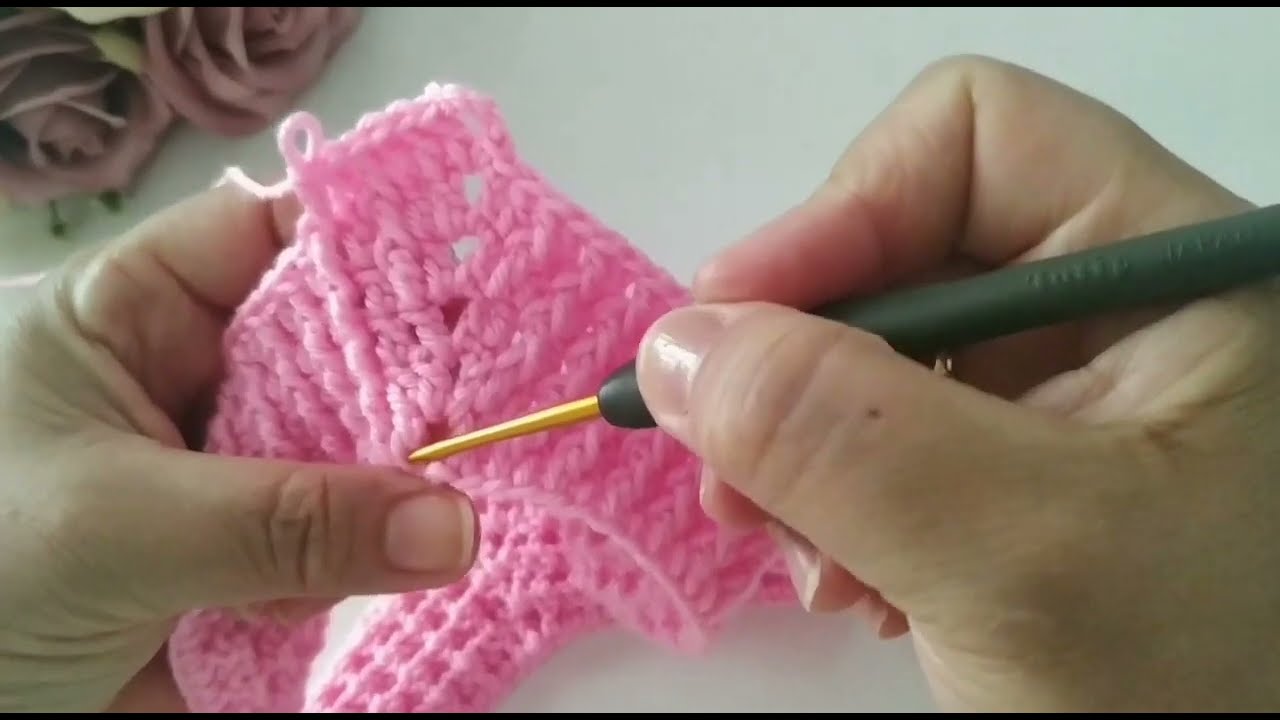
Video tutorial
Sizing Adjustments:
- For a larger size:
- Yoke: Increase your initial chain in multiples of 6 (the repeat for the increase pattern). Work more rows for the yoke before splitting for armholes.
- Skirt: The skirt is easily adjustable by simply continuing to work more rounds of the shell stitch pattern until you reach the desired length.
- Gauge: If you’re using a thicker yarn, you’ll need to adjust your hook size to maintain a nice drape and fit.
I hope you love making this beautiful little dress! It’s a truly rewarding project that will be cherished. Don’t forget to share your finished creations with me – I’d love to see them! Happy crocheting!