Hello, lovely crafters!
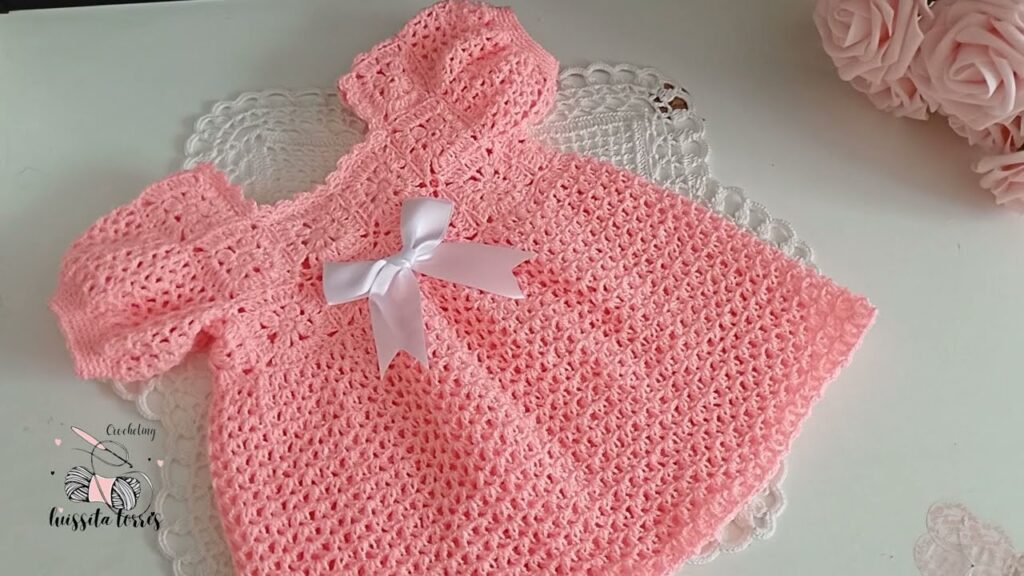
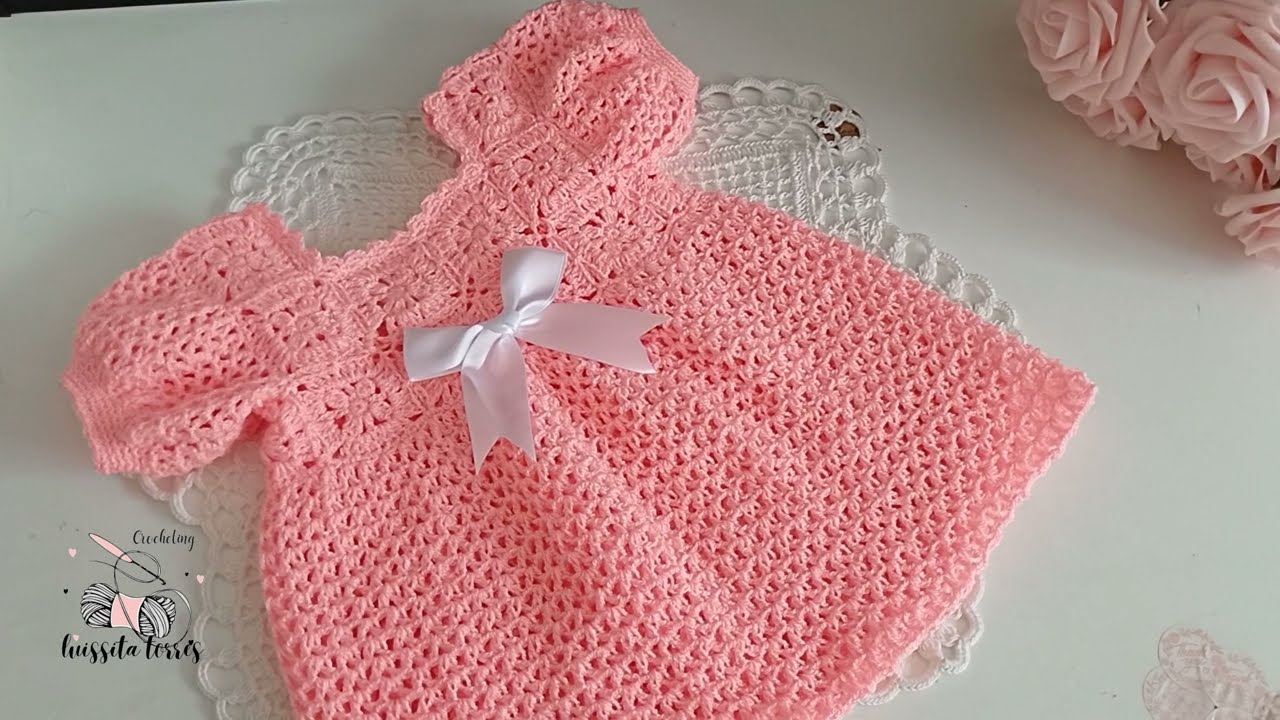
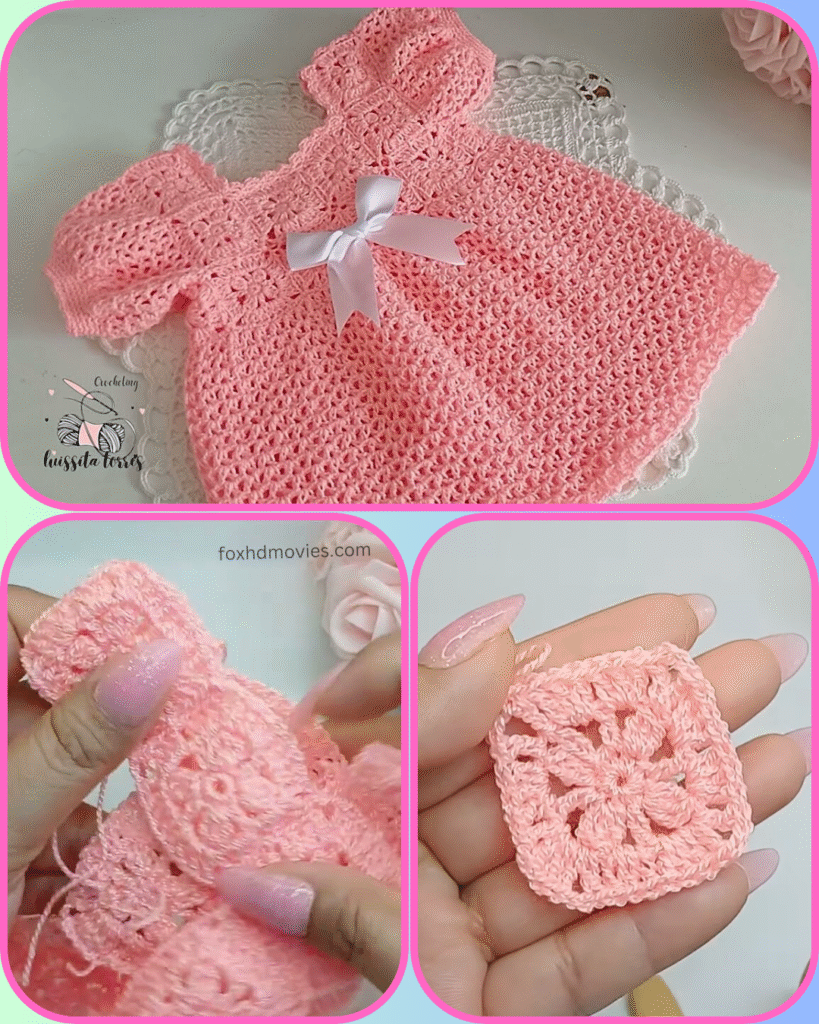
Get ready to create a truly enchanting garment for the little one in your life – this adorable pink crochet top (which can easily be extended into a dress!). With its delicate lace body, sweet puffed sleeves, and charming ribbon accent, it’s perfect for spring and summer days, special occasions, or simply adding a touch of handmade love to any baby’s wardrobe.
The solid pink color is beautifully classic, but imagine this top in a soft pastel, a cheerful bright, or even white for a truly timeless look!
Before we begin this delightful project, here are some important notes:
- Skill Level: Intermediate. This pattern involves shaping the yoke, working an open lace stitch, and creating puffed sleeves.
- Yarn Choice: For baby items, softness and comfort are paramount! Opt for a soft, lightweight baby yarn (Sport weight #2 or DK weight #3) in cotton, a cotton blend, or a high-quality baby acrylic.
- Hook Size: This will depend on your chosen yarn. Aim for a hook size that creates a fabric with nice drape for the lace body and a neat finish for the yoke and sleeves. (e.g., 3.5mm – 4.0mm).
- Gauge is Crucial! Especially for garments, achieving the correct gauge ensures the top fits the intended size. Make a swatch for both the yoke (solid stitch) and the body lace stitch!
Let’s Gather Our Supplies!
Materials You’ll Need:
- Approx. 100-200 grams of baby yarn in your main color (e.g., light pink)
- Crochet hook (e.g., 3.75mm, adjust for gauge)
- Stitch markers (helpful for marking increase points and armholes!)
- Yarn needle
- Scissors
- Approx. 1 yard of thin white satin ribbon
Crochet Language Decoder (Abbreviations):
- ch: chain
- st(s): stitch(es)
- sl st: slip stitch
- sc: single crochet
- hdc: half double crochet
- dc: double crochet
- V-st: V-stitch (dc, ch 1, dc) in indicated stitch or space
- sk: skip
- sp: space
- dc2tog: double crochet 2 stitches together (decrease)
- [ ]: repeat instructions within brackets
- ( ): number of stitches at the end of the round/row
Gauge:
- Hdc Swatch (Yoke): 16 hdc and 12 rows = 4 inches (10 cm).
- V-stitch Swatch (Body Lace): 3 V-stitches and 4 rows = 4 inches (10 cm).
- Adjust hook size to match gauge.
Pattern Instructions (Top-Down Construction)
Size: 0-6 Months (Adjustments for Newborn / 6-12 Months in notes) (This pattern creates a comfortable fit. Adjust starting chain and increase rates for different sizes.)
Part 1: The Yoke (Main Color Yarn – e.g., Pink)
We’ll work the yoke in continuous rounds. There is no visible back opening, so it’s likely a pullover design.
- Ch 50 (46 / 54) (for Newborn / 0-6 Months / 6-12 Months). Sl st to first ch to form a ring, being careful not to twist.
- Rnd 1: Ch 2 (counts as first hdc). Hdc in each ch around. Join with sl st to top of beg ch 2. (50 / 46 / 54 hdc)
- Rnd 2 (Increase): Ch 2. [2 hdc in next st, hdc in next 4 (3 / 4) sts]. Repeat [ ] around. Join with sl st. (60 / 58 / 66 hdc)
- Rnd 3: Ch 2. Hdc in each st around. Join with sl st.
- Rnd 4 (Increase): Ch 2. [2 hdc in next st, hdc in next 5 (4 / 5) sts]. Repeat [ ] around. Join with sl st. (70 / 70 / 78 hdc)
- Rnd 5-X (Continue Increasing): Continue increasing in this manner (e.g., adding 10-12 hdc evenly each increase round) until the yoke measures approx. 4.5 (4 / 5) inches from the neckline to the bottom edge. It should lay flat and be wide enough to form armholes.
- Aim for a final yoke circumference that will comfortably fit around the baby’s chest plus the armholes. Total stitches after yoke: approx. 80-100.

Part 2: Dividing for Body & Sleeves (Main Color Yarn)
- Next Rnd (Divide): Ch 2. Hdc in next 12 (10 / 14) sts (Front).
- Skip stitches for armhole: Ch 3 (for underarm). Sk next 16 (14 / 18) sts (for first sleeve).
- Hdc in next 24 (20 / 28) sts (Back).
- Skip stitches for armhole: Ch 3. Sk next 16 (14 / 18) sts (for second sleeve).
- Hdc in last 12 (10 / 14) sts (Front). Join with sl st to top of beg ch 2. (54 / 44 / 64 hdc + 2 ch-3 sps)

Part 3: The Body (Lace Pattern – Main Color Yarn)
We’ll now switch to the main body lace pattern.
- Rnd 1 (Lace Set-up): Ch 3 (counts as dc). Sk 1 st. V-st (dc, ch 1, dc) in next st. [Sk 2 sts, V-st in next st]. Repeat [ ] around, working into the hdc stitches and the ch-3 underarm spaces. Adjust skips at the end if needed to maintain pattern. Join with sl st to top of beg ch 3.
- You should have an even number of V-stitches around the body.
- Rnd 2: Ch 3. Work V-st into each ch-1 sp of V-st from previous round. Join with sl st.
- Rnds 3-X (Continue Body): Repeat Rnd 2 until the body reaches the desired length for a top (e.g., approx. 4-6 inches from underarm) or extend for a dress.
- For a dress, continue repeating Rnd 2, and for extra flare, every 5-7 rounds, you can add an extra
(dc, ch 1)in one of the V-stitches, or occasionally work an extra V-stitch into a space, distributing increases evenly.
- For a dress, continue repeating Rnd 2, and for extra flare, every 5-7 rounds, you can add an extra
- Last Rnd (Bottom Hem): Ch 1. Sc in each st around (working sc in dc and ch-1 sps). Join with sl st.
- Fasten off main color yarn.

Part 4: The Sleeves (Puffed – Main Color Yarn)
- Attach yarn with a sl st to the center of one underarm ch-3 sp.
- Rnd 1 (Puff Set-up): Ch 2. Work 15-20 hdc evenly around the armhole opening (including the ch-3 sp). Join with sl st to top of beg ch 2.
- Rnd 2 (Decrease for Puff): Ch 2. [Hdc2tog, hdc in next st]. Repeat [ ] around. Join with sl st. (Approx. 10-14 hdc)
- Rnd 3 (Cuff): Ch 1. Sc in each st around. Join with sl st.
- Fasten off. Weave in ends.
- Repeat for the second sleeve.
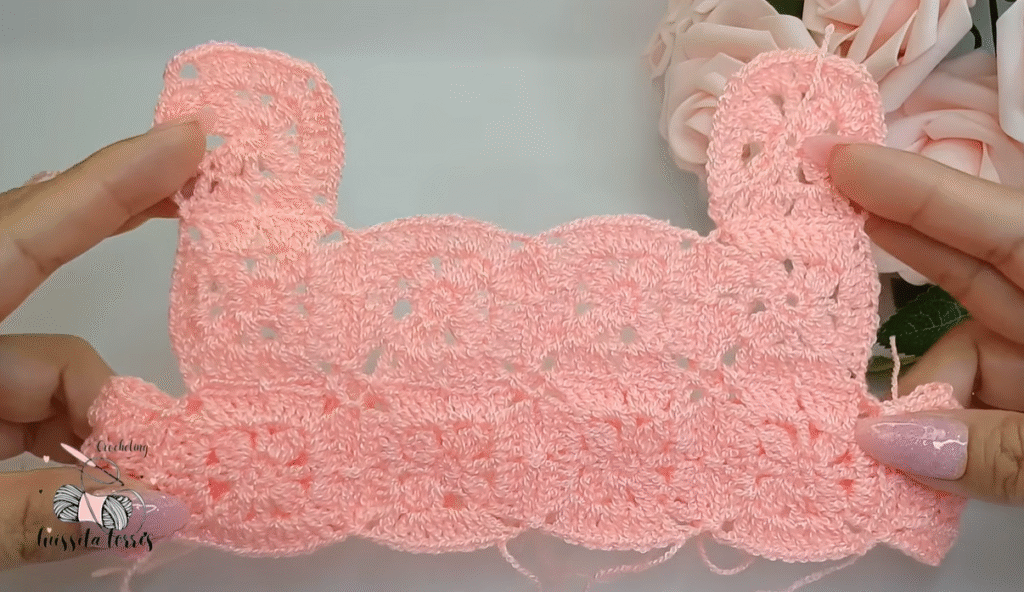
Part 5: Finishing & Embellishments
- Neckline Edging (Optional): If your neckline seems loose, attach yarn to the back of the neckline. Ch 1. Sc evenly around the neckline. Join with sl st. Fasten off.
- Add Ribbon: Thread the white satin ribbon through the stitches around the empire waist (just below the yoke where the skirt begins). Tie a neat bow at the front.
- Weave in all remaining loose ends neatly.
Video tutorial
Your Blushing Beauty Top (or Dress) is Ready!
Congratulations! You’ve just created an absolutely charming and delicate handmade baby garment. This beautiful piece is sure to be a treasured addition to any little one’s wardrobe!
Feel free to personalize your top by choosing different yarn colors, adding small buttons to the shoulder, or using a different type of ribbon!
Don’t forget to share your finished top! I’d love to see your unique creations. Tag me on social media or send me a picture!
Happy crocheting!
