 by
by 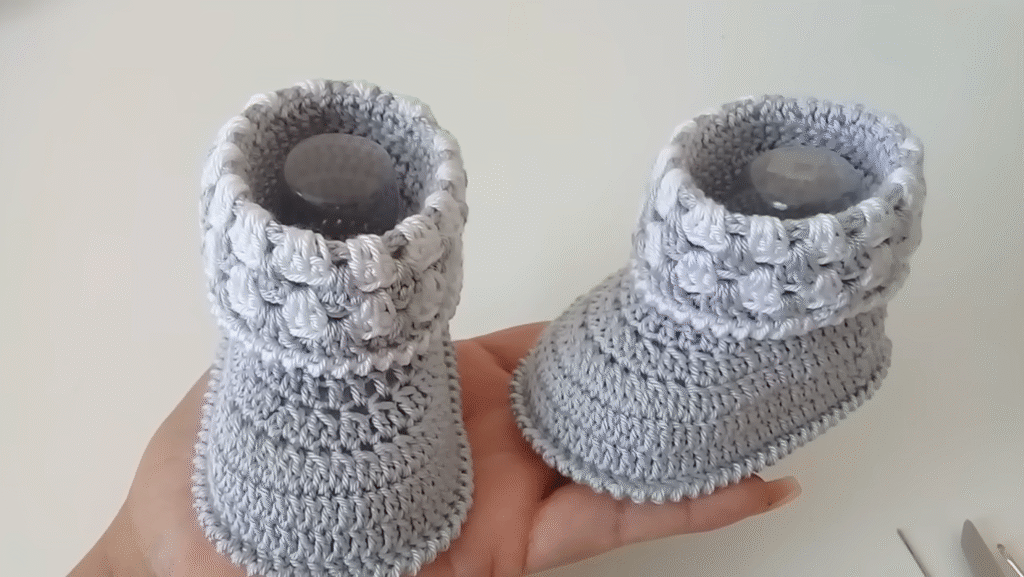
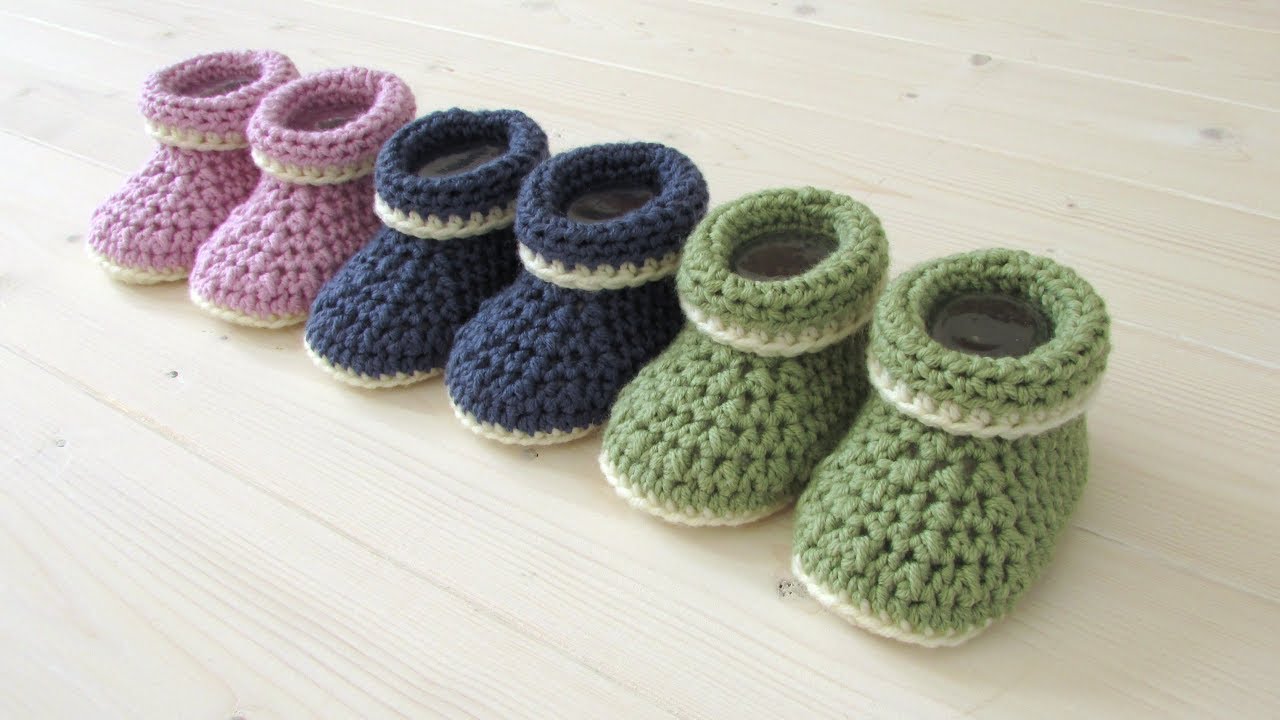
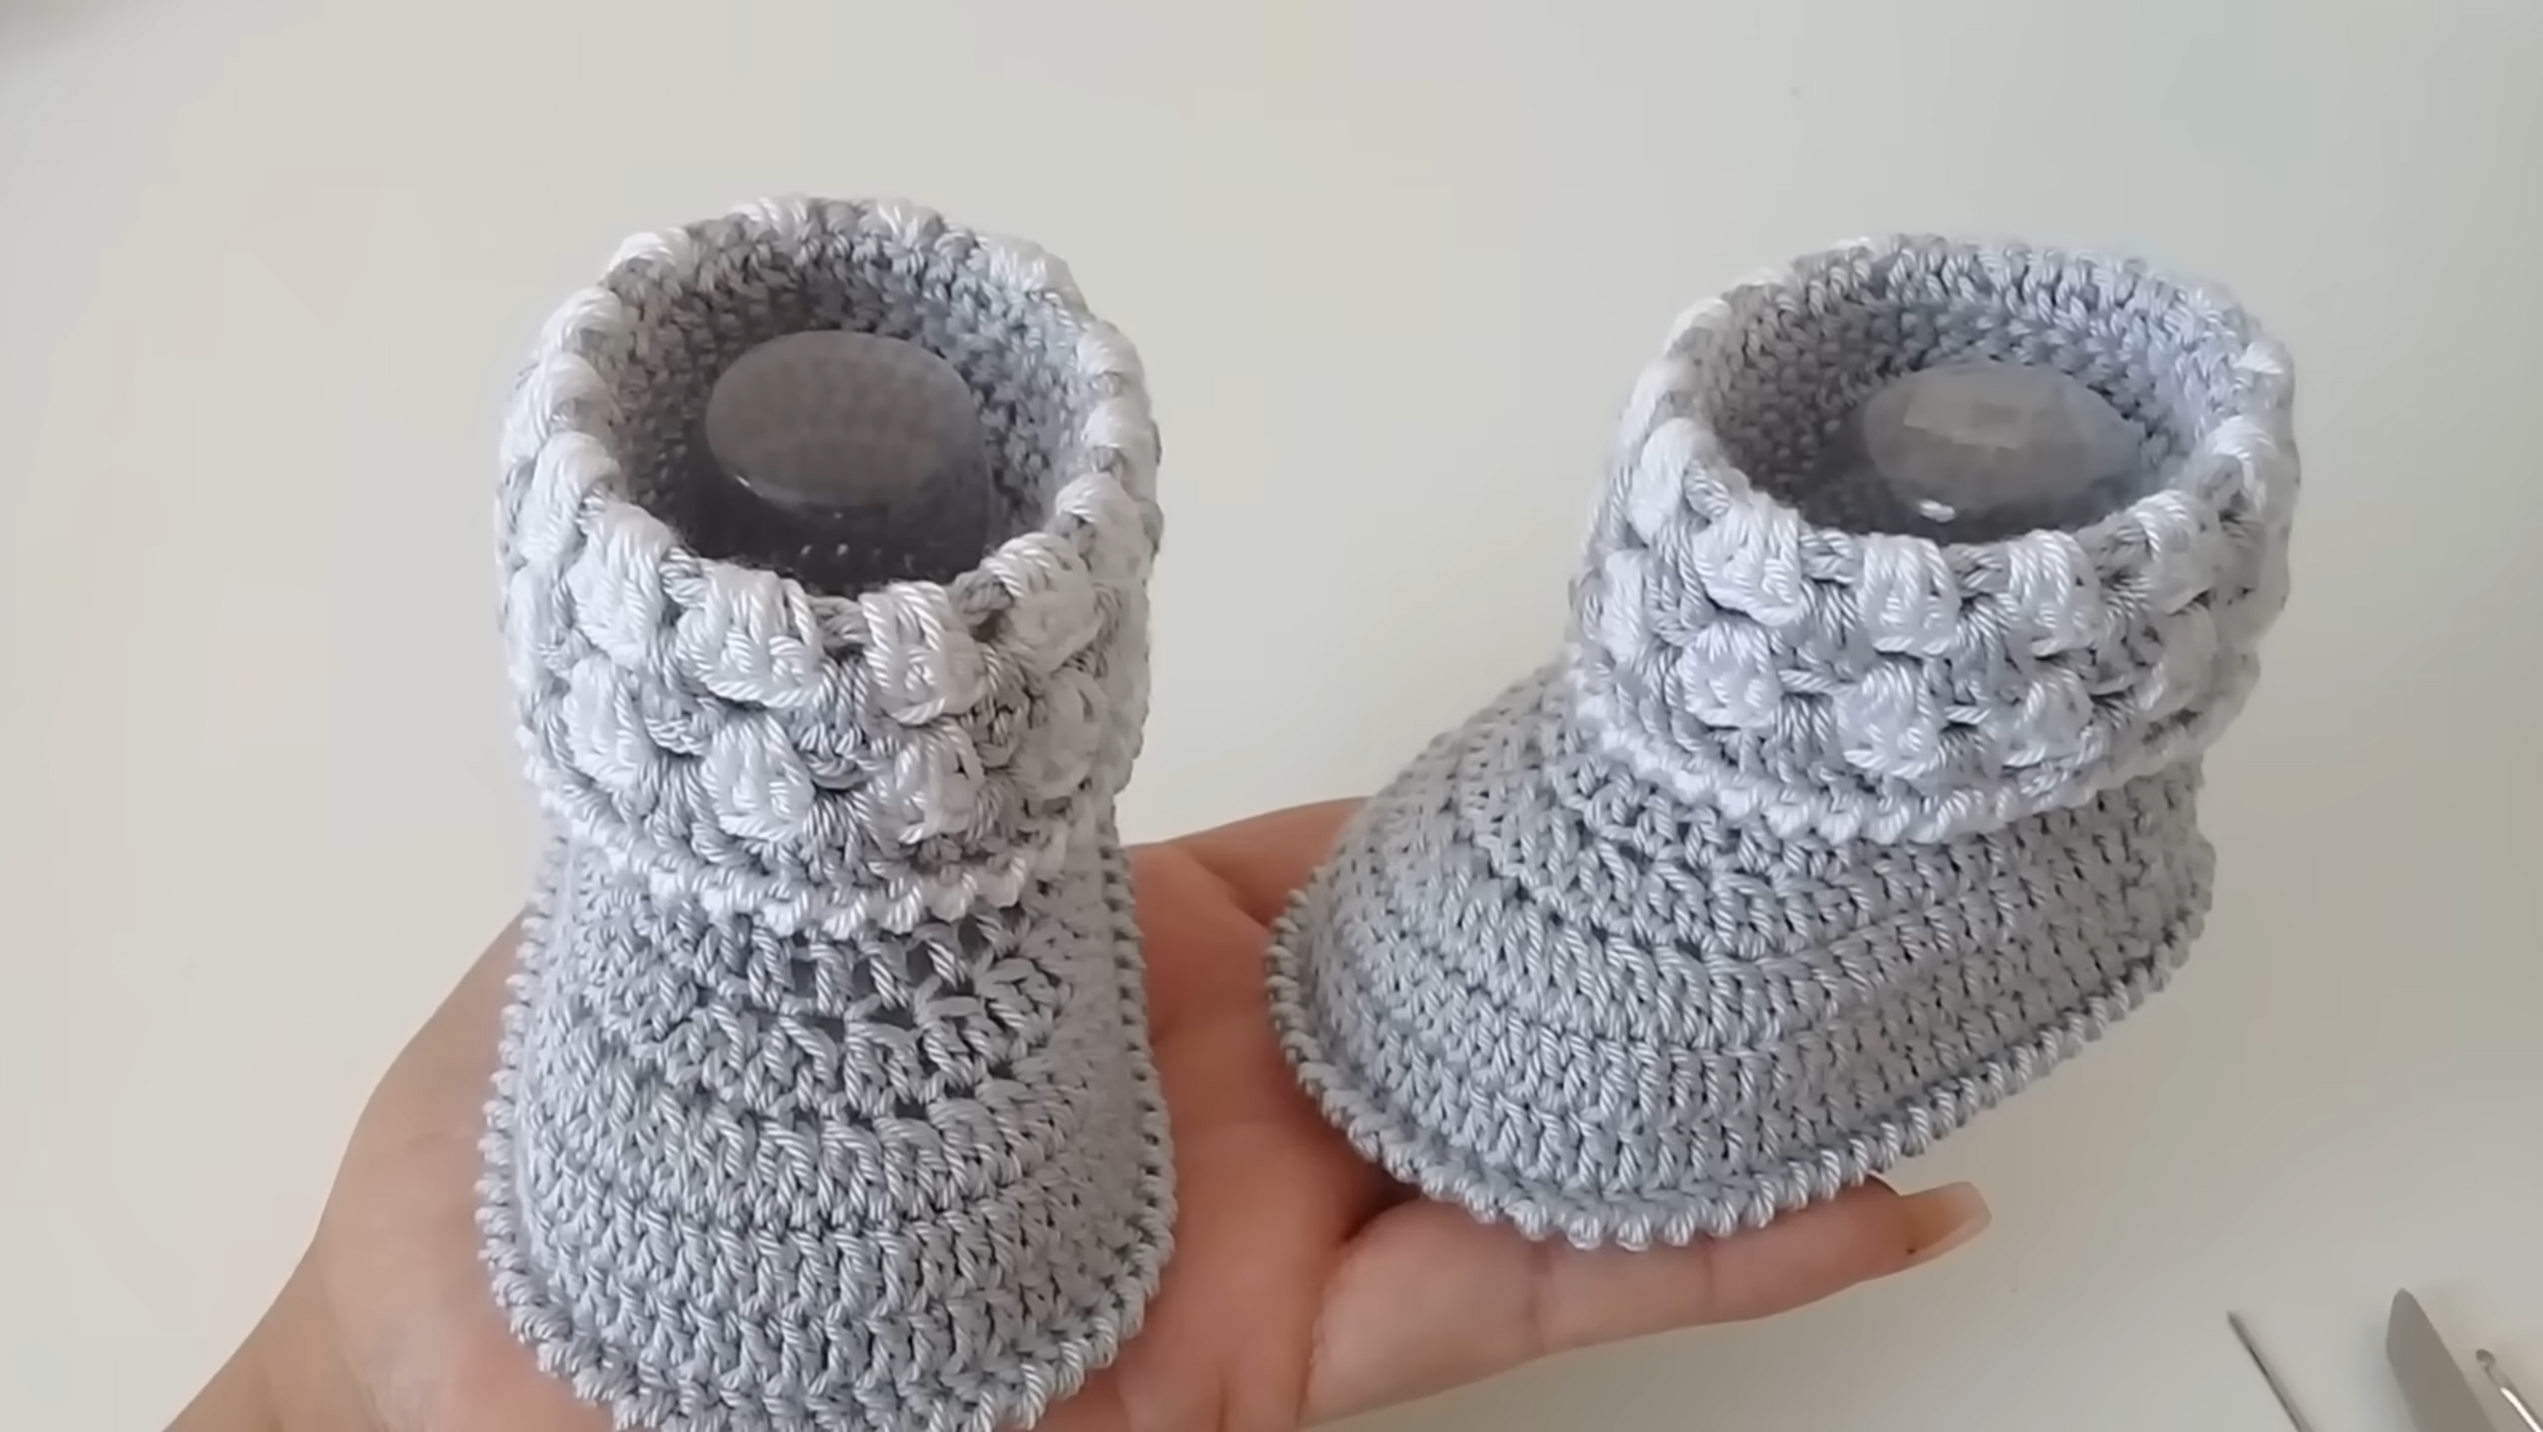
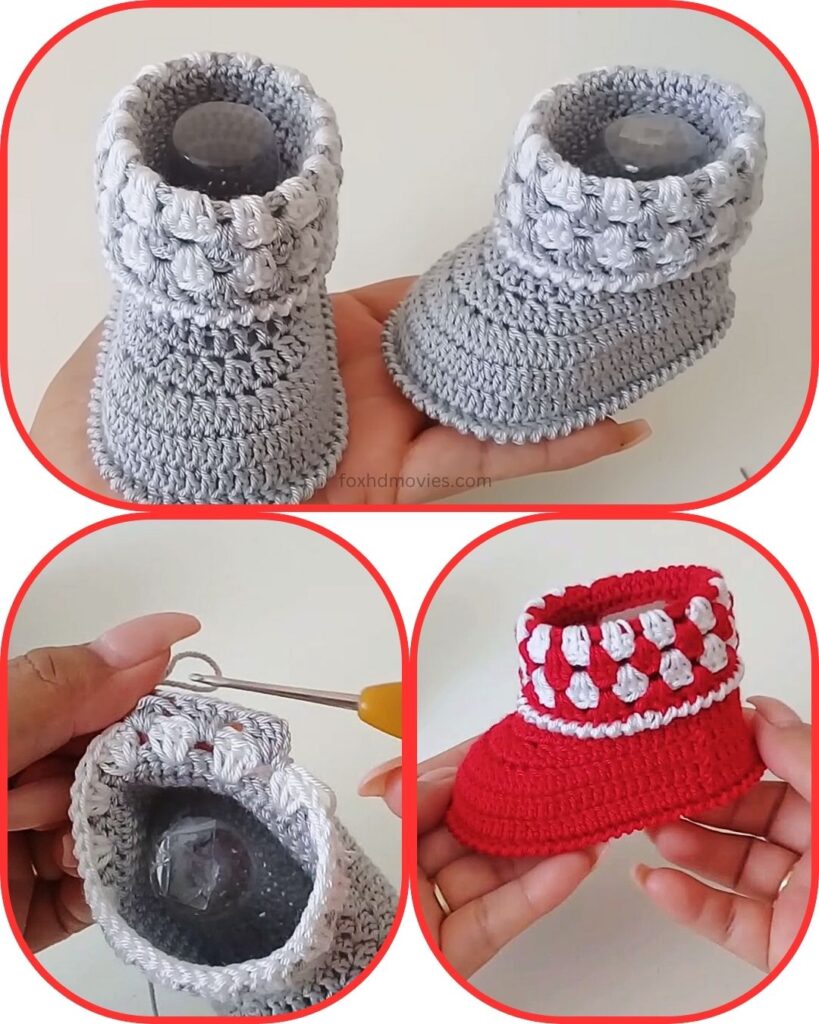
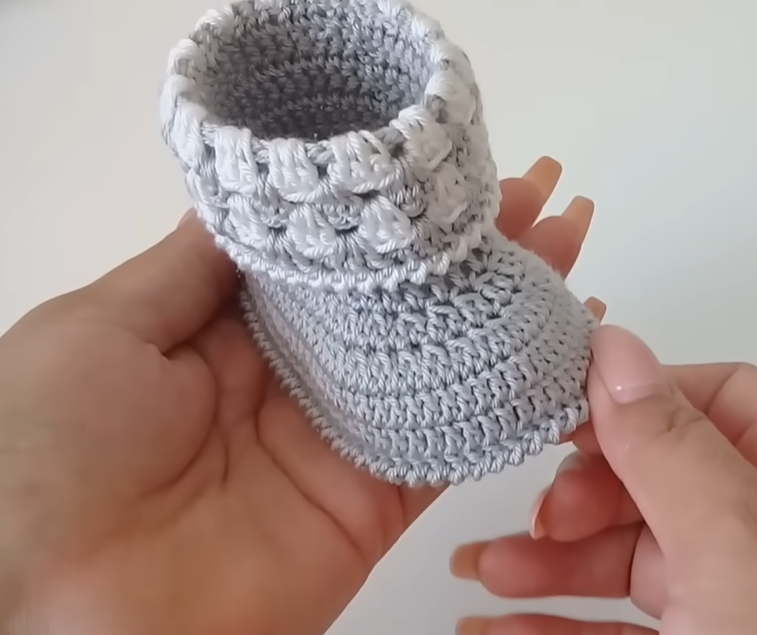
Wrap tiny feet in ultimate comfort and style with these adorable chunky ribbed baby booties! Featuring a soft, stretchy ribbed body and a unique textured cuff, these booties are designed to keep little toes warm and snug. The two-tone design adds a touch of modern charm, making them a perfect handmade gift or a cozy essential for your own little one.
Skill Level: Easy to Intermediate (Familiarity with basic stitches, working in rounds, and front/back post stitches is helpful).
Materials:
- Yarn: Worsted Weight (Aran) yarn. A soft acrylic or wool blend is recommended for warmth and elasticity.
- Main Color (MC): Grey (or your chosen primary color) – approx. 60-80 yards.
- Contrast Color (CC): White/Off-white (or a complementary color for the cuff) – approx. 20-30 yards.
- Crochet Hook: Size H/8 (5.0 mm) or I/9 (5.5 mm), or size needed to obtain gauge. (A slightly larger hook will enhance the “chunky” feel).
- Yarn Needle: For weaving in ends and seaming.
- Scissors
- Stitch Markers: Very helpful for marking the start of rounds and increase points on the sole.
Gauge (Crucial for Sizing!):
Achieving the correct sole length is paramount for these booties to fit properly.
- Sole Gauge: After completing the sole section, measure its length. Adjust your hook size or initial chain/increase rounds to reach the desired length from the sizing chart below.
- Example: For 0-3 months, your finished sole should measure around 3.5 inches.
Sizing Chart (Approximate Finished Sole Length):
| Size | Approx. Sole Length (inches) | Approx. Sole Length (cm) | Initial Chain (suggested) |
|---|---|---|---|
| 0-3 Months | 3.5 | 9 | Ch 10 |
| 3-6 Months | 4 | 10.5 | Ch 12 |
| 6-9 Months | 4.5 | 11.5 | Ch 14 |
Export to Sheets
- Note: If you want a larger size, increase your initial chain length by 2 stitches per size increment, and you may need to add an extra round to the sole and/or upper sections.
Abbreviations (US Crochet Terms):
- ch: chain
- sl st: slip stitch
- sc: single crochet
- hdc: half double crochet
- dc: double crochet
- sc2tog: single crochet 2 together (decrease)
- hdc2tog: half double crochet 2 together (decrease)
- BLO: back loop only
- FLO: front loop only
- FPHDC: Front Post Half Double Crochet (see Special Stitches below)
- BPHDC: Back Post Half Double Crochet (see Special Stitches below)
- st(s): stitch(es)
- sp: space
- inc: increase (work 2 sts in the same st)
- MC: Main Color (e.g., Grey)
- CC: Contrast Color (e.g., White)
- ( ): repeat instructions in parentheses a specified number of times
- [ ]: total stitches at the end of the round
Special Stitches:
- Front Post Half Double Crochet (FPHDC): YO, insert hook from front to back around the post of the indicated hdc stitch from the previous row, YO, pull up a loop (3 loops on hook). YO, pull through all 3 loops on hook.
- Back Post Half Double Crochet (BPHDC): YO, insert hook from back to front around the post of the indicated hdc stitch from the previous row, YO, pull up a loop (3 loops on hook). YO, pull through all 3 loops on hook.
Pattern for Chunky Ribbed Baby Booties (Make 2)
Part 1: The Sole (Make 2 per pair)
Work in continuous rounds, using a stitch marker to mark the first stitch of each round.

Using Main Color (MC – Grey):
Round 1: Ch (refer to Sizing Chart for initial chain). Hdc in 3rd ch from hook. Hdc in next (initial chain – 3) stitches. In the last ch, work 3 hdc (this turns the corner). Now working down the other side of the chain, hdc in next (initial chain – 3) stitches. In the very last ch (where you worked your first hdc), work 2 hdc. [Total stitches will vary based on initial chain]. Place stitch marker in the first hdc of the next round.
Round 2: 2 hdc in the first st (inc). Hdc in each st along the side of the sole until you reach the 3 hdc you worked in the last chain. (2 hdc in next st) 3 times (inc for the toe end). Hdc in each st along the other side until you reach the 2 hdc at the heel end. (2 hdc in next st) 2 times (inc for the heel end). Move stitch marker to the first st of the current round.
Round 3: (2 hdc in next st) 2 times (inc). Hdc in each st along the side. (2 hdc in next st, hdc in next st) 3 times (inc for the toe end). Hdc in each st along the other side. (2 hdc in next st, hdc in next st) 2 times (inc for the heel end). Move stitch marker to the first st of the current round.

Check your sole length against the Sizing Chart. Adjust hook size or add/remove initial chains/rounds if needed.
Sl st to the first hdc of your last sole round to join. Fasten off and weave in ends for one sole. For the second sole, do not fasten off; you’ll continue with the upper.
Part 2: Building the Sides & Ribbed Body
Using Main Color (MC – Grey), continuing from the second sole:
Round 1 (Creating the “Wall”): Ch 1. Sc in the BLO of each st around. Sl st to the first sc to join. This round creates a defined edge that makes the bootie stand up.
Round 2 (Beginning the Ribbing): Ch 2 (does NOT count as a st). (FPHDC around next st, BPHDC around next st) around. Sl st to the top of the first FPHDC to join. This creates the vertical ribbing.

Round 3 (Continuing Ribbing & Toe Shaping): Ch 2 (does NOT count as a st). Now, we’ll start shaping the toe with decreases while maintaining the ribbing pattern. Hdc in the first (approx. 10-12) stitches, continuing the ribbing pattern (FPHDC around FPHDC, BPHDC around BPHDC) until you reach the front toe section. For the toe decreases: (Hdc2tog working FPHDC and BPHDC together, or simply working through both loops depending on stitch alignment) 4-6 times across the front of the toe. Continue ribbing pattern (FPHDC, BPHDC) for the remaining stitches around the back and sides of the bootie. Sl st to the top of the first FPHDC to join. This round starts to pull the toe inwards and shapes the foot opening.
Round 4 (Further Toe Shaping & Opening): Ch 2 (does NOT count as a st). Continue ribbing pattern (FPHDC, BPHDC) in the back and side stitches. For the toe decreases: (Hdc2tog working FPHDC and BPHDC together, or simply working through both loops) 2-3 times across the front of the toe (over the previously decreased section). Continue ribbing pattern for the remaining stitches around the back and sides. Sl st to the top of the first FPHDC to join. The opening for the foot should now be well-defined.
Round 5 (Neatening the Foot Opening): Ch 1. Sc in each st around the entire opening of the bootie (including the decreased toe section, just sc into the top of each stitch). Sl st to the first sc to join. Fasten off MC.
Part 3: The Textured Cuff
This is the distinctive part of the bootie with a slightly ruffled, wavy texture.
Using Contrast Color (CC – White/Off-white):
Round 6 (Puff Stitch Base): Join CC yarn with a sl st to the back center of the bootie opening (where your last round ended). Ch 1. Sc in each st around. Sl st to the first sc to join.
Round 7 (Textured Puff Row): Ch 1. Sc in the first st. *Sk 1 st, (dc 3, ch 1, dc 3) in next st (this forms a shell-like texture). Sk 1 st, sc in next st.* Repeat from * to * around. You might need to adjust the last few stitches to end evenly. Sl st to the first sc to join. This creates the main textured row. The image looks like it might be dc 3-ch 1-dc 3, or maybe even dc 4-ch 1-dc 4 for more puff.
Round 8 (Top Ribbing of Cuff): Ch 1. Sc in the first st. Work sc evenly around, aiming to work into the top of each stitch and into the ch-1 spaces of the shells from the previous round. Sl st to the first sc to join.
Round 9 (Final Cuff Edge): Ch 1. Sc in each st around. Sl st to the first sc to join. Fasten off CC, leaving a long tail for sewing. Weave in all ends securely.
Repeat all steps for the second bootie!
Video Tutorial
Tips for a Perfect Pair:
- Even Tension: Maintaining consistent tension is key for a symmetrical and well-fitting pair of booties, especially with the ribbing.
- Stitch Placement: Pay close attention to where you’re working your post stitches for the ribbing (FPHDC/BPHDC) to keep the lines straight.
- Toe Shaping: Adjust the number of decreases in Rounds 3 and 4 of the upper to fit the specific foot size you’re aiming for.
- Cuff Texture: Experiment with the number of dc stitches in your “shell” for the textured cuff (e.g., dc 4, ch 1, dc 4) to achieve the exact “puffiness” you desire.
- Yarn Weight: Using worsted weight yarn as suggested will give these booties a lovely chunky feel, perfect for warmth.
- Finishing: Weave in all ends neatly. For safety, avoid any small, loose embellishments for babies.
Enjoy crocheting these wonderfully cozy and stylish ribbed baby booties!