by
by 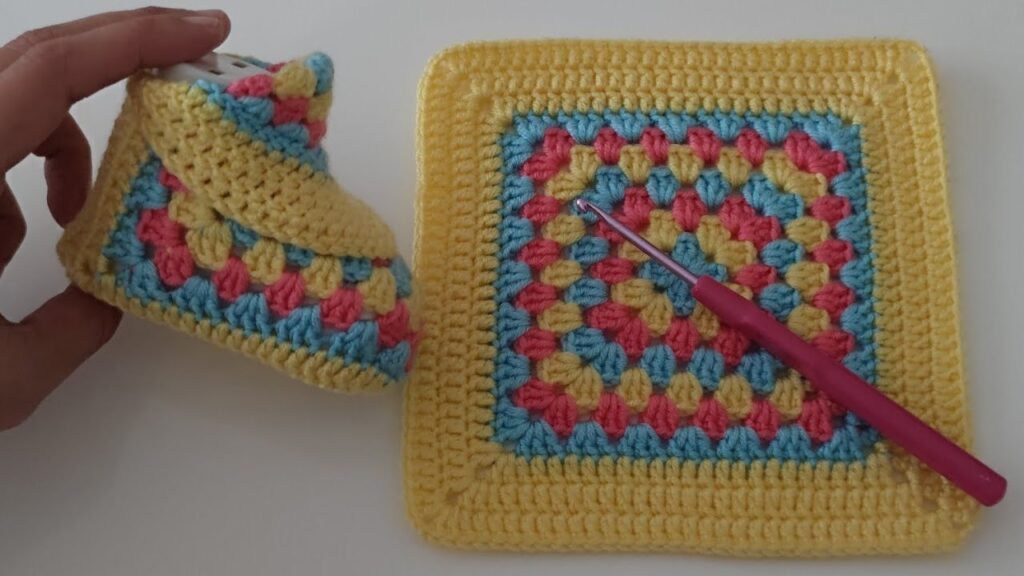
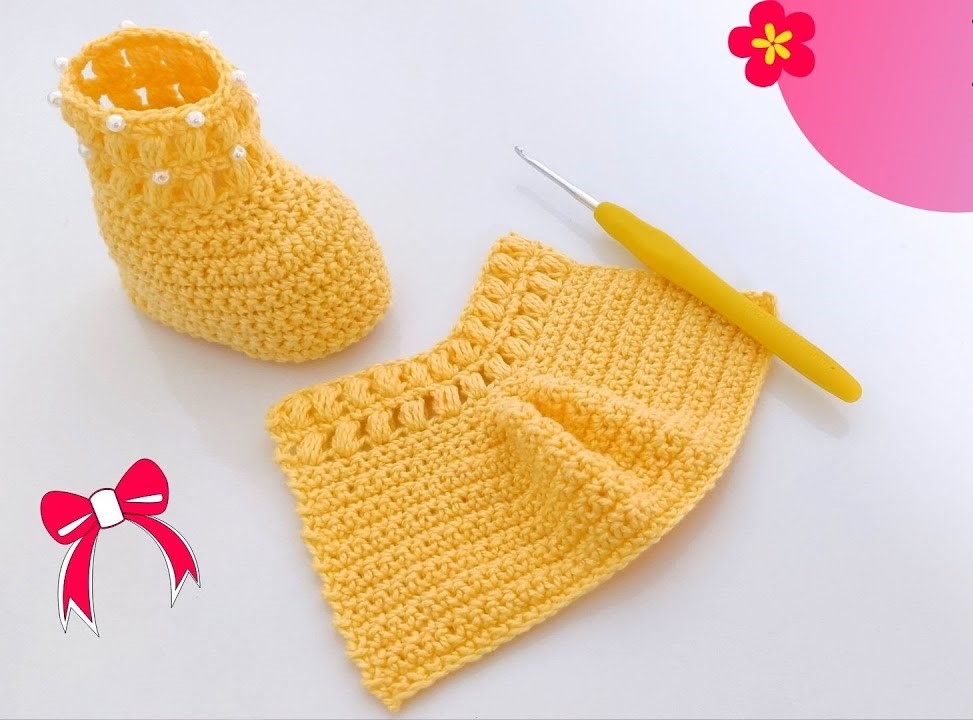
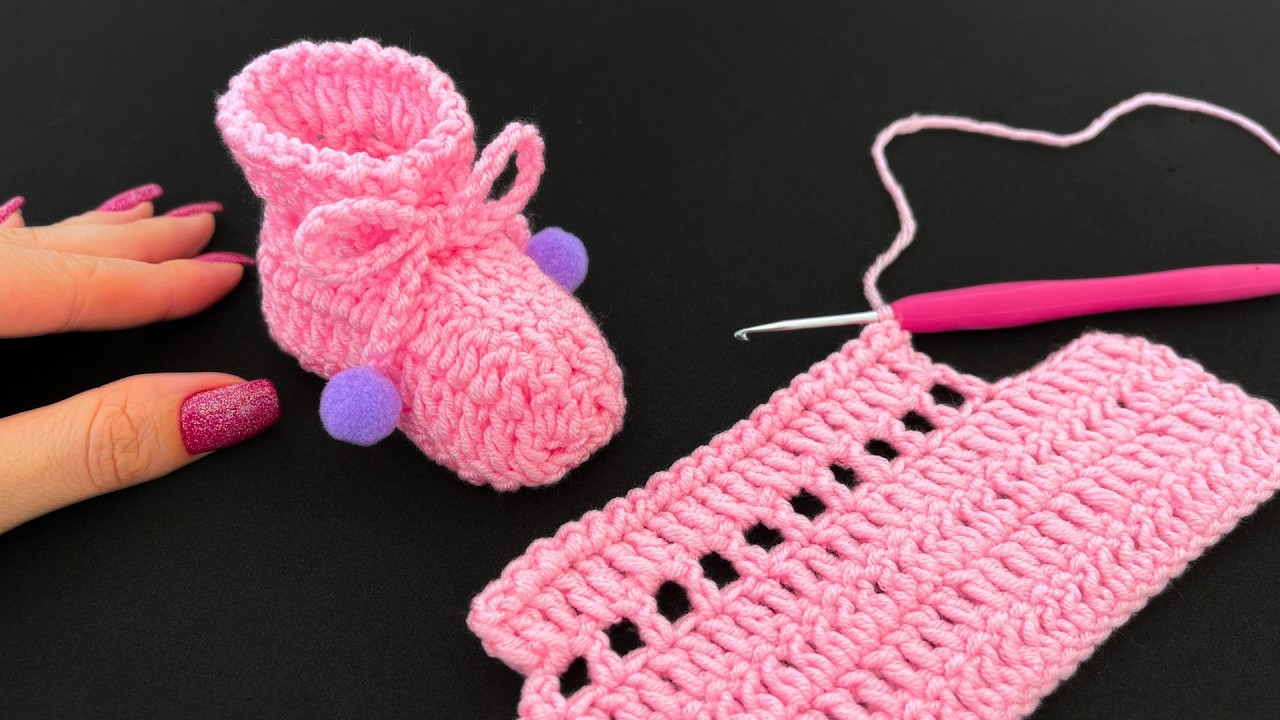
These baby shoes are crafted from simple granny squares, making them a fantastic project for crocheters of all skill levels. The openwork design of the granny square provides breathability, and you can easily customize the colors to match any outfit or nursery theme. Let’s dive in!
Materials You’ll Need:
- Yarn: Worsted weight yarn in your desired colors (you’ll need small amounts of at least two colors). Soft and baby-friendly yarn is recommended.
- Crochet Hook: Size H/8 (5.0 mm) or the size recommended for your yarn.
- Scissors
- Yarn Needle: For weaving in ends.
- Optional: Buttons or small embellishments for decoration.
Gauge:
While gauge isn’t critical for this small project, aim for approximately 4 double crochet stitches per inch.
Finished Size:
This pattern creates shoes approximately 3.5 inches long, suitable for a newborn to 3-month-old baby. You can adjust the size slightly by using a thicker or thinner yarn and a corresponding hook size, or by adding/subtracting rounds to the granny squares.
Abbreviations (US Crochet Terms):
- ch: chain
- sl st: slip stitch
- dc: double crochet
- sp: space
- st(s): stitch(es)
Video tutorial
Making the Granny Squares (Make 4):
We’ll create four identical granny squares.
- Round 1: Ch 4, sl st into the first ch to form a ring.
- Round 2: Ch 3 (counts as first dc), 2 dc in the ring, ch 2, (3 dc in ring, ch 2) three times. Sl st to the top of the beginning ch-3. (12 dc, 4 ch-2 spaces)
- Round 3: Sl st into the next 2 dc and into the first ch-2 sp. Ch 3 (counts as first dc), 2 dc in the same ch-2 sp, ch 1, (3 dc, ch 2, 3 dc) in the next ch-2 sp (corner made), ch 1, (3 dc in next ch-2 sp, ch 1) twice, (3 dc, ch 2, 3 dc) in the last ch-2 sp (corner made), ch 1. Sl st to the top of the beginning ch-3. (24 dc, 4 ch-2 spaces, 4 ch-1 spaces)
- Round 4 (Optional Color Change): Sl st into the next 2 dc and into the first ch-1 sp. Join your second color (if desired). Ch 3 (counts as first dc), 2 dc in the same ch-1 sp, ch 1, (3 dc in the next ch-2 sp, ch 2, 3 dc), ch 1, (3 dc in the next ch-1 sp, ch 1) repeat from * to * twice, (3 dc in the next ch-2 sp, ch 2, 3 dc), ch 1, 3 dc in the starting ch-1 sp, ch 1. Sl st to the top of the beginning ch-3. (36 dc, 4 ch-2 spaces, 8 ch-1 spaces)

Fasten off after the desired number of rounds (two or three rounds are usually sufficient for baby shoes) and weave in the ends. You will have four small granny squares.
Assembling the Baby Shoes:
Now comes the fun part – turning those squares into adorable little shoes!
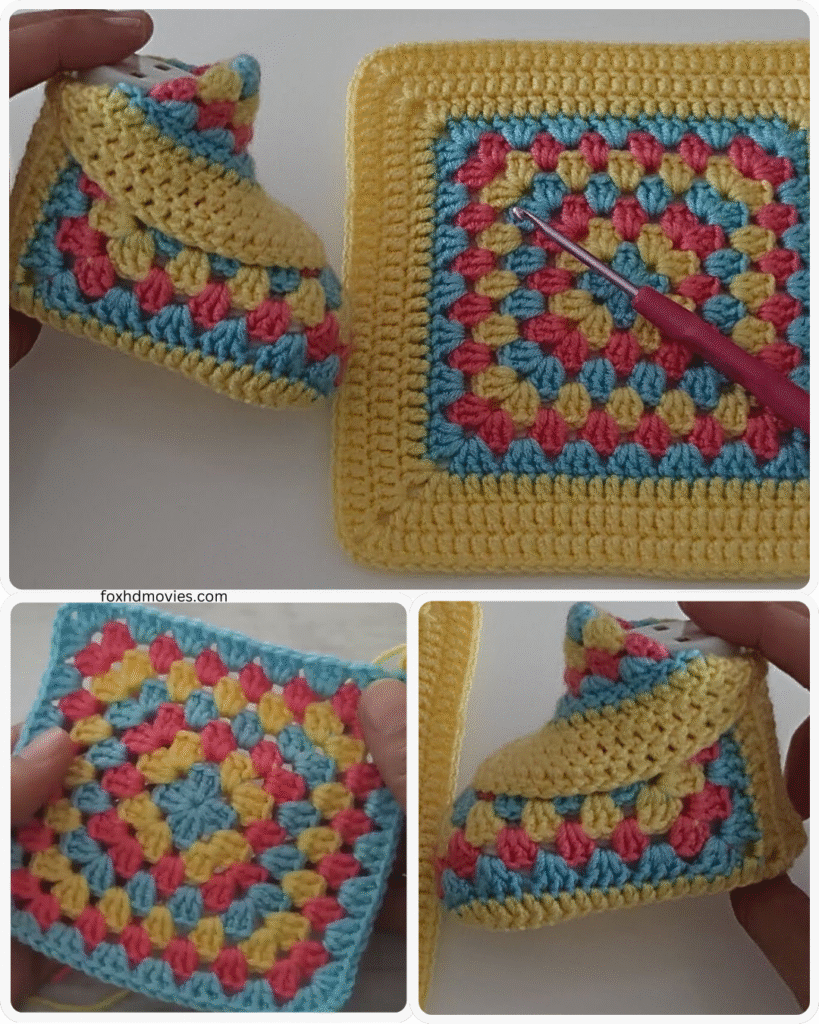
- Positioning the Squares: Take two of your granny squares. These will form the main body of one shoe. Imagine one square as the top of the foot and the other as the sole.
- Joining the Heel: With wrong sides facing, align one edge of the “top” square with one edge of the “sole” square. Using your yarn needle and a length of yarn, whip stitch or single crochet these two edges together, starting from one corner and going about halfway along the edge. This creates the heel of the shoe.
- Joining the Sides: Now, take one of the remaining granny squares. This will form the side and toe of the shoe. Align one edge of this square with the remaining open edge of the “sole” square. Whip stitch or single crochet these edges together. Repeat this process with the other side of this square and the remaining open edge of the “top” square, leaving an opening for the foot.
- Repeat for the Second Shoe: Follow the same steps with the remaining two granny squares to create the second shoe.

Creating the Ankle Straps (Make 2):
- Attach your yarn to one side of the shoe opening (near the heel).
- Ch approximately 15-20 (adjust the length as needed for a comfortable fit around the baby’s ankle).
- Sl st back into the same point where you attached the yarn to create a loop.
- Fasten off and weave in the ends.
Adding Finishing Touches (Optional):
- You can add a small button to the side of the shoe opposite the strap and use the ch-loop as a buttonhole to secure the shoe.
- Embroider small details or attach cute appliques to the tops of the shoes.
- Add a round of single crochet around the opening of the shoe for a neater finish.
Tips and Variations:
- Color Play: Experiment with different color combinations for each round of the granny square or for the different parts of the shoe.
- Size Adjustment: To make the shoes larger or smaller, you can add or subtract rounds from the granny squares. You might also need to adjust the length of the ankle strap.
- Texture: Use different textured yarns for a unique look and feel.
- Secure Fastening: Ensure any embellishments are securely attached to prevent them from becoming a choking hazard.

Care Instructions:
Gently hand wash the baby shoes in mild soap and lay them flat to dry.
Congratulations! You’ve now created a pair of adorable and cozy crochet granny square baby shoes. These little booties make a thoughtful handmade gift for newborns and are a wonderful way to use up small amounts of yarn. Enjoy the process and the sweet result! Happy crocheting!