 by
by 
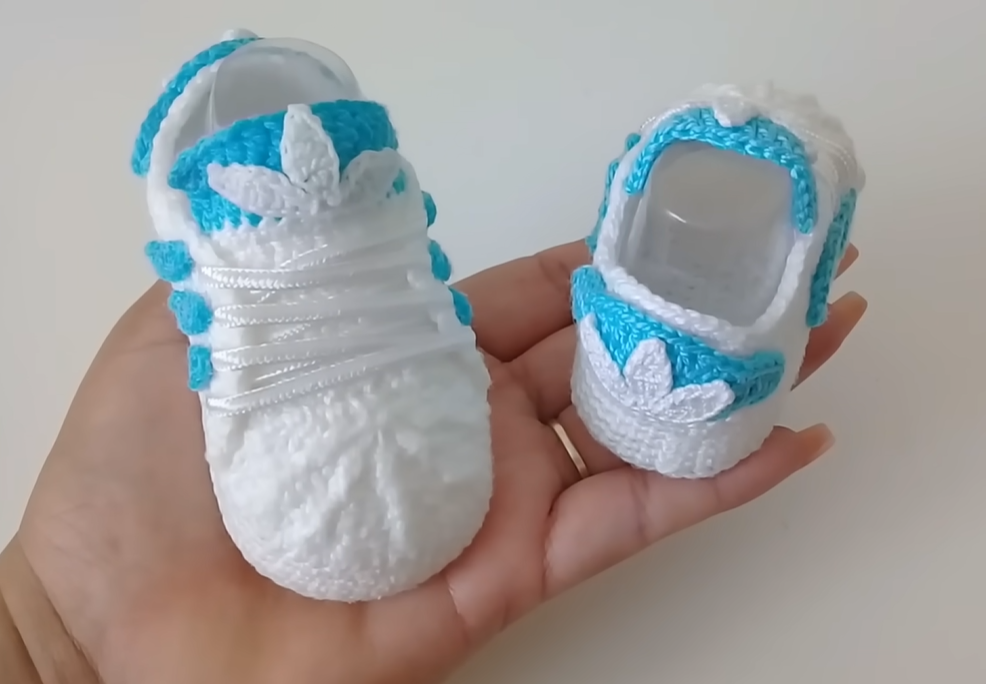
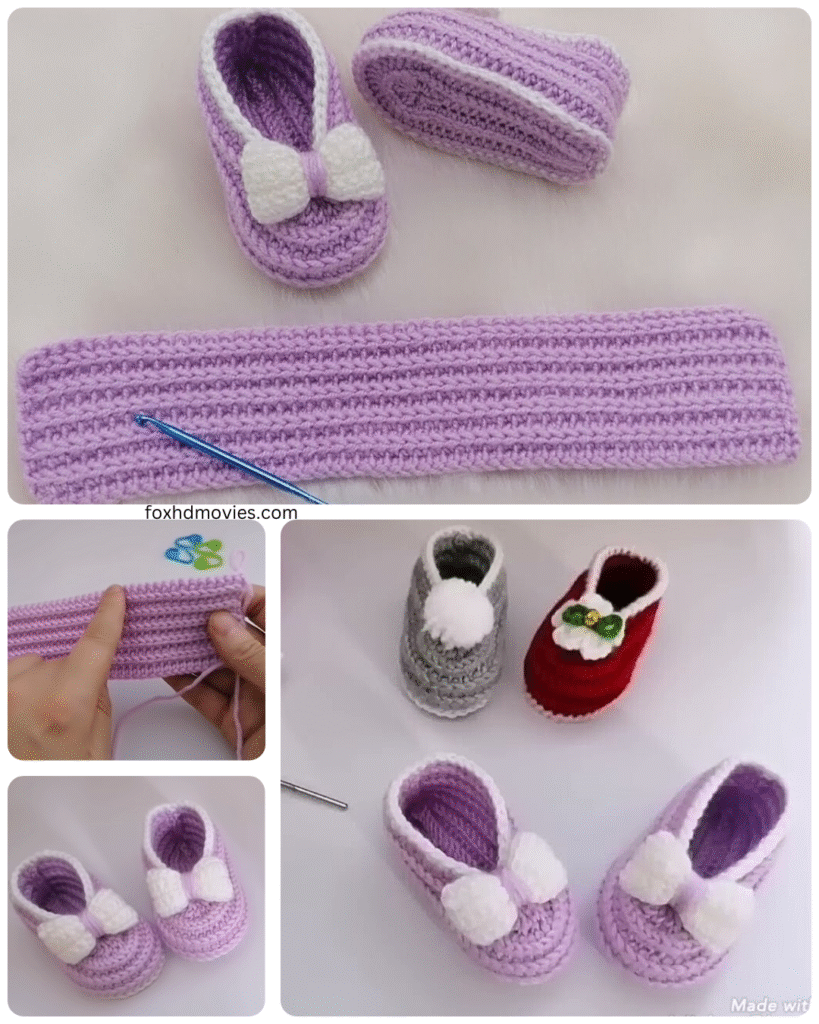
Hey there, crafty friends! Are you looking for a quick and satisfying crochet project? Something that will keep those little toes warm and add a touch of handmade charm? Look no further! Today, we’re diving into a super simple pattern for adorable crochet slippers that are perfect for both girls and boys.
These slippers work up quickly, use minimal yarn, and are a fantastic way to use up those leftover bits from other projects. Plus, they make a thoughtful and practical gift! Let’s get started!
What You’ll Need:
- Worsted weight yarn in your chosen color(s). You won’t need a whole skein, so raid your stash!
- Crochet hook size H/8 (5.0 mm) or the size needed to obtain gauge (though gauge isn’t super critical for this project).
- Scissors
- Yarn needle for weaving in ends
- Optional: Buttons, appliques, or non-slip sole material.
Skill Level: Beginner-friendly! If you know basic crochet stitches, you’re good to go.
Abbreviations (US Terms):
- ch = chain
- sc = single crochet
- hdc = half double crochet
- sl st = slip stitch
- st(s) = stitch(es)
- rep = repeat
Sizing:
This pattern is easily adaptable! The base of the slipper is worked in a rectangle, so you can adjust the length to fit any little foot. Here’s a general guideline, but measuring the child’s foot is always best:
- Toddler (approx. shoe size 5-7): Base rectangle approx. 5-5.5 inches long.
- Little Kid (approx. shoe size 8-10): Base rectangle approx. 6-6.5 inches long.
- Big Kid (approx. shoe size 11-13): Base rectangle approx. 7-7.5 inches long.
Video tutorial
Let’s Get Crocheting!
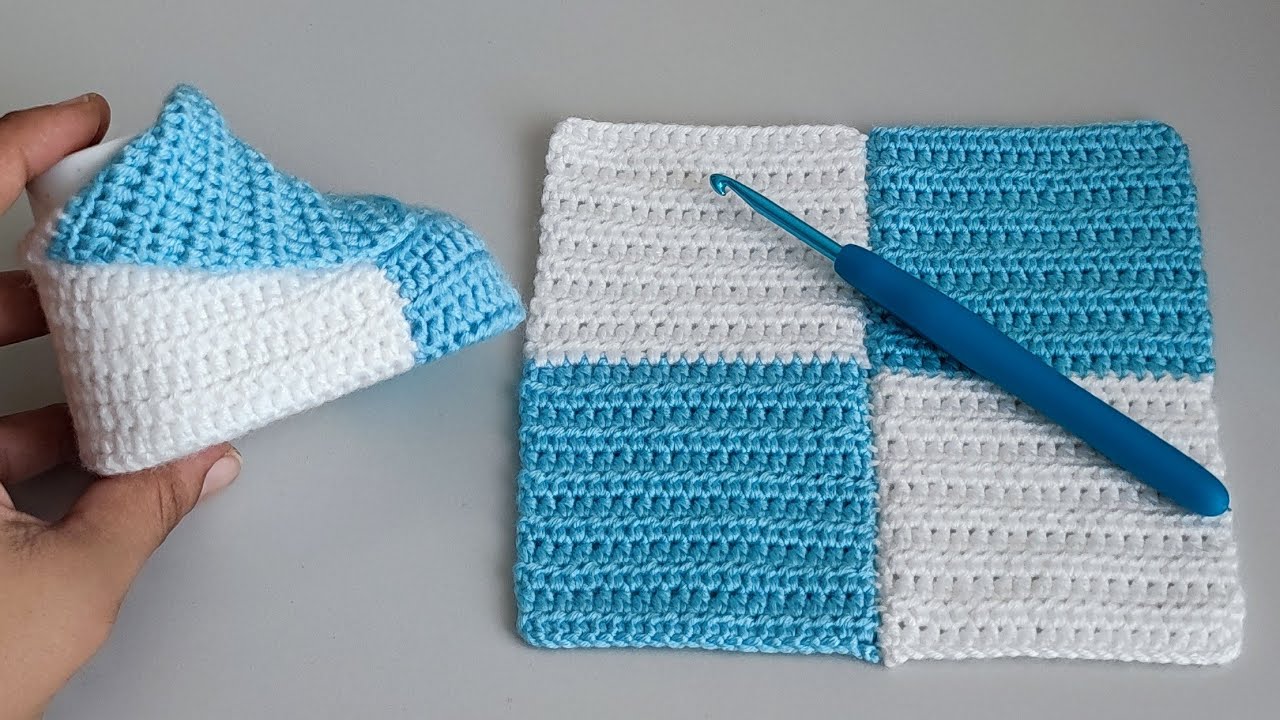
Sole (Make 2):
- Ch the number of chains needed for your desired length (see sizing guide above). For example, for a toddler size, ch 16.
- Row 1: Sc in the second ch from the hook and in each ch across. (15 sc for toddler size)
- Rows 2- (until desired width, approx. 3-3.5 inches): Ch 1 (does not count as a st), sc in each st across.
- Fasten off, leaving a long tail for sewing.
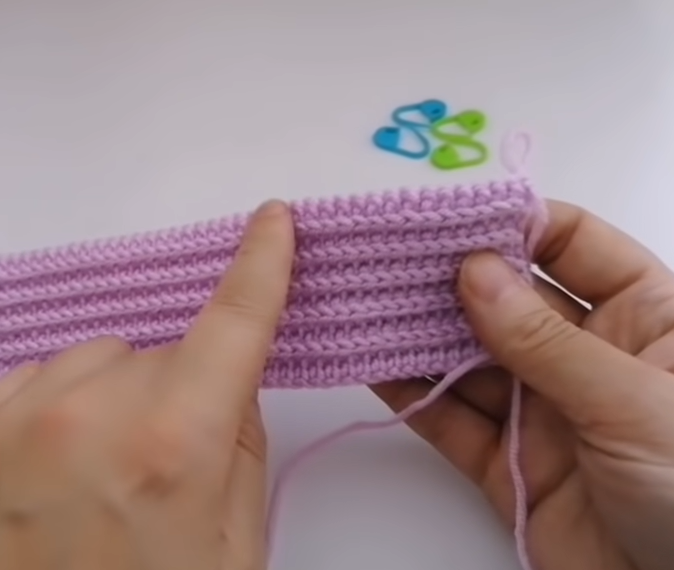
Upper (Make 2):
- Ch 20 (this will be the width of the opening; adjust as needed).
- Row 1: Hdc in the second ch from the hook and in each ch across. (19 hdc)
- Rows 2-6 (adjust for desired height): Ch 1 (does not count as a st), hdc in each st across.
- Fasten off, leaving a long tail for sewing.
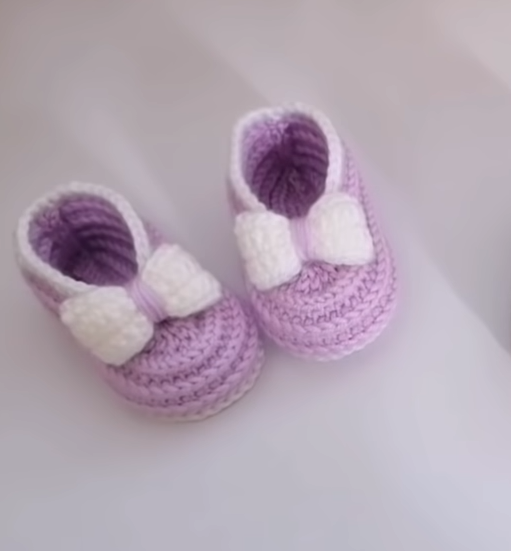
Assembly:
- Fold the Sole: Fold one of your sole rectangles in half lengthwise. With your yarn needle and the long tail, sew the short ends together to create a rounded toe shape. Leave the other end open.
- Attach the Upper: Take one of your upper pieces. Center it over the open end of the sole, with the shorter sides of the upper aligned with the sides of the sole opening.
- Sew the Upper to the Sole: Using your yarn needle and the long tail from the upper, sew the upper piece to the sole. Start at one side, work your way around the front, and then down the other side. Leave the back open for the foot to slip in.
- Repeat steps 1-3 for the second slipper.
Finishing Touches (Optional):
- Cuff: For a little extra coziness around the ankle, you can add a simple ribbed cuff. With the right side facing, attach yarn to the back opening of the slipper. Ch a few stitches, then work in slip stitches in the back loops only around the opening for a few rounds. Fasten off and weave in ends.
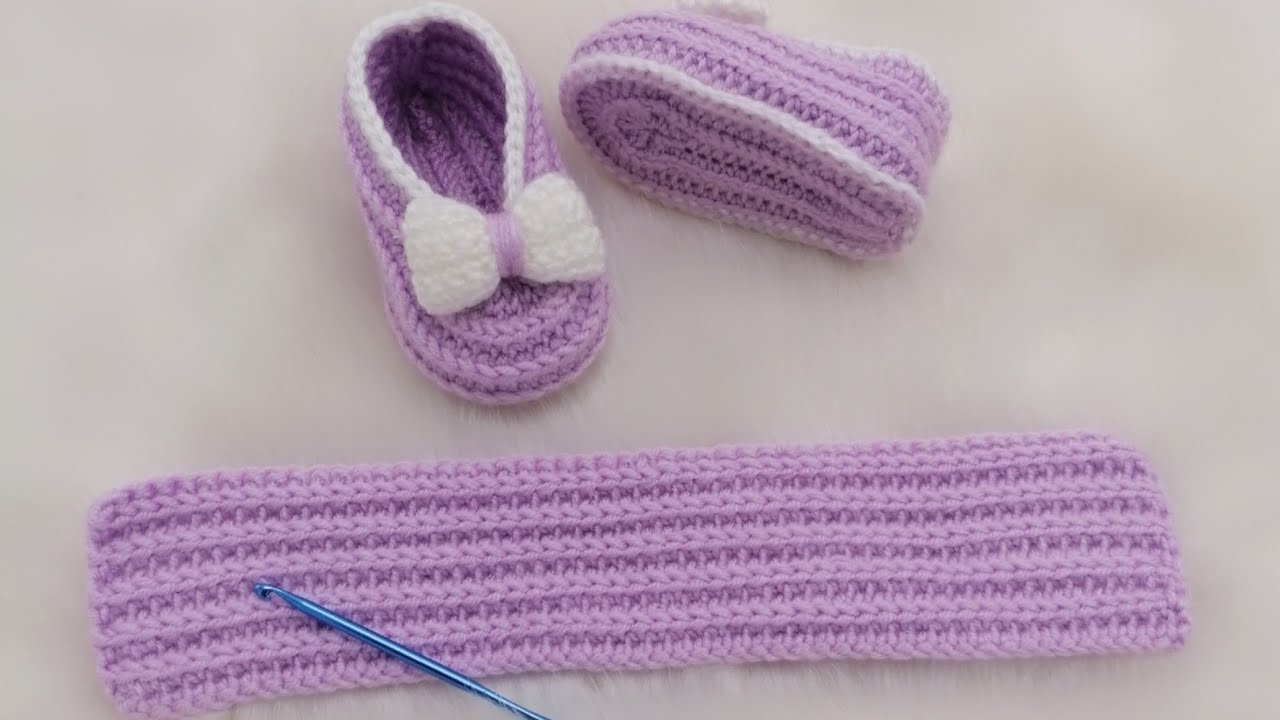
- Decoration: Get creative! Add buttons, small crocheted appliques (stars, hearts, flowers), or even embroider a simple design onto the upper.
- Non-Slip Sole: For added safety on slippery floors, you can attach non-slip fabric or puffy paint dots to the bottom of the slippers.

Tips and Tricks:
- Gauge isn’t crucial here, but try to keep your tension consistent for both slippers to be the same size.
- Measure the child’s foot! This is the best way to ensure a perfect fit. You can even have them stand on a piece of paper and trace their foot to get an accurate measurement for the sole length.
- Get the kids involved! Let them choose the yarn colors or help pick out decorations.
- Don’t be afraid to experiment! Once you get the basic shape down, you can play with different stitch patterns for the upper or add stripes for a fun look.
And there you have it! Adorable and easy crochet slippers, ready to keep those little feet warm and happy. Happy crocheting! We’d love to see your creations – share your finished slippers in the comments below!