 by
by 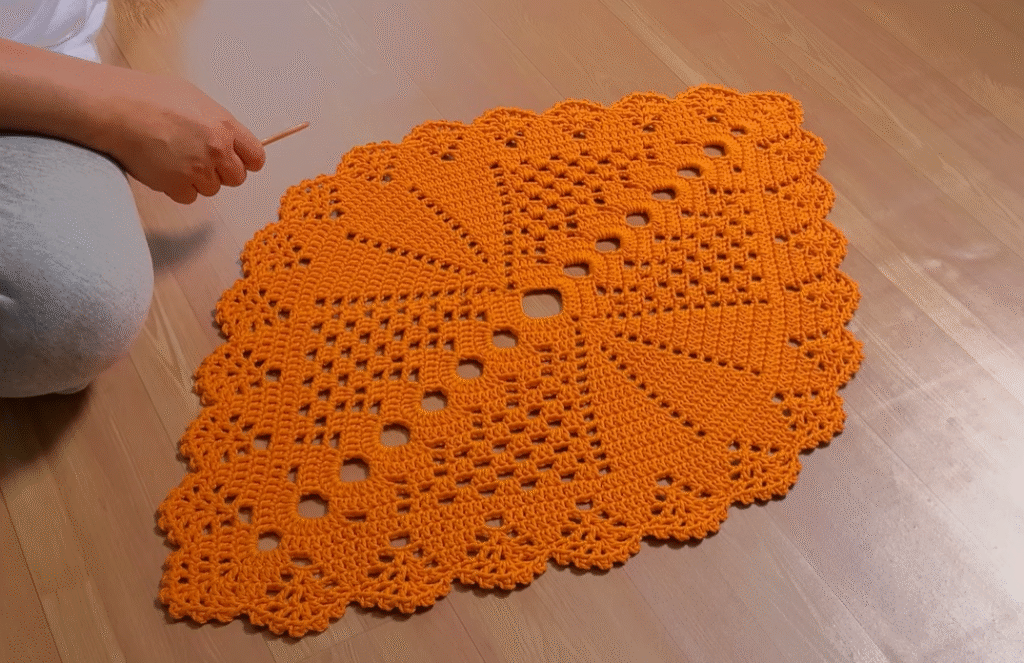
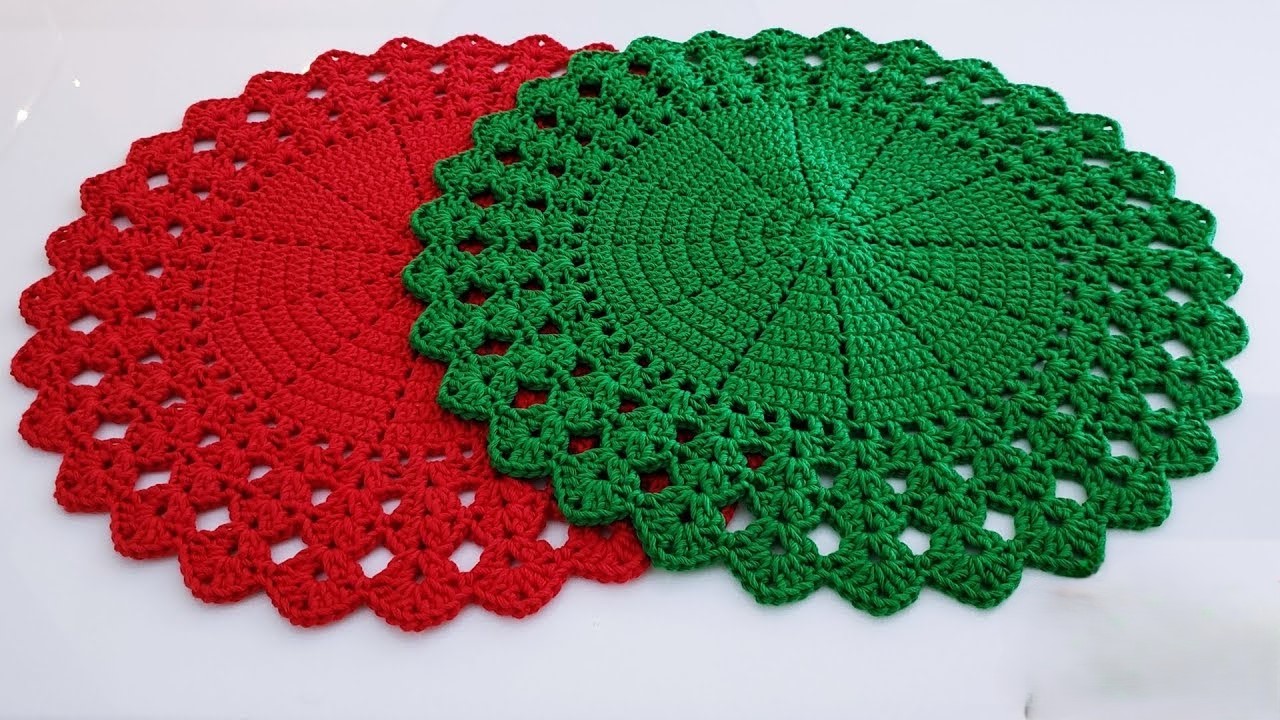
Welcome, creative crafters! Today, we’re embarking on a journey to transform humble yarn into a beautiful and functional piece for your home – a cozy crochet rug or an eye-catching centerpiece. Whether you’re looking to add warmth underfoot or a handcrafted focal point to your table, this project is adaptable to your needs and style.
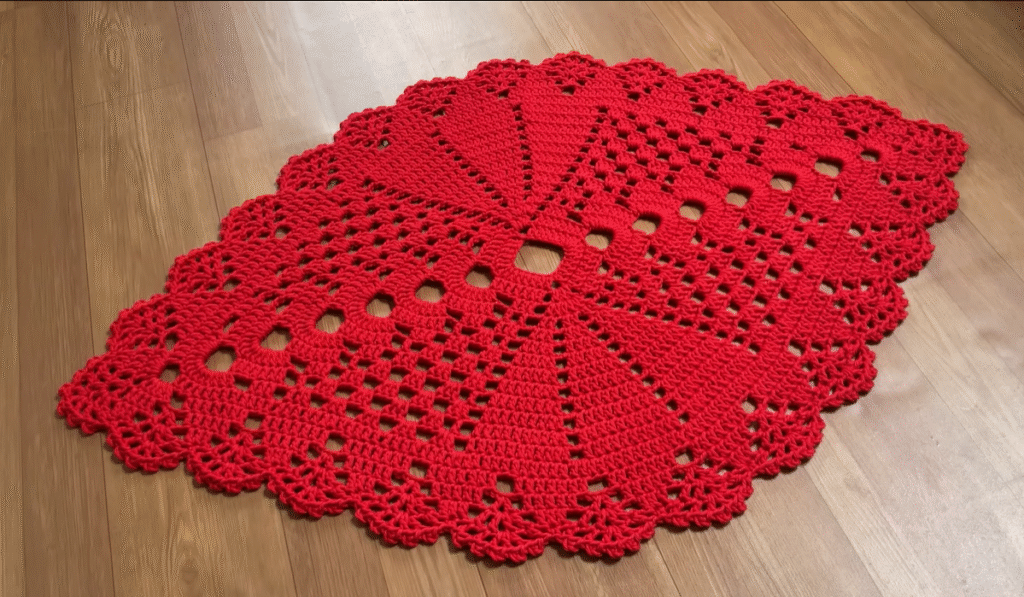
The beauty of crocheting your own rug or centerpiece lies in its versatility. You can choose your colors, yarn textures, and size to perfectly complement your decor. Plus, the process itself is incredibly satisfying, watching your creation grow stitch by stitch.
So, gather your favorite chunky yarn and a comfortable hook, and let’s dive into the wonderful world of crocheted home accents!
What You’ll Need:
- Bulky or Super Bulky Yarn: The thickness of your yarn will significantly impact the texture and size of your finished piece. For a rug, choose a durable and washable yarn. For a centerpiece, you can opt for something softer or with more visual appeal. Estimate the yarn amount based on your desired size (more on that later).
- Large Crochet Hook: Select a hook size appropriate for your chosen yarn weight. Common sizes for bulky yarn range from K/10.5 (6.5 mm) to P/16 (11.5 mm) or even larger.
- Scissors: For snipping your yarn.
- Yarn Needle: For weaving in ends securely.
- Measuring Tape: To check your size as you go.
- Stitch Markers (optional but helpful): Especially for keeping track of rounds in larger projects.
- Non-Slip Rug Pad (for rugs): To prevent slipping and add cushioning.
Choosing Your Shape and Size:
Before we jump into the stitches, let’s consider what you want to create:
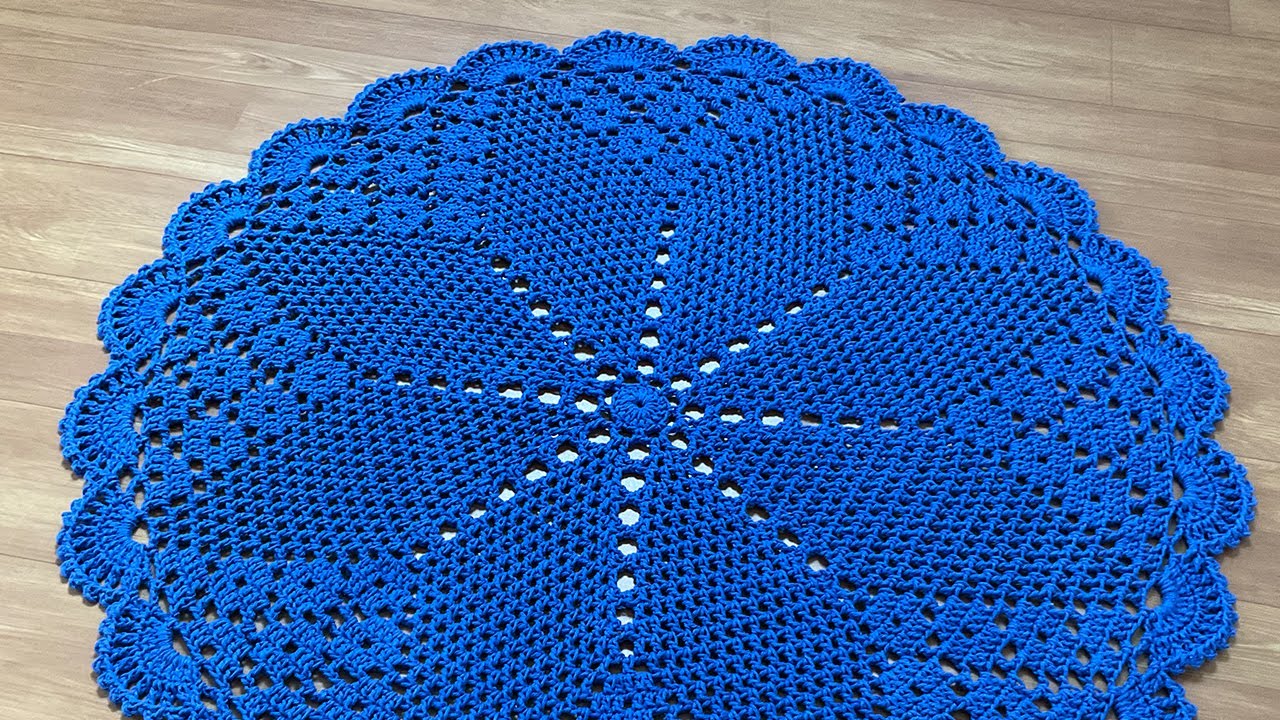
- Rug: Think about where you want to place your rug – bedside, entryway, living room accent? This will determine the ideal size and shape (round, rectangular, oval).
- Centerpiece: Consider the size and shape of your table. A round or oval centerpiece often works well, but you can also create a square or rectangular one.
Estimating Yarn:
This is where it can get a little tricky, as it depends heavily on your chosen yarn, hook size, and the density of your stitches. For a small to medium-sized rug (approximately 2×3 feet), you might need anywhere from 500 to 1000 yards of bulky yarn. For a centerpiece, a few hundred yards should suffice. It’s always better to have a little extra than to run out mid-project!
Video tutorial
The Basic Pattern: A Simple Circle (Adaptable for Other Shapes)
We’ll start with a simple circular pattern, which can be easily adapted for other shapes like squares or rectangles by starting with a chain and working in rows.
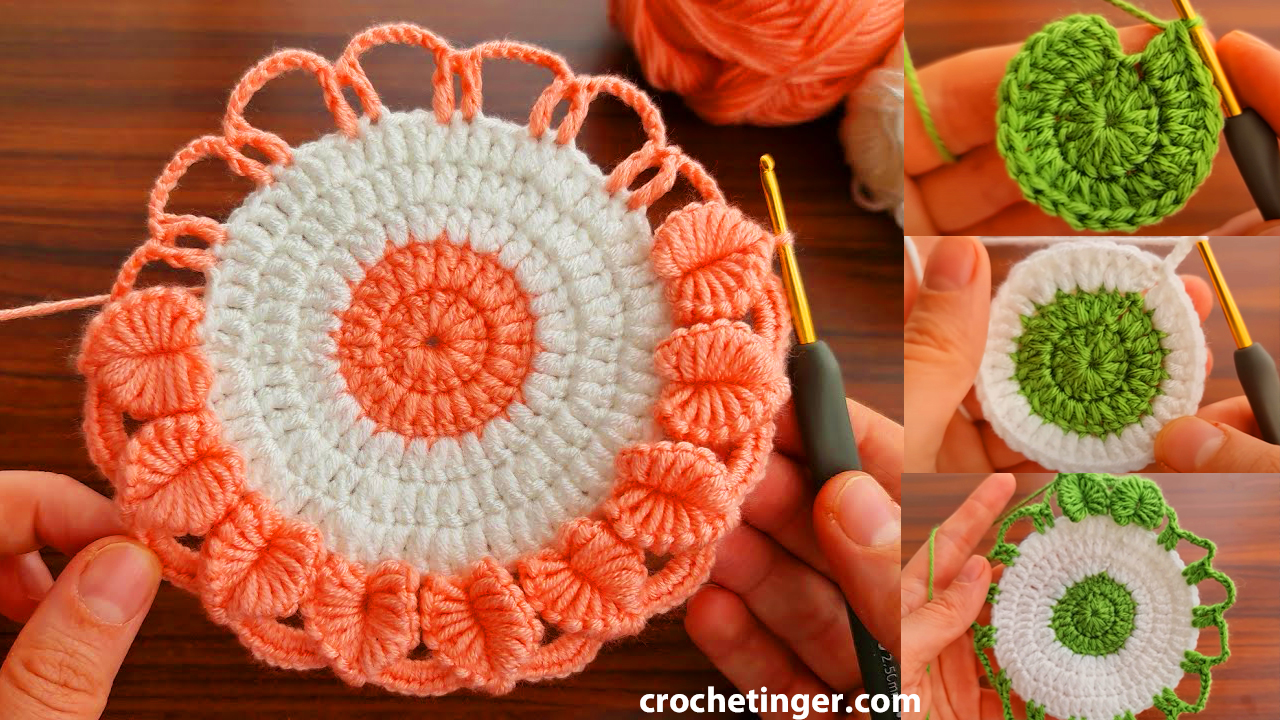
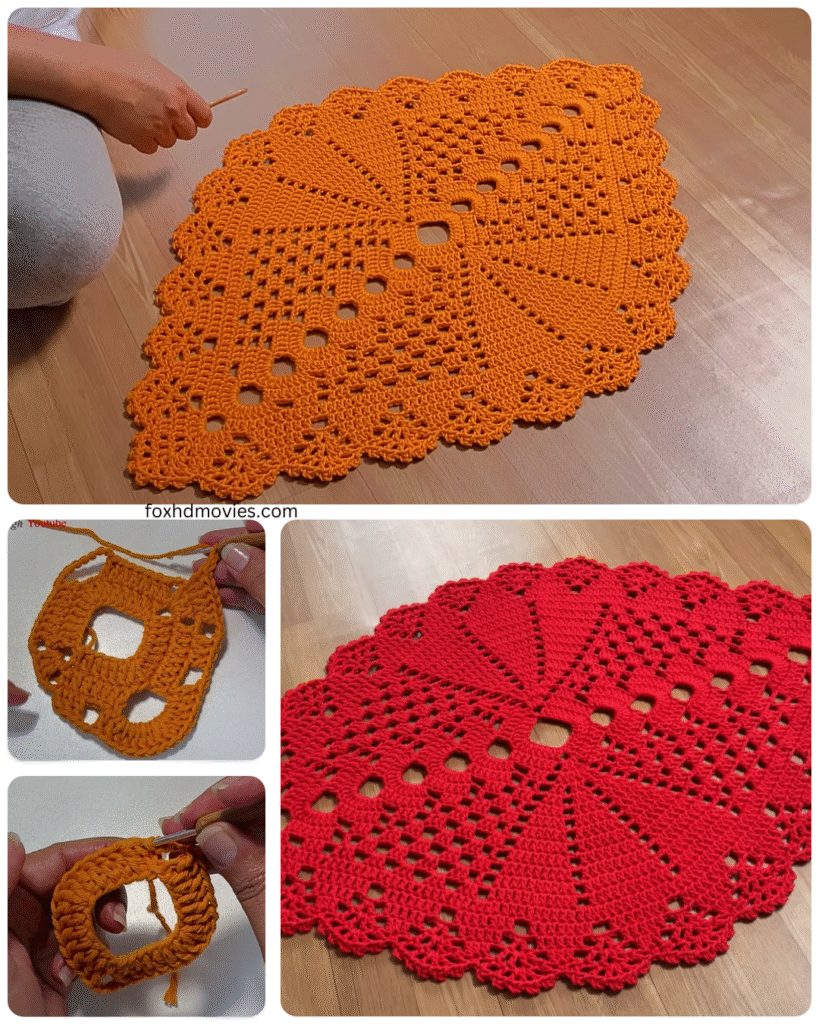
- Magic Ring (or Chain 3, join with a slip stitch to form a ring): This is your starting point. If you’re unfamiliar with the magic ring, there are many helpful tutorials online.
- Round 1: Chain 1 (does not count as a stitch). Work 6 single crochet (sc) stitches into the magic ring (or the ring formed by your chain). Pull the magic ring tight to close the center. Join with a slip stitch (sl st) to the first sc. (6 sc)
- Round 2: Chain 1 (does not count as a stitch). Work 2 single crochet (inc) in each stitch around. Join with a sl st to the first sc. (12 sc)
- Round 3: Chain 1 (does not count as a stitch). *Sc in the next st, inc in the next st; repeat from * around. Join with a sl st to the first sc. (18 sc)
- Round 4: Chain 1 (does not count as a stitch). *Sc in the next 2 sts, inc in the next st; repeat from * around. Join with a sl st to the first sc. (24 sc)
- Continuing the Circle: You’ll continue increasing in this manner. In each round, you’ll increase in one more stitch than the previous round. For example:
- Round 5: *Sc in the next 3 sts, inc in the next st; repeat from * around.
- Round 6: *Sc in the next 4 sts, inc in the next st; repeat from * around.
- And so on…
- Continuing the Circle: You’ll continue increasing in this manner. In each round, you’ll increase in one more stitch than the previous round. For example:
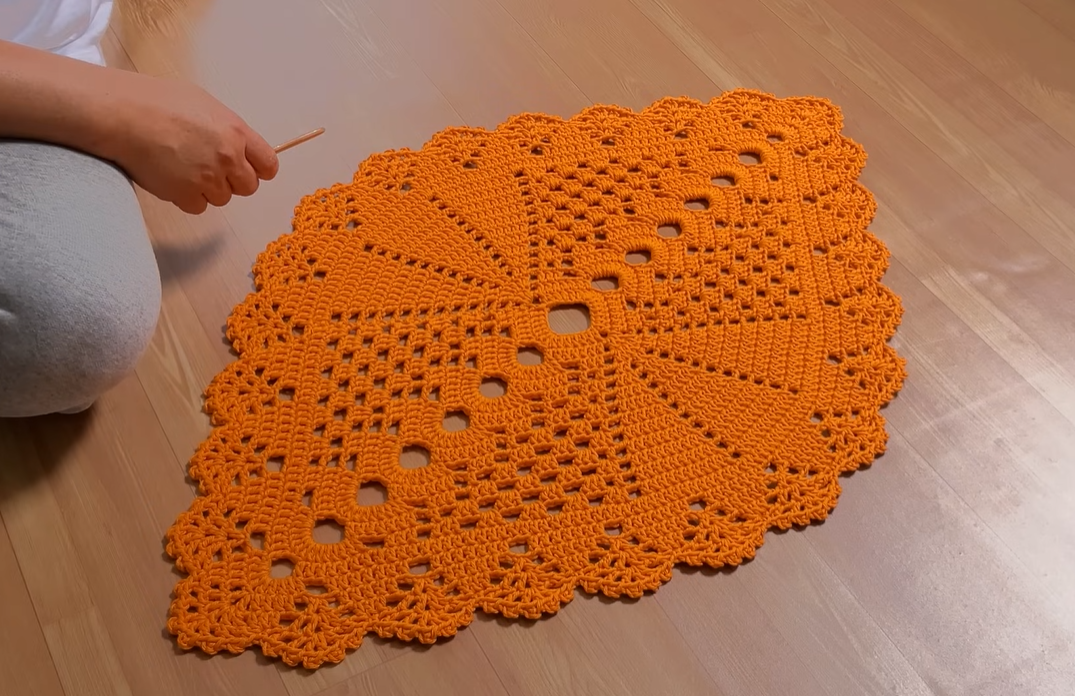
- Work until your piece reaches your desired diameter. Remember to check your measurements periodically.
- Maintaining Size (for a Rug): Once your rug reaches the desired width, you can stop increasing and simply work one single crochet in each stitch around for subsequent rounds to maintain the size. Continue until you reach your desired length (if making an oval or rectangle, you’ll adapt this to working in rows).
- Finishing Round: For a neat edge, you can work a final round of slip stitches or reverse single crochet (crab stitch) around the entire piece.
- Fasten off and weave in all loose ends securely.

Adapting for Different Shapes:
- Square:
- Chain a number of stitches for your desired starting width.
- Work in rows of single crochet (or your chosen stitch).
- Increase one stitch at the beginning and end of each row until you reach your desired size.
- Once you reach the desired width, continue working rows without increasing until you have a square.
- Rectangle: Follow the same steps as for a square, but continue working rows without increasing until you reach your desired length.
- Oval:
- Chain a longer number of stitches for the central length of your oval.
- Work rounds of single crochet around the chain, placing multiple stitches at each end to create the curved shape.
- Continue working in rounds, increasing at the curved ends in each round until you reach your desired size. Then, work rounds without increasing to maintain the size.

Adding Texture and Color:
This basic pattern is just the beginning! Here are some ways to add visual interest:
- Changing Colors: Introduce new colors every few rounds or rows for stripes, color blocks, or even intricate patterns.
- Using Different Stitches: Experiment with half double crochet (hdc), double crochet (dc), or even textured stitches like bobbles or popcorn stitches. Just be mindful that different stitches will affect the overall size and yarn usage.
- Playing with Yarn Textures: Combine different yarn types (e.g., a smooth bulky yarn with a fuzzy one) for a unique tactile experience.
- Creating Patterns: Explore simple stitch patterns like stripes, chevrons, or even basic geometric designs.
Finishing Touches:
- Blocking (Optional but Recommended for Centerpieces): Gently block your centerpiece to help it lay flat and define the stitches.
- Adding a Border: A simple border of single crochet, half double crochet, or a decorative stitch can frame your rug or centerpiece beautifully.
- Attaching a Non-Slip Backing (for Rugs): Consider adding a non-slip rug pad or even applying a non-slip fabric paint to the back of your rug for safety.
Caring for Your Crochet Creation:
The care instructions will depend on the type of yarn you used. Generally, hand washing or gentle machine washing (in a mesh bag) and laying flat to dry are recommended for handmade crochet items.