by
by 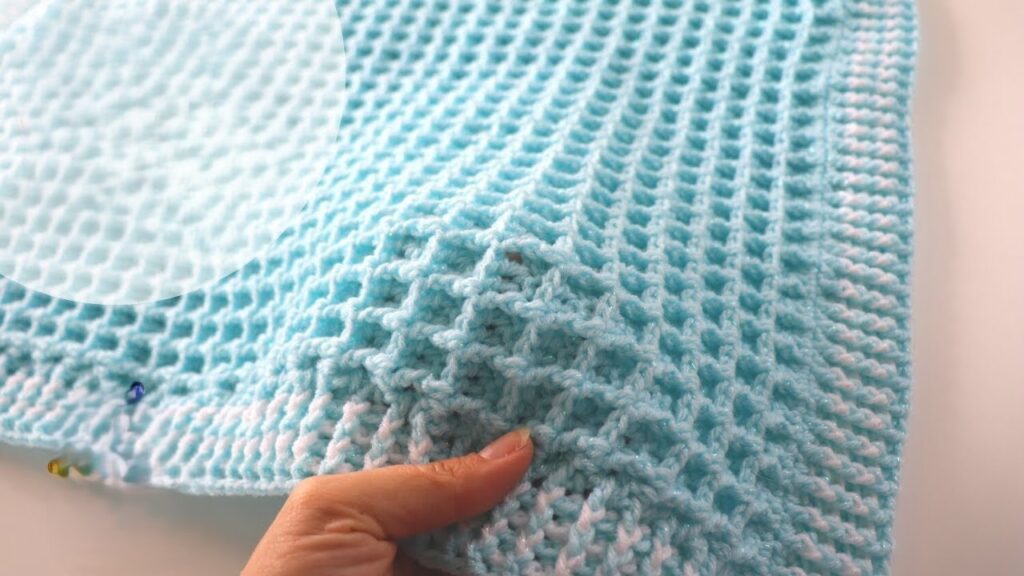
a Waffle Stitch Blanket! What a wonderfully textured and cozy project you’ve chosen. You’re absolutely right, the result is something you’ll truly love snuggling under. Here’s a detailed pattern to guide you through creating your own:
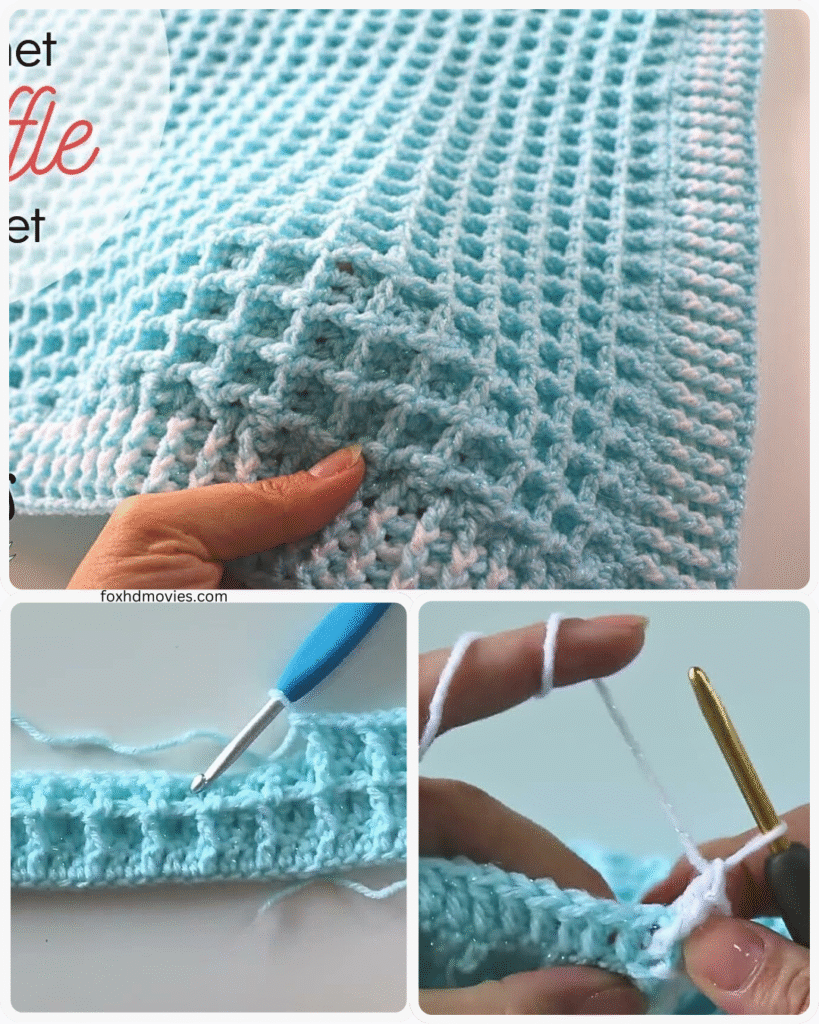
Crochet Waffle Stitch Blanket
Level: Intermediate
Materials:
- Yarn: Worsted weight yarn in your desired color(s) and quantity (refer to your yarn label for recommended hook size and estimated yardage for a blanket of your desired dimensions). Consider a soft and washable yarn for a blanket.
- Crochet Hook: The size recommended on your yarn label.
- Scissors
- Tapestry Needle: For weaving in ends.
- Stitch Markers (optional but helpful)
Finished Size: Adjustable to your preference. The pattern provides instructions for creating a blanket of any width and length.
Gauge: While gauge isn’t critical for a blanket, knowing it can help you estimate your finished size and yarn requirements. Work a small swatch of the waffle stitch (following Rows 1-4 below) and measure it.

Abbreviations (US Crochet Terms):
- ch = chain
- st(s) = stitch(es)
- sc = single crochet
- dc = double crochet
- fpdc = front post double crochet (yarn over, insert hook from front to back to front around the post of the indicated stitch, yarn over, pull up a loop, yarn over, pull through two loops, yarn over, pull through the remaining two loops)
- rep = repeat
- beg = beginning
- RS = right side
- WS = wrong side
Special Stitches:
- Front Post Double Crochet (fpdc): This stitch creates the raised “waffle” texture.
Instructions:
Foundation Chain:
- Determine the desired width of your blanket. The foundation chain needs to be a multiple of 3, plus 2 for the turning chain.
- For example, if you want a blanket approximately 30 inches wide and your gauge is 4 dc per inch, you’d need roughly 120 dc across. Therefore, your foundation chain would be 120+2=122 chains.
- Chain the required number of stitches.
Body of the Blanket:
Row 1 (RS): Sc in the second ch from the hook and in each ch across. Turn. (This row creates a solid base for the waffle stitch pattern).
Row 2 (WS): Ch 2 (does not count as a stitch here and throughout), dc in the first sc and in each sc across. Turn.
Row 3 (RS): Ch 1 (does not count as a stitch here and throughout), sc in the first dc, *fpdc around the next dc, sc in the next dc; rep from * across to the last dc, sc in the last dc. Turn.
Row 4 (WS): Ch 2 (does not count as a stitch here and throughout), dc in the first sc, *dc in the fpdc, dc in the next sc; rep from * across to the last sc, dc in the last sc. Turn.
Row 5 (RS): Ch 1 (does not count as a stitch here and throughout), sc in the first dc, *sc in the next dc, fpdc around the next dc; rep from * across to the last dc, sc in the last dc. Turn.
Row 6 (WS): Ch 2 (does not count as a stitch here and throughout), dc in the first sc, *dc in the next sc, dc in the fpdc; rep from * across to the last sc, dc in the last sc. Turn.
Repeat Rows 3-6 to create the waffle stitch pattern and achieve your desired blanket length.

Tips for Success:
- Keep your tension consistent: This will ensure an even and beautiful texture throughout your blanket.
- Pay attention to which stitch you’re working into: On the right side rows, you’ll be working sc and fpdc stitches. On the wrong side rows, you’ll be working dc stitches into the stitches from the previous row.
- Identifying Right and Wrong Sides: The right side of your work will have the raised “waffle” texture created by the fpdc stitches. The wrong side will have a flatter, more uniform appearance.
- Turning Chains: Be mindful that the ch 2 at the beginning of the wrong side rows does not count as a stitch. The ch 1 at the beginning of the right side rows also does not count as a stitch. Always work your first stitch into the first stitch of the row.
- Stitch Markers: If you’re having trouble identifying the first and last stitches of each row, especially on the wrong side, place stitch markers in them.
- Changing Colors (Optional): If you want to incorporate stripes or color blocks, change colors at the end of a row. Fasten off the old color and join the new color with a slip stitch in the last stitch of the row. Continue with the next row in the new color. Weave in all ends securely.

Edging (Optional):
Once your blanket reaches the desired length, you can add an optional edging to give it a finished look. Here are a few simple ideas:
- Single Crochet Border: Work one round (or more) of single crochet evenly around the entire blanket. Work 3 sc in each corner to help it lie flat.
- Double Crochet Border: Similar to the single crochet border, work one or more rounds of double crochet.
- Simple Shell Border: Work a round of single crochet first. Then, in the next round, work *(sc in the next st, skip 2 sts, 5 dc in the next st, skip 2 sts); rep from * around, join with a slip stitch.
- Crab Stitch (Reverse Single Crochet): Work a round of single crochet. Then, working from left to right (instead of right to left), insert your hook into the next stitch to the right, yarn over, pull up a loop, yarn over, pull through both loops. This creates a twisted, textured edge.
Finishing:
- Once you’ve completed your blanket and any desired edging, fasten off your yarn securely.
- Weave in all loose ends using your tapestry needle.