 by
by 
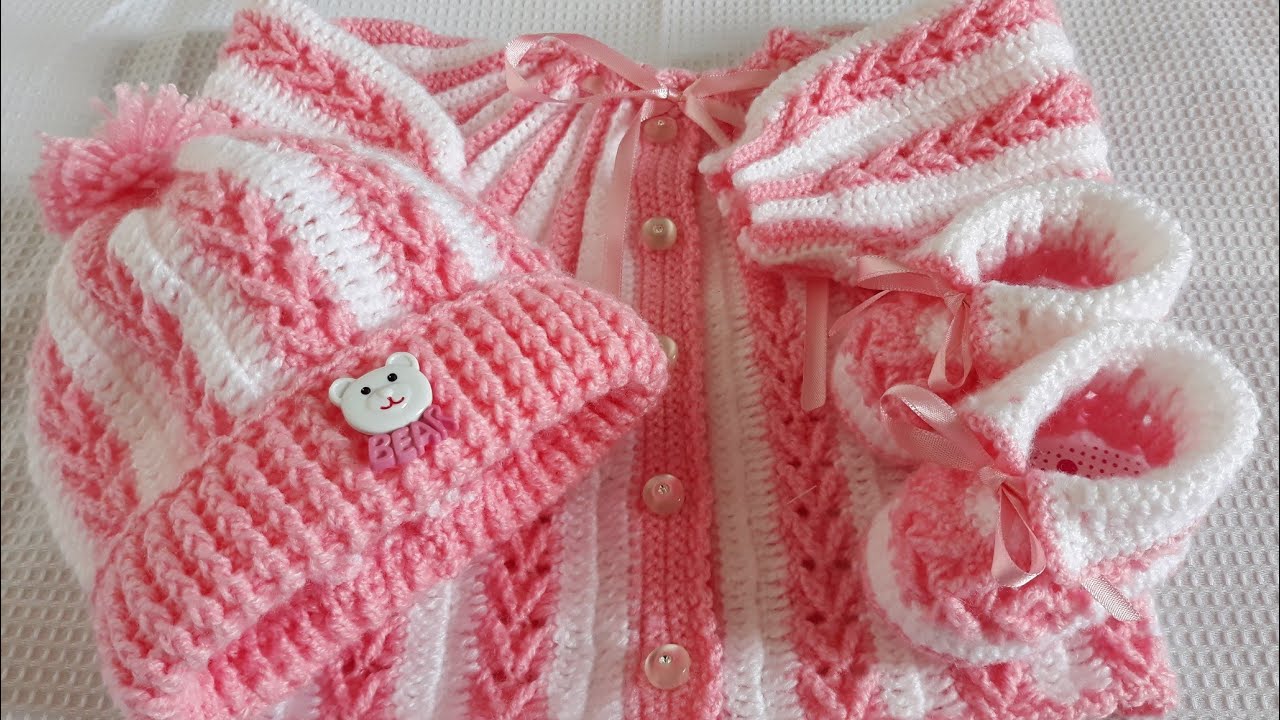
This crochet pattern is designed for those new to amigurumi, offering a simple yet adorable baby dress set including a dress, headband, and booties. Using basic stitches and straightforward construction, you can create a lovely handmade gift or a sweet outfit for your little one.
Skill Level: Easy
Materials:
- Approximately 200-300 yards of DK weight yarn (or similar light worsted weight) in your chosen color(s). Cotton or a cotton blend is recommended for baby items.
- Crochet hook size E (3.5mm) or size needed to obtain gauge.
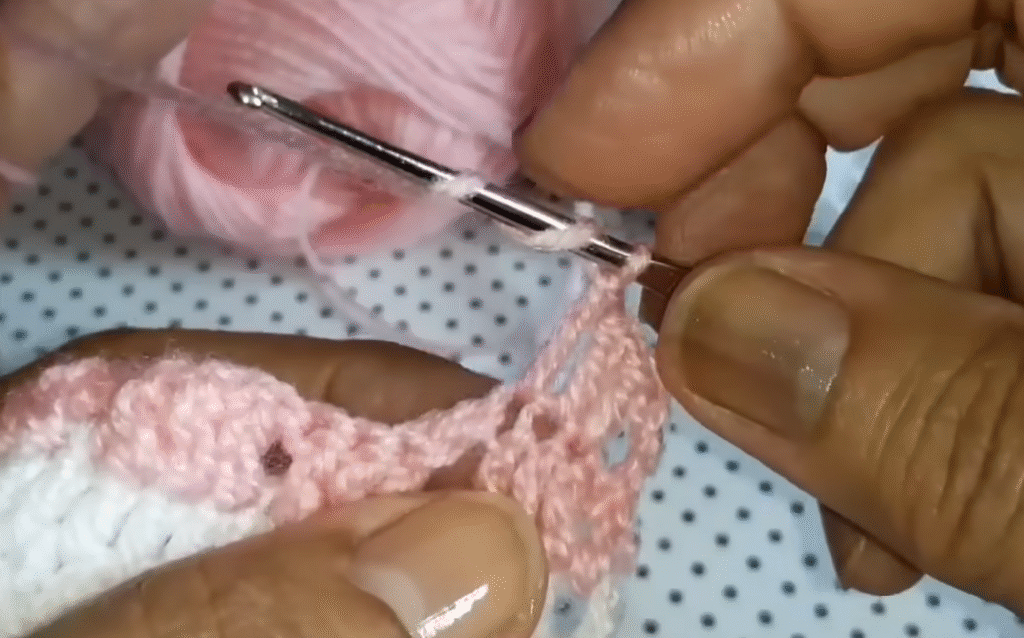
- Yarn needle for weaving in ends.
- Scissors
- Two small buttons (for dress closure)
- Optional: Ribbon or other embellishments
Gauge: 5 double crochet stitches and 3 rows = 1 inch in double crochet. Checking your gauge is important to ensure the finished set fits the intended size.
Abbreviations (US Terms):
- ch: chain
- st(s): stitch(es)
- sl st: slip stitch
- sc: single crochet
- hdc: half double crochet
- dc: double crochet
- inc: increase (work 2 sts in the same st)
- sk: skip
- sp: space
- rep: repeat
- rnd(s): round(s)
- RS: right side
- WS: wrong side
Sizes: This pattern is written for size 0-3 months. Notes for adjusting size are included where possible, but significant size changes may require adjusting stitch counts more extensively.

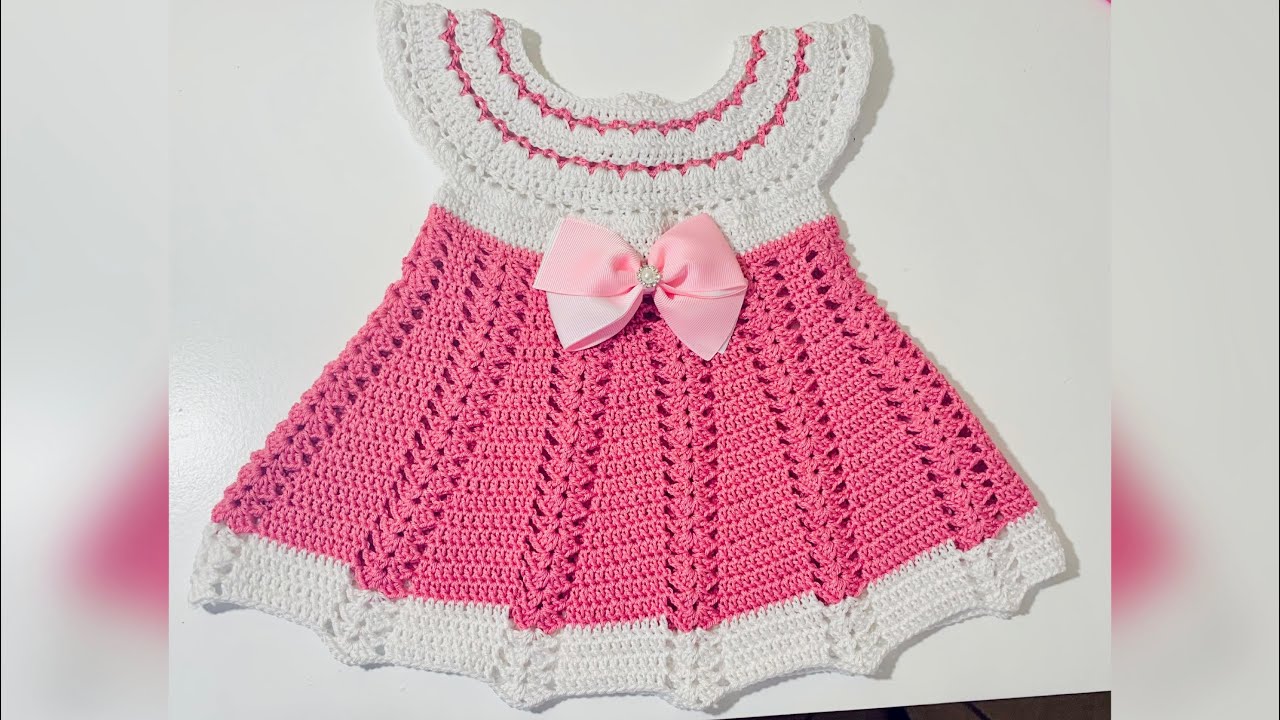
Sweet & Simple Baby Dress
This dress is worked from the top down, starting with the yoke.
Yoke:
Ch 46 (or a multiple of 2 + 4 for desired neck width).
Row 1 (RS): Dc in the 4th ch from the hook (the skipped 3 ch count as the first dc), dc in the next 5 ch, inc in the next ch, dc in the next 6 ch. Rep from * to the last ch, inc in the last ch. Turn. (52 dc)
Row 2 (WS): Ch 3 (counts as first dc here and throughout), dc in each st across. Turn. (52 dc)
Row 3 (RS): Ch 3, dc in the next 6 sts, inc in the next st, dc in the next 7 sts. Rep from * to the last st, inc in the last st. Turn. (58 dc)
Row 4 (WS): Ch 3, dc in each st across. Turn. (58 dc)
Row 5 (RS): Ch 3, dc in the next 7 sts, inc in the next st, dc in the next 8 sts. Rep from * to the last st, inc in the last st. Turn. (64 dc)
Row 6 (WS): Ch 3, dc in each st across. Turn. (64 dc)
Row 7 (RS): Ch 3, dc in the next 8 sts, inc in the next st, dc in the next 9 sts. Rep from * to the last st, inc in the last st. Turn. (70 dc)
Row 8 (WS): Ch 3, dc in each st across. Turn. (70 dc)
Divide for Sleeves:
Row 9 (RS): Ch 3, dc in the next 10 sts (front), ch 2, sk the next 14 sts (first sleeve), dc in the next 20 sts (back), ch 2, sk the next 14 sts (second sleeve), dc in the last 11 sts (front). Turn. (42 dc + 4 ch-2 sps)
Body:
Row 10 (WS): Ch 3, dc in each dc and 2 dc in each ch-2 sp across. Turn. (46 dc)
Row 11 (RS): Ch 3, dc in each st across. Turn. (46 dc)
Rep Row 11 until the dress reaches the desired length (approximately 8-10 inches from the shoulder for 0-3 months).
Edging:
You can add a simple edging to the bottom of the dress.
Next Row (RS): Ch 1, sc in each dc across. Turn.
Next Row: Ch 1, sc in the first st, sk next st, 5 hdc in next st (shell), sk next st, sc in next st. Rep from * across, ending with a sc in the last st. Fasten off and weave in ends.
Back Closure:
With the RS facing, join yarn to the top corner of one back edge.
Row 1: Ch 1, sc evenly down the back edge. Turn.
Row 2: Ch 1, sc in each sc across. Turn.
Rep Row 2 for 2 more rows. Fasten off.
On the opposite back edge, create button loops.
With the RS facing, join yarn to the top corner of the second back edge.
Row 1: Ch 1, sc evenly down the back edge. Turn.
Row 2: Ch 1, sc in the first st, ch 2, sk 2 sts (buttonhole), sc in the next sts, ch 2, sk 2 sts (buttonhole), sc in the remaining sts. Turn.
Row 3: Ch 1, sc in each sc and 2 sc in each ch-2 sp across. Fasten off and weave in ends.
Sew buttons onto the back closure opposite the button loops.
Simple Baby Headband
This headband is worked in rows and then seamed.
Ch 52 (or a length that comfortably fits around the baby’s head, slightly stretched).
Row 1: Hdc in the second ch from the hook and in each ch across. Turn. (51 hdc)
Row 2: Ch 1 (does not count as a st), hdc in the back loop only of each hdc across. Turn. (51 hdc)
Rep Row 2 until the headband is the desired width (approximately 1.5 – 2 inches).
Fasten off, leaving a long tail for seaming. Bring the two short ends together and sew using the yarn needle to form a circle. Weave in ends.
Optional Flower Embellishment:
Ch 4, sl st to the first ch to form a ring.
Rnd 1: Ch 2 (does not count as a st), work 10 hdc into the ring, sl st to the first hdc to join. (10 hdc)
Rnd 2: Ch 3, sl st into the next st. Rep from * around to create petals. Sl st to the base of the first ch-3. Fasten off, leaving a tail for sewing.
Sew the flower onto the headband.
Easy Baby Booties
These booties are worked in rounds, starting with the sole.
Sole (Make 2):
Ch 9 (or a length that measures approximately 3.5 – 4 inches).
Rnd 1: 2 hdc in the second ch from the hook, hdc in the next 6 ch, 5 hdc in the last ch. Working on the other side of the starting chain, hdc in the next 6 ch, 3 hdc in the last ch. Sl st to the first hdc to join. (22 hdc)
Rnd 2: Ch 2 (does not count as a st), 2 hdc in the first 2 sts, hdc in the next 6 sts, 2 hdc in the next 5 sts, hdc in the next 6 sts, 2 hdc in the last 3 sts. Sl st to the first hdc to join. (32 hdc)
Rnd 3: Ch 2, hdc in each st around. Sl st to the first hdc to join. (32 hdc)
Upper:
Rnd 4: Ch 1 (does not count as a st), sc in the back loop only of each hdc around. Sl st to the first sc to join. (32 sc)
Rnd 5: Ch 1, sc in the first 9 sts, hdc2tog 7 times, sc in the last 9 sts. Sl st to the first sc to join. (25 sts)
Rnd 6: Ch 1, sc in the first 8 sts, hdc2tog 4 times, sc in the last 9 sts. Sl st to the first sc to join. (21 sts)
Rnd 7: Ch 1, sc in each st around. Sl st to the first sc to join. (21 sc)
Rep Rnd 7 for 2-3 more rounds or until the desired height of the bootie is reached.
Cuff (Optional):
Rnd 1: Ch 2, hdc in the back loop only of each sc around. Sl st to the first hdc to join.
Rep Rnd 1 for 1-2 more rounds for a rolled cuff.
Fasten off and weave in ends.
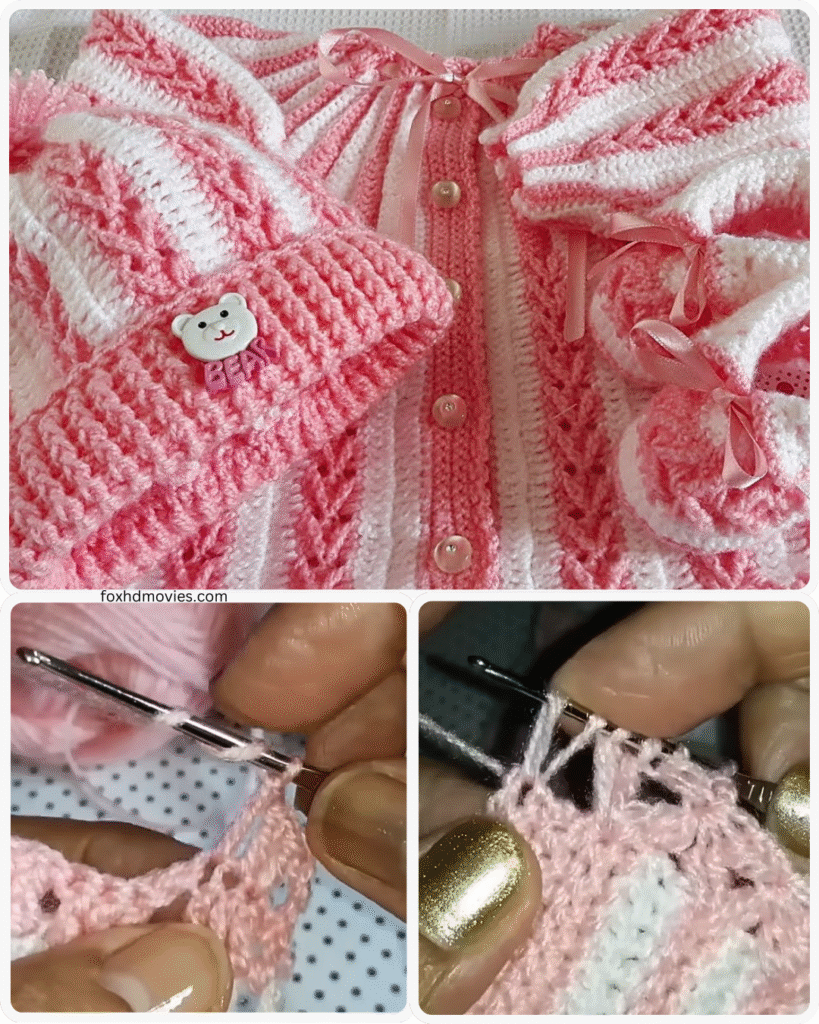
Video tutorial
This pattern provides a basic framework. Feel free to experiment with different yarn colors, add edging variations, or attach other embellishments to personalize your baby dress set! Happy crocheting!