by
by 
let’s get this small bag crocheted! This pattern will guide you through creating a simple, yet charming, little bag. Feel free to customize it with different colors or stitch variations as you go.
Finished Size (approximate): 6 inches wide x 7 inches tall (excluding strap) – this can vary based on your yarn and hook size.
Materials:
- Worsted weight yarn (approximately 100-150 yards)
- Crochet hook size H/8 (5.0 mm) or size needed to obtain gauge
- Scissors
- Yarn needle for weaving in ends
- Stitch marker (optional, but helpful)
Abbreviations (US Crochet Terms):
- ch: chain
- sl st: slip stitch
- sc: single crochet
- hdc: half double crochet
- dc: double crochet
- inc: increase (2 sc in the same stitch)
- dec: decrease 1 (sc2tog – single crochet two stitches together)
- st(s): stitch(es)
- rep: repeat
- RS: right side
- WS: wrong side

Gauge (optional, but recommended for size accuracy):
- 14 sc stitches x 16 rows = 4 inches in single crochet
Bag Body (worked in rounds):
- Magic Ring (or ch 3, sl st to join):
- If using a magic ring, create a loop and work the first round into it.
- If chaining, ch 3, sl st to the first ch to form a ring.
- Round 1: Ch 1 (does not count as a stitch), work 6 sc into the magic ring (or the center of the ch-3 ring). Pull the magic ring tight to close (if used). Sl st to the first sc to join the round. (6 sts)
- Round 2: Ch 1, 2 sc in each st around. Sl st to the first sc to join. (12 sts)
- Round 3: Ch 1, *sc in the next st, 2 sc in the next st; rep from * around. Sl st to the first sc to join. (18 sts)
- Round 4: Ch 1, *sc in the next 2 sts, 2 sc in the next st; rep from * around. Sl st to the first sc to join. (24 sts)
- Round 5: Ch 1, *sc in the next 3 sts, 2 sc in the next st; rep from * around. Sl st to the first sc to join. (30 sts)
- Round 6: Ch 1, *sc in the next 4 sts, 2 sc in the next st; rep from * around. Sl st to the first sc to join. (36 sts) Continue increasing in this manner, adding one more single crochet between each increase in each round, until your base measures approximately 6 inches in diameter.
- Rounds 7-22 (or until desired height): Ch 1, sc in each st around. Sl st to the first sc to join. (Continue working in a continuous spiral if you prefer, just omit the joining sl st and the initial ch 1 at the beginning of each round. Use a stitch marker to keep track of the beginning of your round.)

Creating the Top Opening and Handles:
- Round 23: Ch 1, sc in the next 15 sts.
- Handle Space 1: Ch 15 (or desired handle length). Skip the next 6 sts.
- Continue: Sc in the next 30 sts.
- Handle Space 2: Ch 15 (or desired handle length). Skip the next 6 sts.
- Finish the Round: Sc in the remaining 15 sts. Sl st to the first sc of the round to join. (60 sc + 30 ch sts total)
- Round 24: Ch 1, sc in each of the next 15 sc sts. Sc in each of the next 15 ch sts. Sc in each of the next 30 sc sts. Sc in each of the next 15 ch sts. Sc in the remaining 15 sc sts. Sl st to the first sc to join. (90 sts)
- Round 25: Ch 1, sc in each st around. Sl st to the first sc to join. (90 sts)
- Round 26 (Optional Edging): You can add a decorative edge here. For a simple edge, ch 1, *sc in the next st, ch 1, skip the next st; rep from * around. Sl st to the first sc to join. Fasten off.

Finishing:
- Weave in all loose ends securely using your yarn needle.
Optional Embellishments:
- Button or Snap Closure: You can add a loop on one side of the opening and sew a button on the other, or attach a snap closure.
- Fringe: Attach fringe along the bottom edge of the bag.
- Appliqués: Sew on crocheted or felt appliqués for a personalized touch.
- Lining: For added structure and to prevent small items from slipping through, you can sew in a fabric lining.
Video tutorial
Tips and Variations:
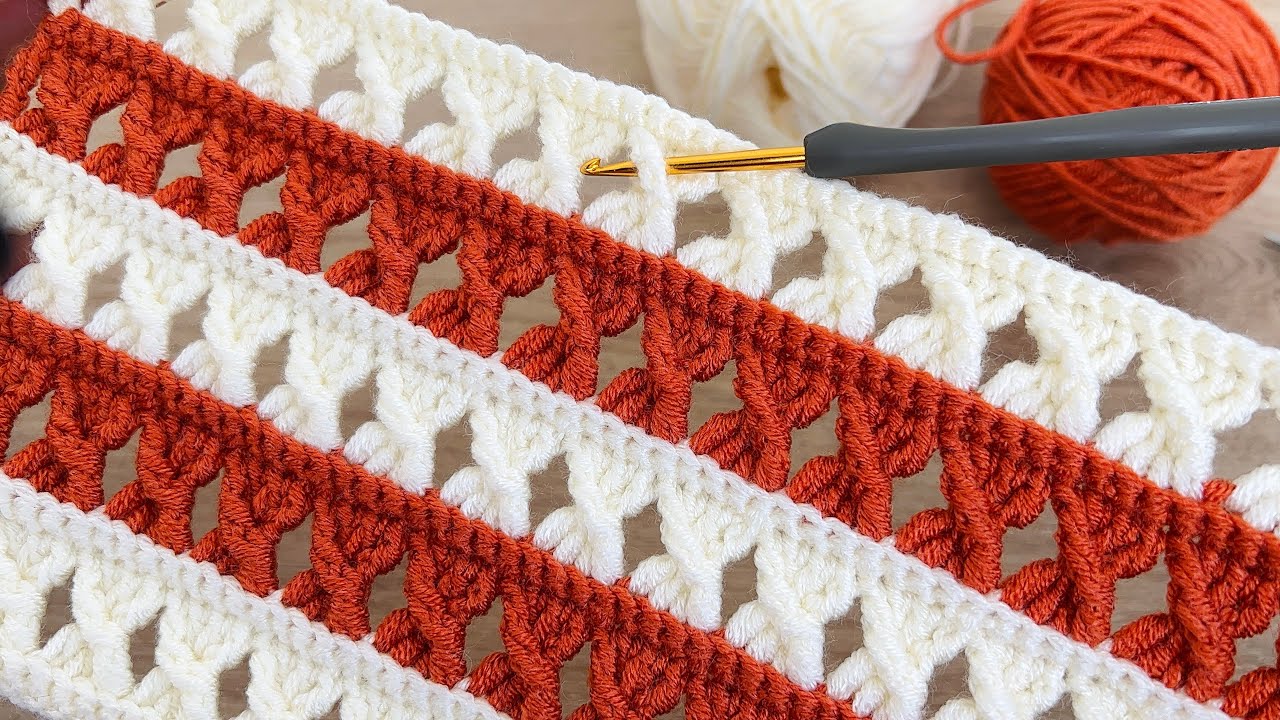
- Stitch Variations: Experiment with different stitches for the body of the bag, such as half double crochet or double crochet, to create different textures and looks.
- Stripes: Change colors every few rounds for a striped effect.
- Handle Options: Instead of the chained handles, you can crochet separate straps and sew them onto the bag.
- Size Adjustment: To make the bag larger or smaller