 by
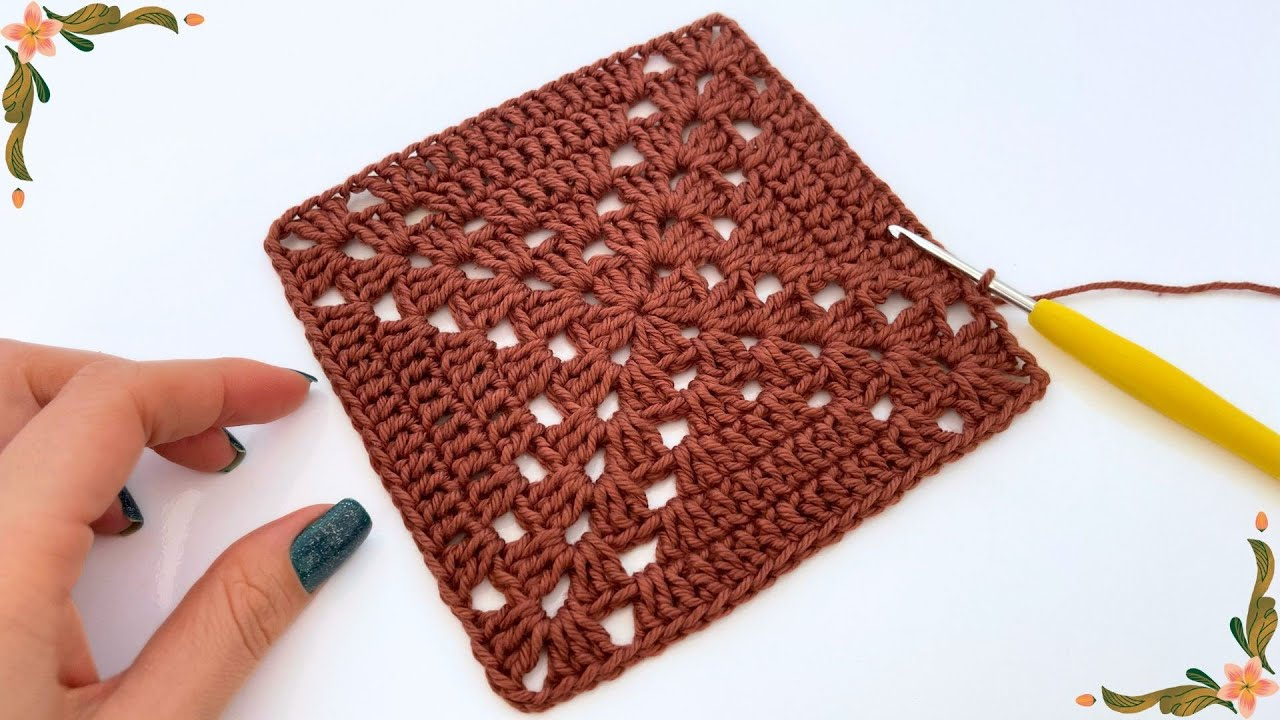
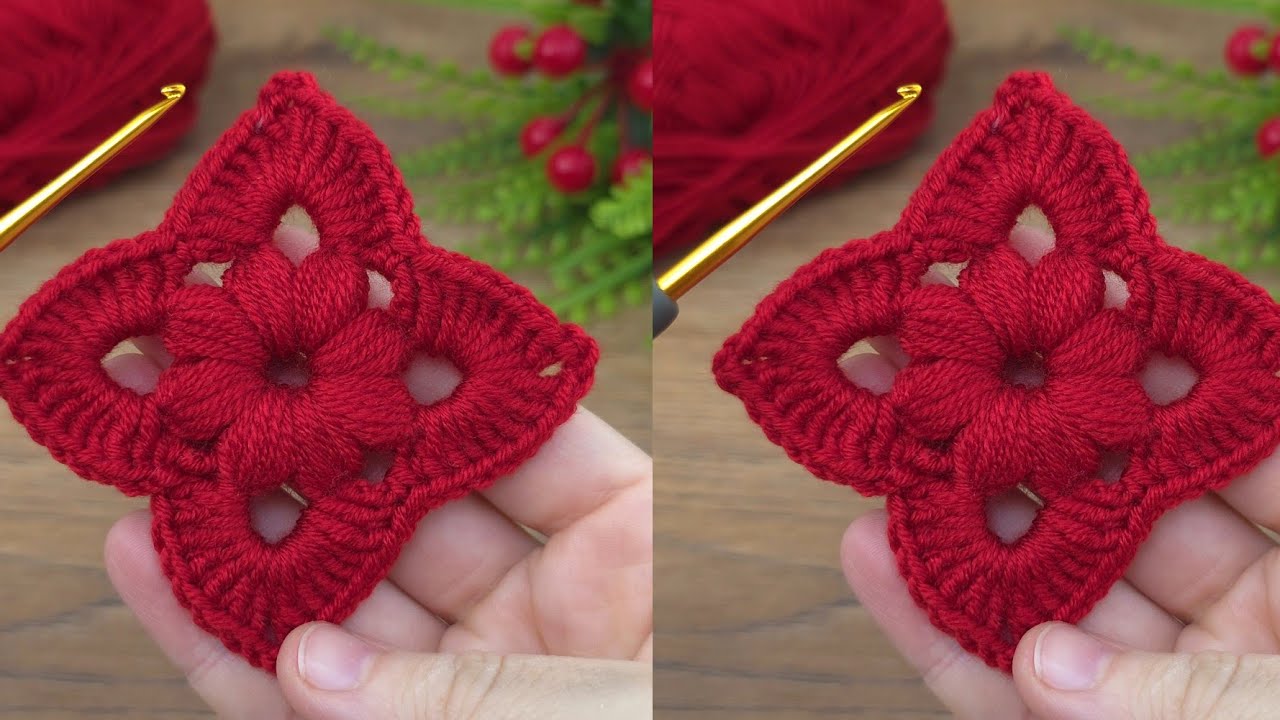
by Absolutely! Let’s create a simple, vibrant red crochet motif. This pattern will be suitable for beginners and can be used for various projects like blankets, scarves, bags, or even coasters.
Materials:
- Red yarn (worsted weight is a good starting point)
- Crochet hook (size H-8 or 5.0mm is generally recommended for worsted weight)
- Scissors
- Yarn needle

Abbreviations:
- ch = chain
- sl st = slip stitch
- sc = single crochet
- dc = double crochet
- tr = treble crochet
Pattern:
Round 1: Magic Ring (or Chain 4, join with sl st)
- Magic Ring (Preferred Method):
- Create a magic ring. If you’re unfamiliar, search for a tutorial on “crochet magic ring.” It provides a seamless center.
- Alternative (Chain 4, Join):
- Chain 4.
- Join the last chain to the first chain with a slip stitch, forming a ring.
- Within the Ring:
- Chain 1 (this does not count as a stitch).
- Work 8 single crochet (sc) stitches into the ring.
- Join with a slip stitch to the first sc. (8 sc total)
Round 2: Double Crochet and Chain Spaces
- Chain 3 (counts as first dc).
- Work 1 dc in the same stitch as the joining slip stitch.
- Chain 1.
- Skip the next sc, work 2 dc in the following sc, chain 1.
- Repeat from * to * around the ring 3 more times.
- Join with a slip stitch to the top of the initial chain 3. (8 double crochet pairs, 8 chain-1 spaces)
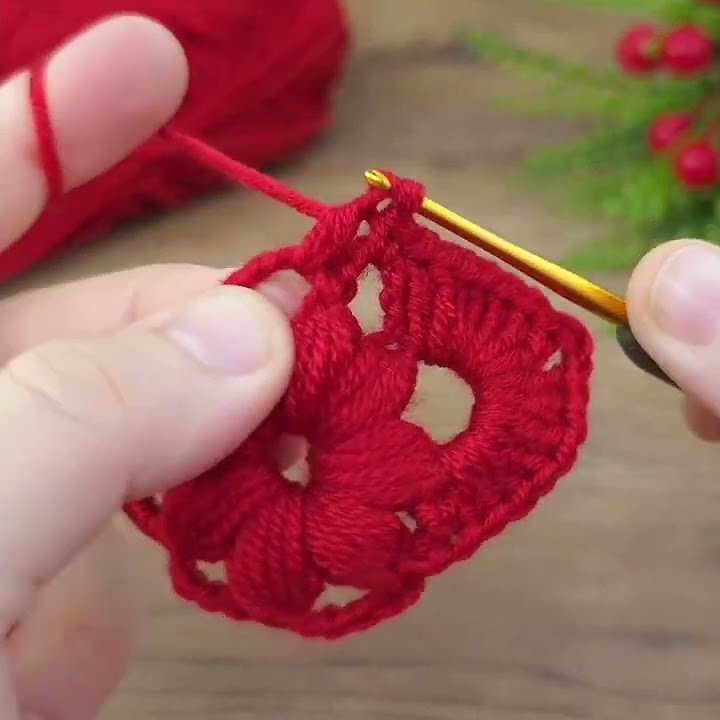
Round 3: Treble Crochet and Single Crochet
- Slip stitch into the next dc, and into the chain 1 space.
- Chain 3.
- Work 2 double crochet into the same chain 1 space.
- Chain 1.
- Work 3 treble crochet into the next chain 1 space.
- Chain 1.
- *Work 3 double crochet into the next chain 1 space.
- Chain 1.
- Work 3 treble crochet into the next chain 1 space.
- Chain 1.*
- Repeat from * to * two more times.
- Slip stitch to the top of the initial chain 3.
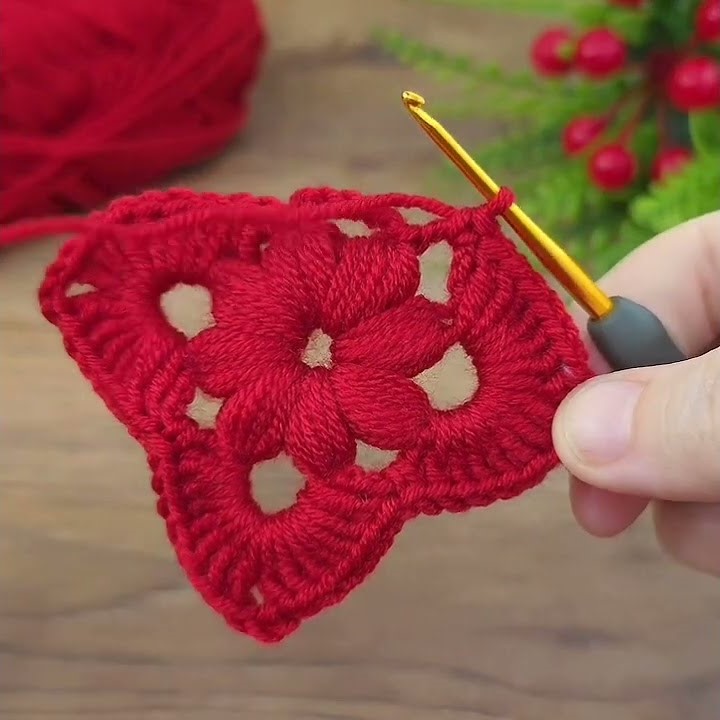
Round 4: Single Crochet and Chain 2 corner spaces.
- Chain 1.
- Single crochet in the same stitch.
- Single crochet in each of the next 2 stitches.
- Chain 2.
- Skip the chain 1 space from the previous row.
- Single crochet in each of the next 3 stitches.
- Chain 2.
- *Skip the chain 1 space from the previous row.
- Single crochet in each of the next 3 stitches.
- Chain 2.
- Skip the chain 1 space from the previous row.
- Single crochet in each of the next 3 stitches.
- Chain 2.*
- Repeat from * to * two more times.
- Slip stitch to the first single crochet of the round.
- Fasten off and weave in your ends.

Finishing:
- Cut your yarn, leaving a tail of a few inches.
- Use your yarn needle to weave the yarn tail through the back of your stitches to secure it.
- Repeat for any other loose ends.
Video Tutotiral
Tips and Variations:
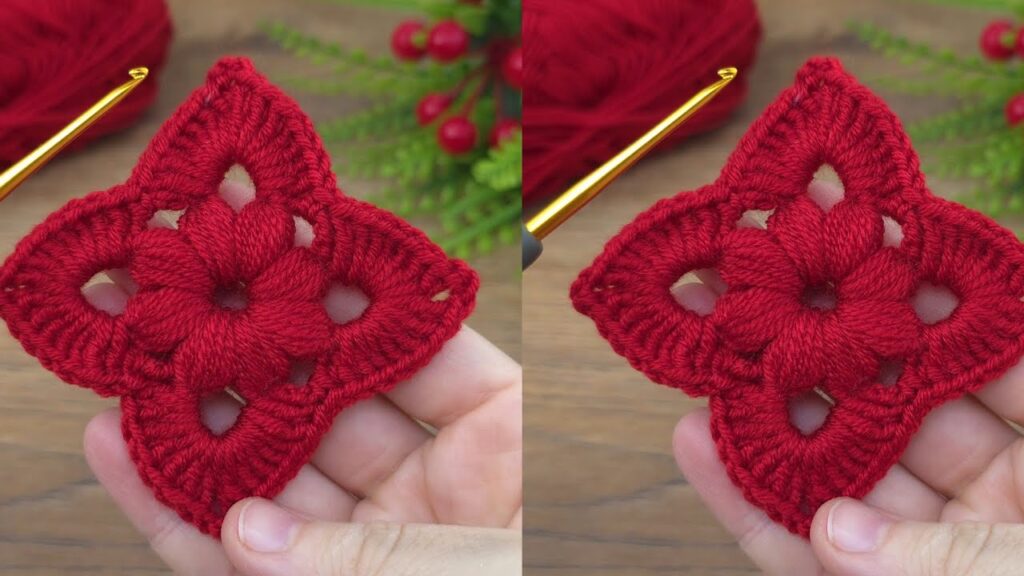
- Color Changes: You can change colors in any round to create a multi-colored motif.
- Size Adjustment: To make a larger motif, add more rounds, maintaining the pattern of increasing stitches in the corners.
- Yarn Weight: Using a thicker yarn and a larger hook will result in a larger motif.
- Tension: Keep your tension consistent for an even and neat motif.
- Blocking: For a more polished look, block your finished motif. This involves wetting the motif and laying it flat to dry, shaping it as needed.
Enjoy crocheting your red motif!