by
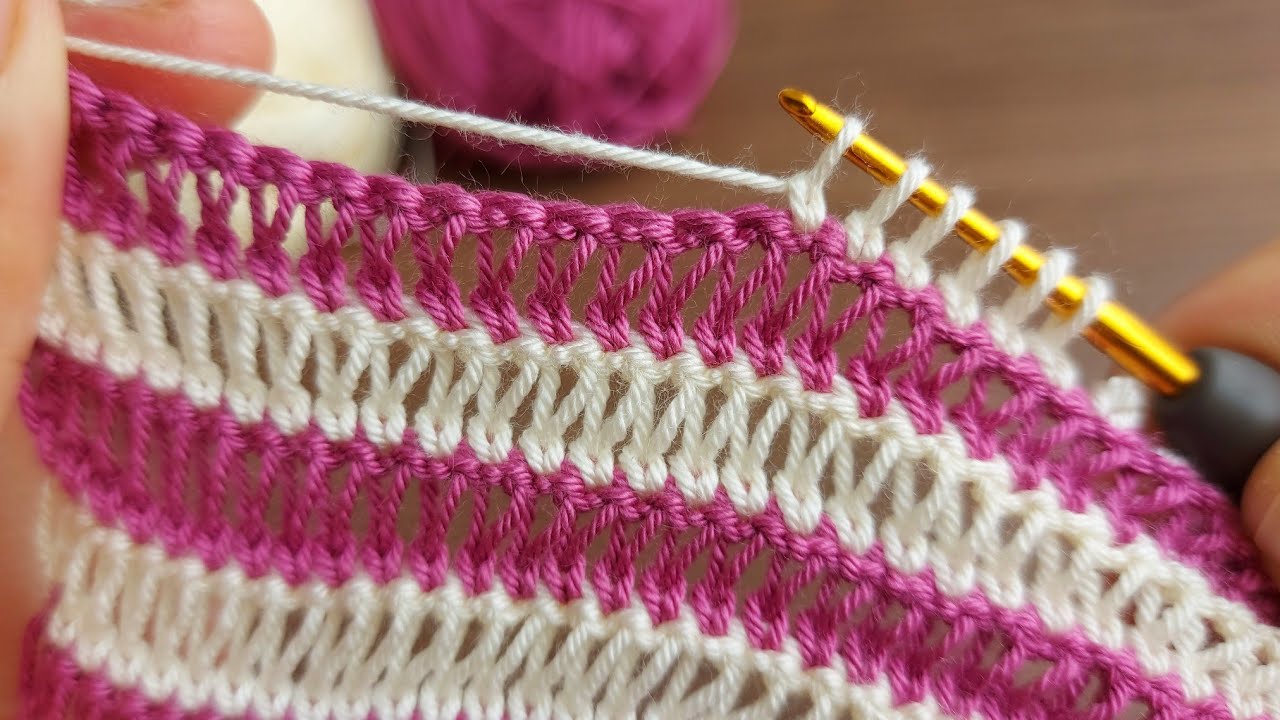
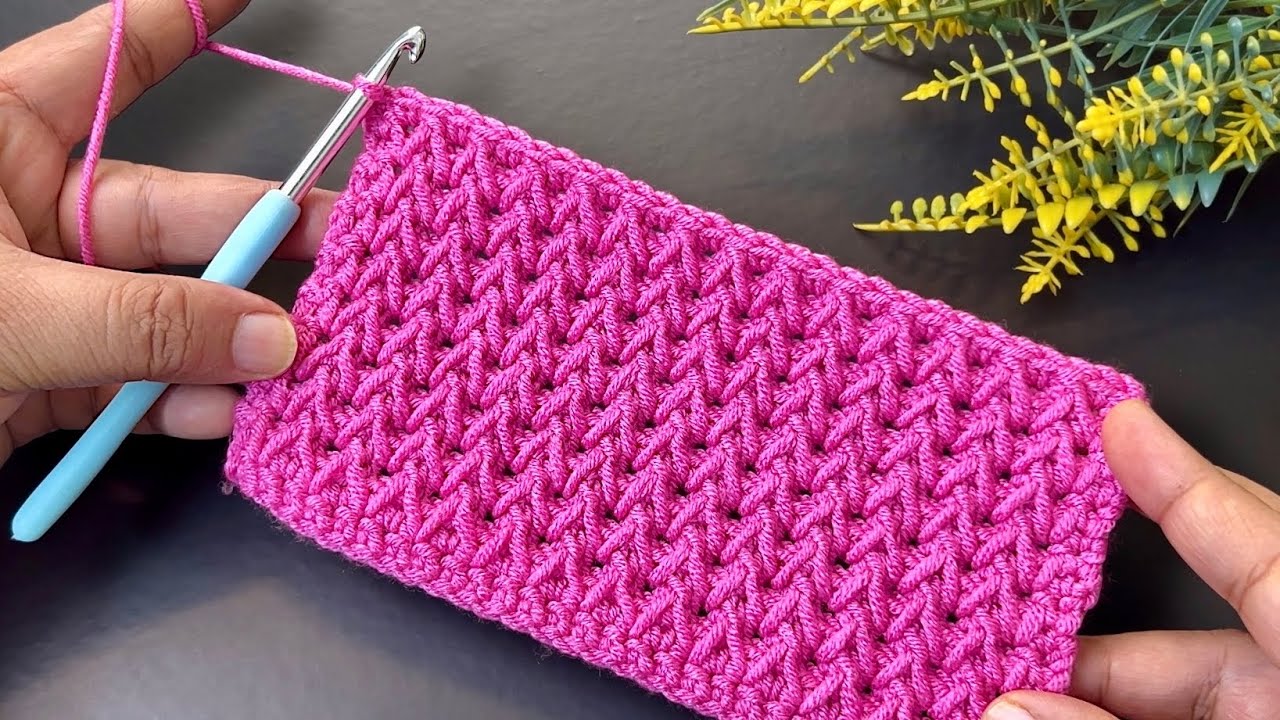
by Alright, let’s create a detailed step-by-step crochet pattern for a classic, beginner-friendly baby blanket. We’ll use a simple stitch that creates a lovely texture and is easy to memorize.
Materials:
- Yarn: Approximately 1200-1500 yards of worsted weight (size 4) yarn. Choose a soft, baby-friendly yarn. Multi-colored or solid, it’s your choice!
- Crochet Hook: Size H/8 (5.0 mm) or I/9 (5.5 mm) – use the size recommended on your yarn label.
- Scissors
- Yarn Needle (for weaving in ends)
Stitches Used (US Terms):
- ch: Chain
- sc: Single Crochet
- dc: Double Crochet
Gauge (Optional but Recommended):
- Before starting, create a small swatch (e.g., 4″ x 4″) using your chosen yarn and hook. Count your stitches and rows to ensure they match the gauge specified on the yarn label. Adjust your hook size if necessary.
Finished Size:
- Approximately 30″ x 36″ (adjust starting chain for different sizes)
Pattern:
1. Starting Chain:
- Chain 101. (Adjust this number to change the width. For a wider blanket, chain more. For a narrower blanket, chain less. Ensure your starting chain is an odd number.)
2. Row 1 (Foundation Row):
- sc in the second chain from the hook.
- sc in each chain across. (You should have 100 sc stitches.)
- ch 2, turn. (The ch 2 counts as the first dc in the next row.)
3. Row 2 (Repeating Pattern Row):
- dc in the first stitch.
- skip the next stitch, dc in the next stitch. Repeat from * to * across the row.
- dc in the last stitch.
- ch 1, turn.
4. Row 3:
- sc in each stitch across. (100 sc stitches).
- ch 2, turn.
5. Repeating Rows:
- Repeat rows 2 and 3 until the blanket reaches your desired length (approximately 36″).
- Remember row 2 is the double crochet skip row, and row 3 is the single crochet row.
6. Finishing Row:
- After completing the last row 3 (sc row), fasten off your yarn, leaving a tail of about 6 inches.
7. Border (Optional):
- If you want a border, you can add one now. Here’s a simple single crochet border:
- Attach your yarn to any corner of the blanket.
- ch 1, and sc evenly around the entire blanket.
- In each corner, work (sc, ch 2, sc) to create a neat corner.
- When you reach the starting point, slip stitch into the first sc.
- You can repeat this single crochet border as many rounds as you would like.
- Fasten off and weave in ends.
8. Weaving in Ends:
- Use your yarn needle to weave in all loose ends securely.
Tips and Variations:
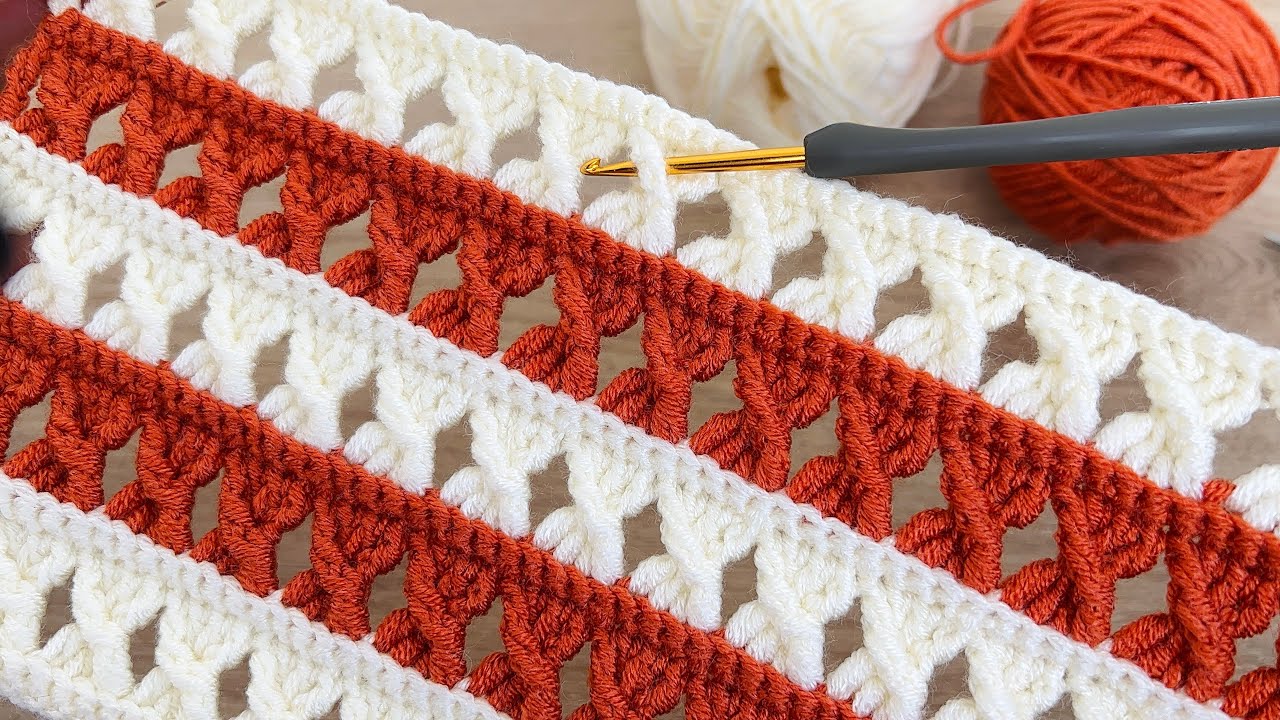
- Color Changes: You can change colors every few rows for a striped or multi-colored effect.
- Size Adjustments: To make the blanket larger or smaller, adjust the starting chain (remember to keep it an odd number) and the number of rows.
- Border Variations: Explore different border options, such as a shell border, picot border, or a simple double crochet border.
- Yarn Choice: Experiment with different yarn types and textures for unique results.
Video tutorial:
Key Points to Remember:
- Maintain consistent tension for an even fabric.
- Count your stitches regularly to avoid errors.
- Don’t be afraid to experiment with colors and border options.
- Enjoy the process! Crocheting a baby blanket is a labor of love.
This pattern provides a solid foundation for creating a beautiful and functional baby blanket. Happy crocheting!