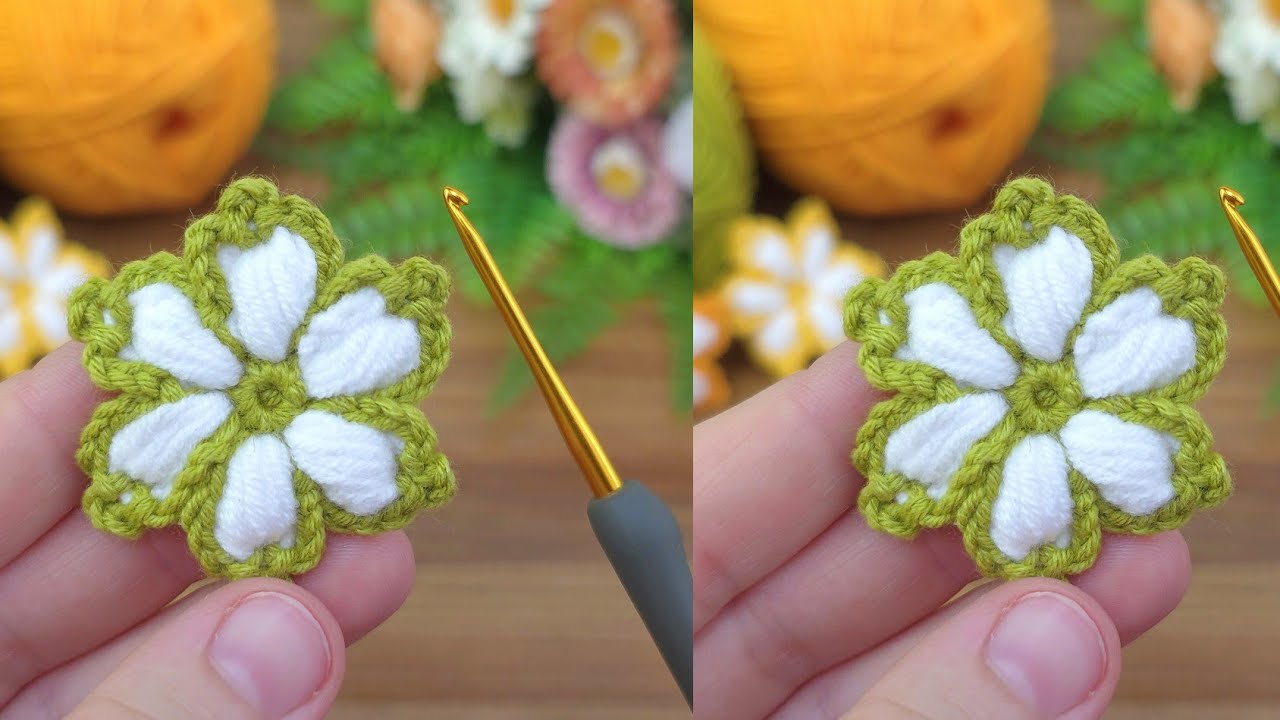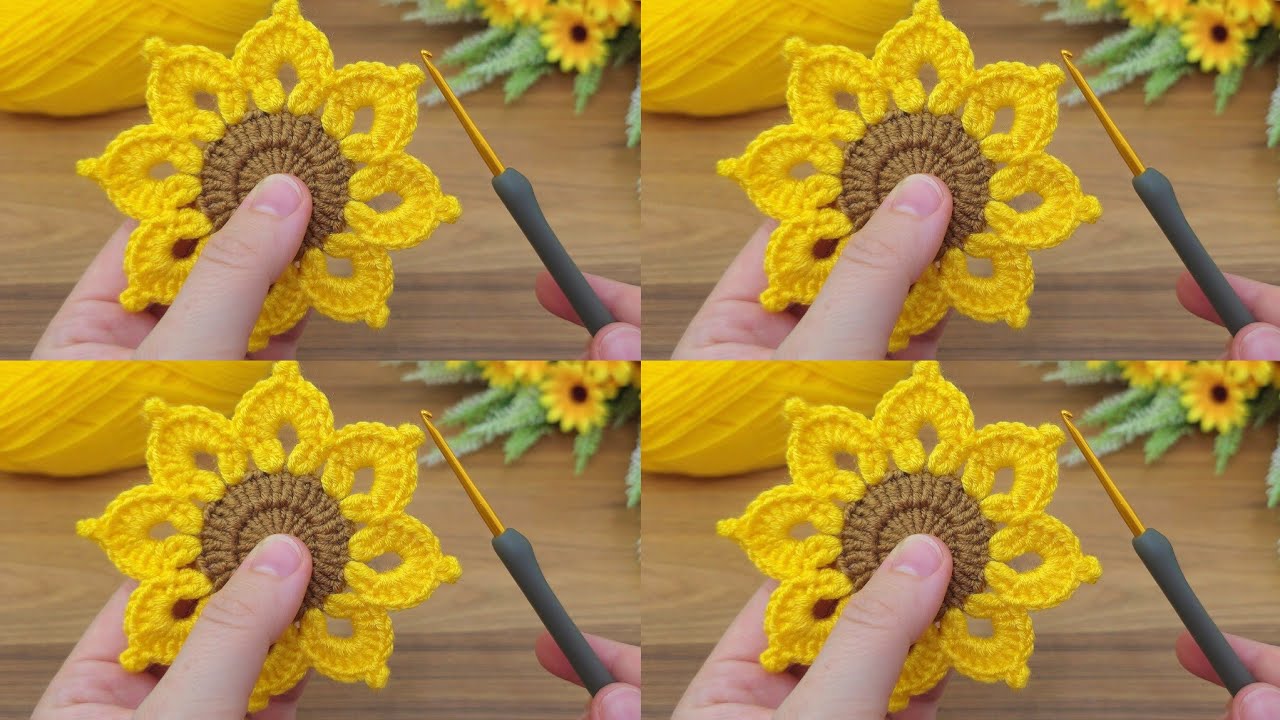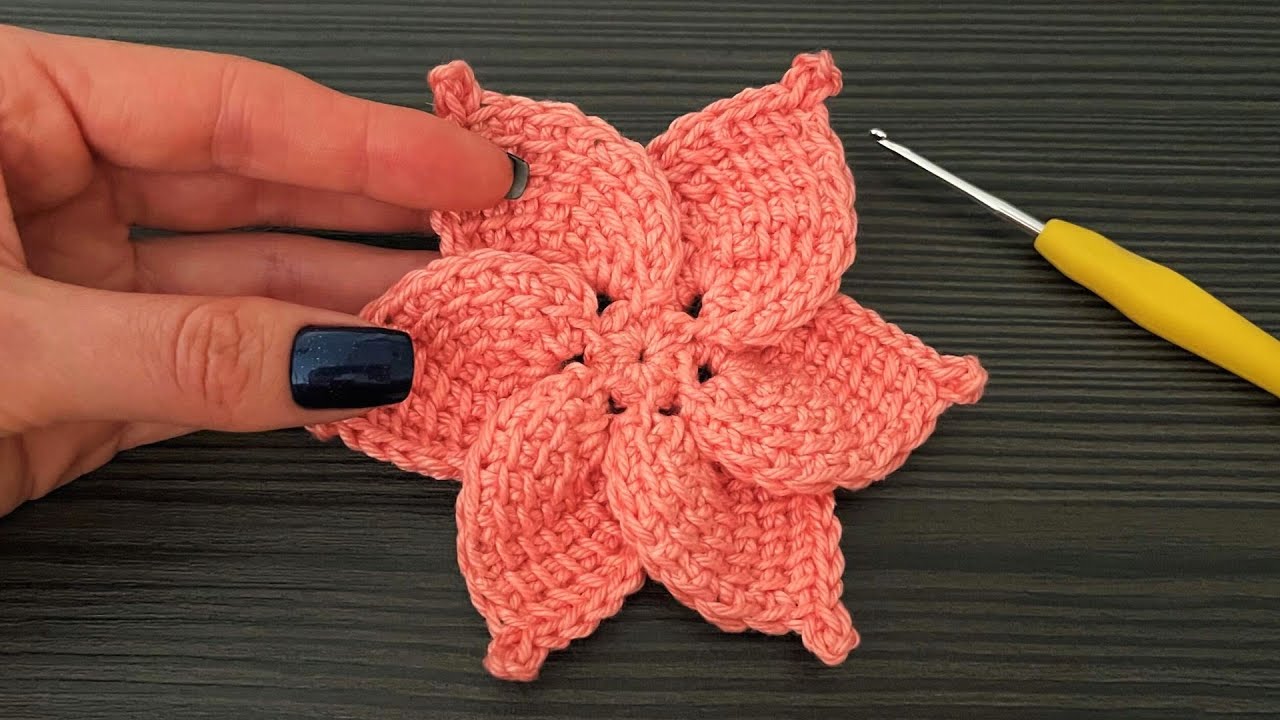
These beautiful two-layer crochet flowers are a fantastic project for using up small amounts of yarn and adding a unique, textured accent to your work. The design features a solid center, a layer of plush petals, and a contrasting, lacy second layer. This guide will walk you through each round with extra tips and tricks to ensure your finished flower is perfect.
This pattern is a great skill-builder, helping you master working in the round, creating petals, and joining new yarn for a seamless color change.
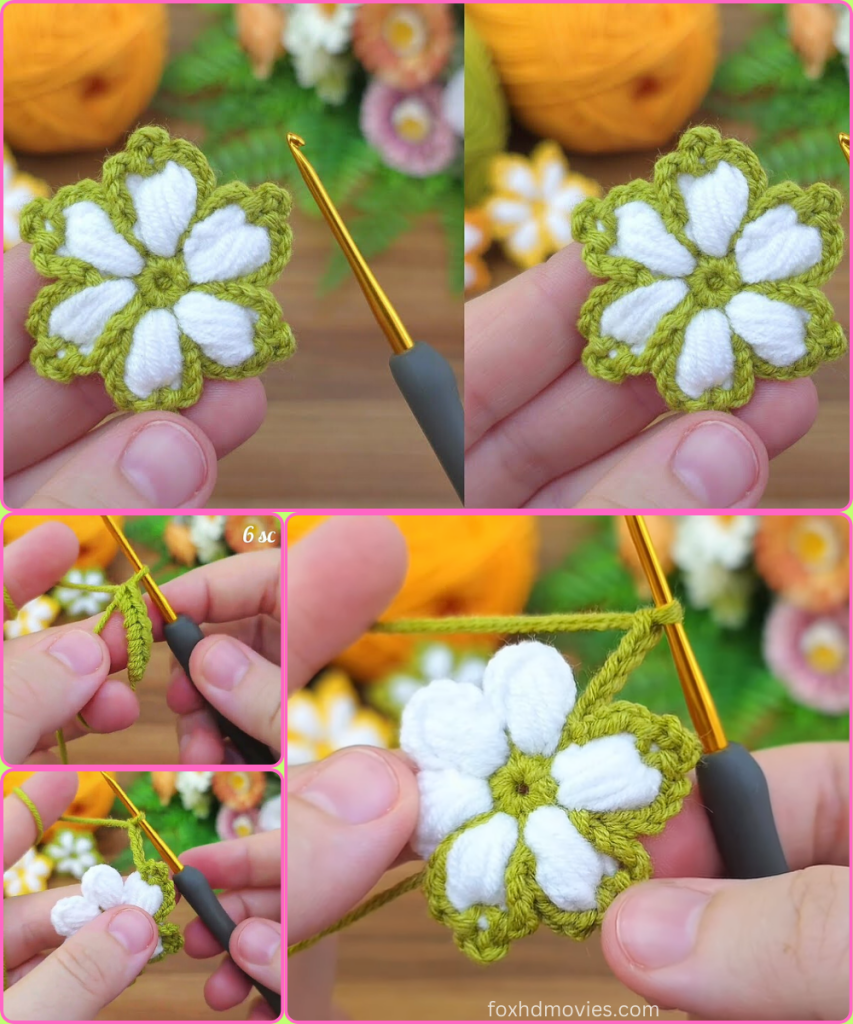
Materials You’ll Need
- Yarn: You’ll need three colors of worsted-weight (size 4) yarn. The image shows a classic combination, but feel free to experiment with your own!
- Color A: For the center (green in the image).
- Color B: For the main petals (white in the image).
- Color C: For the second layer of petals (green in the image).
- Crochet Hook: A 4.0mm (G-6) or 4.5mm (G-7) hook. Use a hook that gives you a nice, firm tension. This is important for keeping the flower’s shape.
- Scissors
- Tapestry Needle: For weaving in your ends.
Pattern Notes
- This pattern is written in US crochet terms.
- The flower is worked in continuous rounds. You will not turn your work.
- Join each round with a slip stitch (sl st) to the first stitch of the round unless otherwise noted.
- The beginning chains do not count as a stitch unless specified.
- The number in parentheses ( ) at the end of each round indicates the total stitch count for that round.
Abbreviations
- ch: chain
- sl st: slip stitch
- sc: single crochet
- dc: double crochet
- tr: treble (or triple) crochet
- inc: increase (2 stitches in the same stitch)
- st(s): stitch(es)
- mr: magic ring
The Pattern
Part 1: The Center

Yarn: Color A
- Round 1: Start with a magic ring (mr). Ch 2 (does not count as a stitch). Work 12 dc into the ring. Pull the ring tight to close. Join with a sl st to the top of the first dc. (12 sts)
- Round 2: Ch 1. Sc in the same st. Inc in each st around. Join with a sl st to the first sc. (24 sts)
Fasten off Color A and weave in the end.
Part 2: The Main Petals
Yarn: Color B

- Round 3: Attach Color B to any stitch from the previous round. Ch 1. Work a sc in the same st.
- In the next st, create the first petal by working the following stitches all into that one stitch: [sc, hdc, dc, hdc, sc].
- Sl st into the next st to secure the petal.
- Sc in the next st. In the following st, create a petal: [sc, hdc, dc, hdc, sc]. Sl st into the next st.
- Repeat from * to * around. You will create a total of 8 petals. Join with a sl st to the first sc of the round. (8 petals)
Fasten off Color B, leaving a tail long enough to weave in. Weave in the end securely.
Part 3: The Second Layer of Petals
Now, for the final, lacy layer. You will be working behind the first set of petals, into the slip stitches from Round 2.

Yarn: Color C
- Round 4: Attach Color C into any of the slip stitches from Round 2. Ch 3 (counts as 1st dc).
- Work 2 dc in the same st.
- Skip 2 sts. Work 3 dc into the next st.
- Repeat from * to * around. Join with a sl st to the top of the beginning ch-3. (8 clusters of 3 dc)
- Round 5: This is the petal round. Ch 1. Sl st in the same st and in the next st.
- In the space between the next two clusters, create your first petal: [sc, hdc, 2 tr, hdc, sc].
- Sl st into the space between the next two clusters to secure the petal.
- *Repeat from * to * around. You will create a total of 8 large petals. Join with a sl st to the first sc of the round.
Video tutorial
Fasten off Color C, leaving a tail long enough to weave in. Weave in all remaining ends. Gently use your fingers to shape the petals and make them stand out.
Your beautiful two-layer flower is complete! You can make more in different color combinations or sew it onto a finished project for a lovely, handmade touch. Enjoy!
