 by
by 
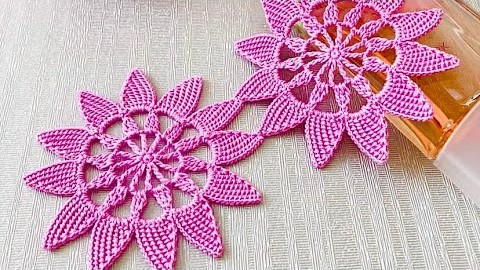
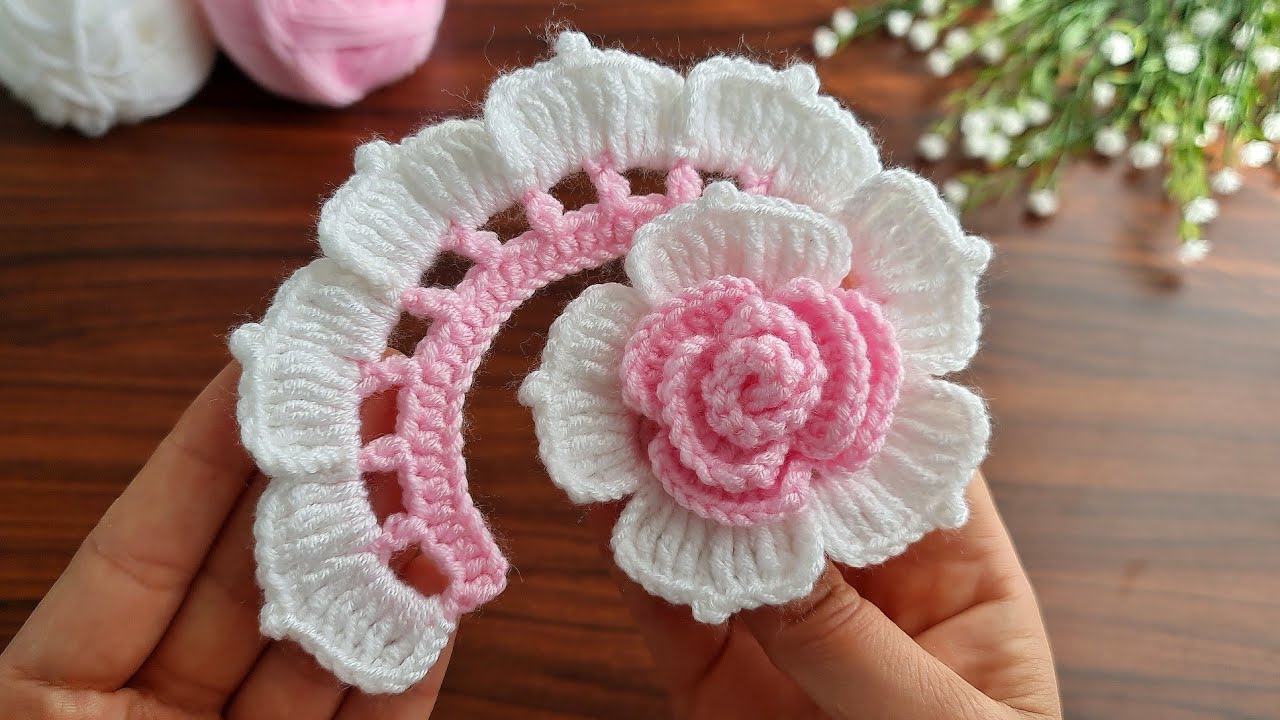
This beautiful crochet motif combines a delicate rose-like flower with an elegant lacy arc, perfect for embellishing blankets, hats, headbands, bags, or even as a standalone coaster! The design uses basic stitches in a creative way to achieve a stunning, intricate look.
This pattern is suitable for intermediate crocheters, or adventurous beginners looking to expand their skills beyond basic stitches.
Yarn:
- DK (Double Knit) or Light Worsted Weight yarn in two contrasting colors (e.g., pink and white as shown). Cotton yarn would give a nice crisp stitch definition, but acrylic or a blend would also work beautifully.
Hook:
- 3.5 mm (US E/4) crochet hook (adjust hook size if necessary to achieve desired fabric and tension).
Notions:
- Tapestry needle for weaving in ends
- Scissors
Abbreviations (US Terms):
- Ch: Chain
- Sl St: Slip Stitch
- SC: Single Crochet
- HDC: Half Double Crochet
- DC: Double Crochet
- Tr: Treble Crochet (or Triple Crochet)
- St(s): Stitch(es)
- Sk: Skip
- Sp: Space
- YO: Yarn Over
- FO: Fasten Off
Pattern Instructions:
We’ll start with the central flower, then move on to the lace arc.
Part 1: The Layered Rose Flower (Pink & White)

A. Inner Rose (Pink Yarn):
- Ch 30. (This will be the base chain for your rose)
- Row 1: (Work into back bumps of chain for a neater edge if desired) DC in 3rd ch from hook (counts as 1st DC), sk 1 ch, (DC, Ch 1, DC) in next ch. Repeat from * to * across to the last ch. (You’ll have approx. 14-15 (DC, Ch1, DC) sets, depending on exact count). Ch 2, turn.
- Row 2: Work (3 DC, Ch 1, 3 DC) into each Ch-1 space from the previous row. (This creates the petals). Ch 1, turn.
- Row 3: Work (2 SC, Ch 1, 2 SC) into each Ch-1 space from the previous row. FO, leaving a long tail for sewing.
To form the rose: Starting from one end, tightly roll the strip of petals, coiling it around itself. Use the long tail and tapestry needle to stitch through all layers at the base to secure the rose shape.
B. Outer Petals (White Yarn – worked around the pink rose):
- Ch 40. (This will be the base chain for your outer petals)
- Row 1: Sl St in 2nd ch from hook. Ch 3, Sl St in same ch as previous Sl St (this creates a small picot), Ch 3, Sk 2 ch, Sl St in next ch. Repeat from * to * across the chain. You will have a series of loops.
- Row 2: Ch 1 (does not count as a stitch), turn. Work 5 HDC into the next Ch-3 space, Sl St into the next Sl St. Repeat from * to * across the row. FO, leaving a long tail for sewing.
Assembly of the Flower: Carefully position the white outer petal strip around the base of your pink rose. Gather and shape the white petals around the rose, and use the long tail to stitch them securely to the back of the pink rose. Ensure the flower looks full and beautiful.

Part 2: The Lace Arc (White & Pink)
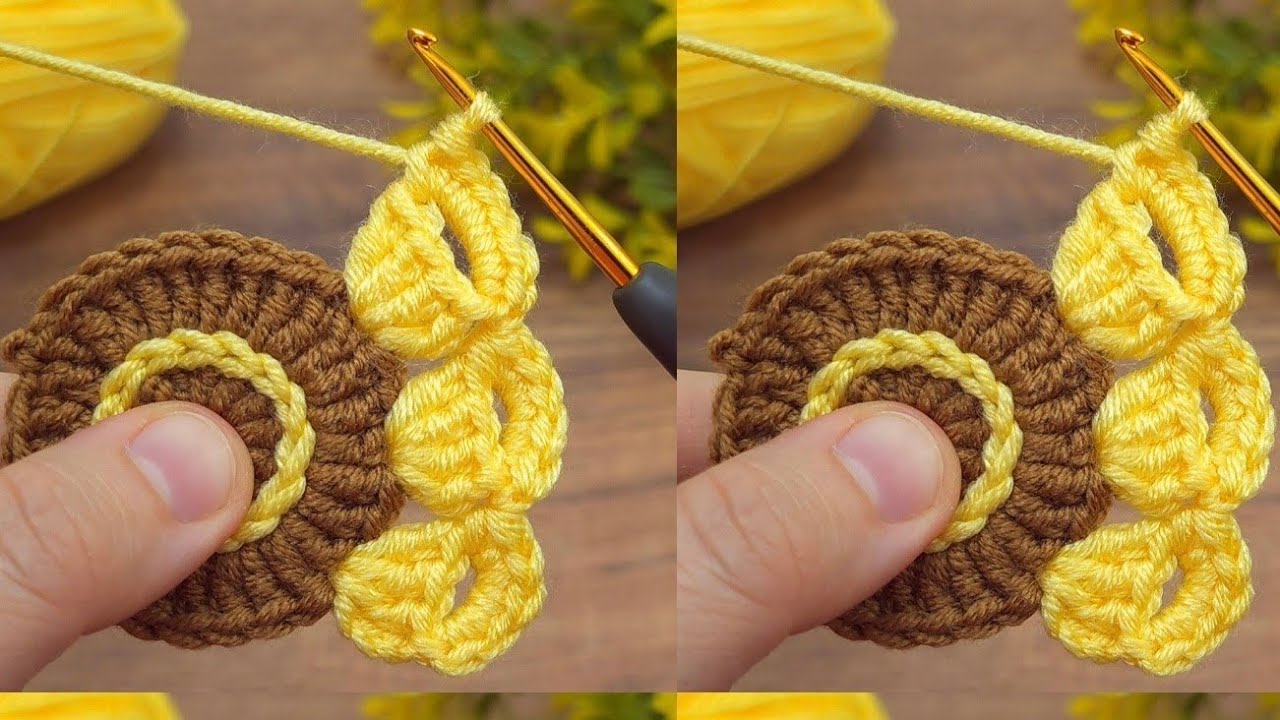
A. Foundation Arc (Pink Yarn):
- Ch 25.
- Row 1: DC in 4th Ch from hook (counts as 1st DC). DC in next 2 Ch. Ch 2, Sk 2 Ch, DC in next 3 Ch. Repeat from * to * across the chain. You should end with 3 DC. Ch 3 (counts as 1st DC), turn.
- Row 2: DC in next 2 DC, Ch 2, Sk Ch-2 sp. Repeat from * to * across the row, ending with DC in last 3 DC. Ch 3, turn.
- Row 3: Repeat Row 2. FO.

B. Ruffled Edges of the Arc (White Yarn):
You will now work around the outer edges of the pink arc.
- Join white yarn with a Sl St to the first DC of the pink arc on one of the long sides (the outer curve).
- Round 1 (Outer Curve): Ch 1. Work (2 SC, Ch 1) into each Ch-2 space, and (SC, Ch 1) into the top of each DC post. Repeat this pattern around the outer curve, working evenly. When you reach the end of the curve, work a few SC into the corner to turn, then work along the short end, and then the inner curve. The goal is to create spaces for the ruffle. Note: For the ruffles, you’ll be working into spaces or stitches. The image suggests a shell-like stitch.
- Round 2 (Ruffles): Ch 3 (counts as 1st DC). Work 4 more DC into the same Ch-1 space (creating a 5-DC shell). Sk next Ch-1 space (or stitch), Sl St into next Ch-1 space (or stitch), Sk next Ch-1 space (or stitch), work 5 DC into next Ch-1 space (or stitch). Repeat from * to * around the outer curve of the arc, adjusting spacing as needed to create an even ruffle. For the corners, you might need to work shells closer together. Along the inner curve, you can create a smaller ruffle or a simple SC border, as it’s less prominent in the image.
Video tutorial
Assembly of the Motif:
- Carefully place the crocheted flower onto the pink lace arc. Position it so the flower slightly overlaps the arc, as shown in the image.
- Using your tapestry needle and leftover yarn tails, securely stitch the flower to the arc, sewing through the back layers of both pieces to keep the stitches invisible from the front.
- Weave in all remaining loose ends.
And there you have it! A beautiful two-part crochet motif that’s perfect for adding a touch of handmade charm to any project. Experiment with different color combinations to match your style.
Happy crocheting!