by
by Hey there, crochet enthusiasts!
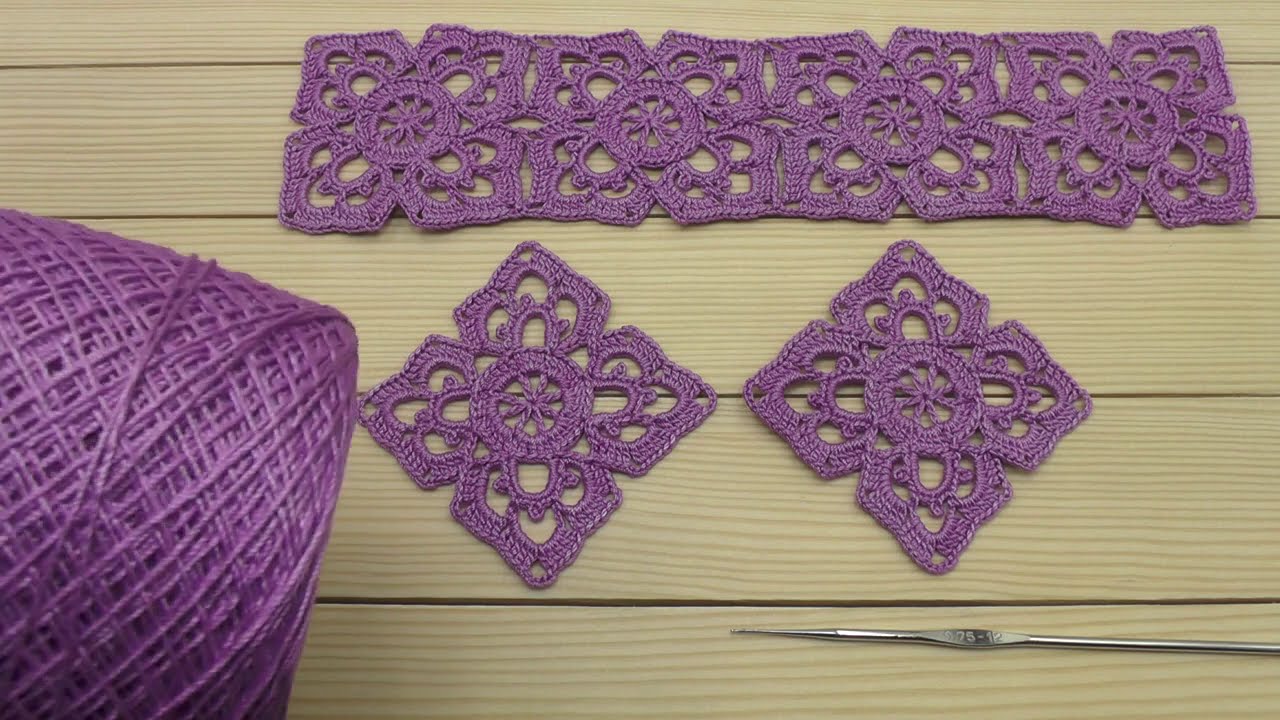
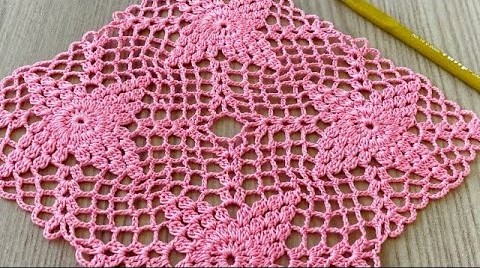
Are you looking for a project that’s both elegant and versatile? Today, we’re going to create a stunning floral lace trim that can be used for so many things: borders on blankets, delicate edgings on garments, bookmarks, or even as decorative elements on home decor items.
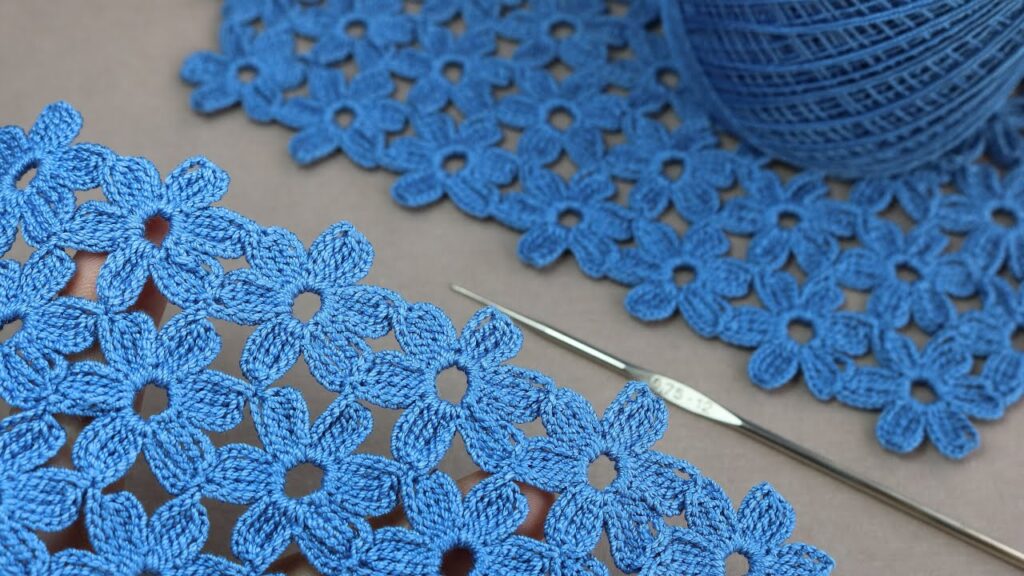
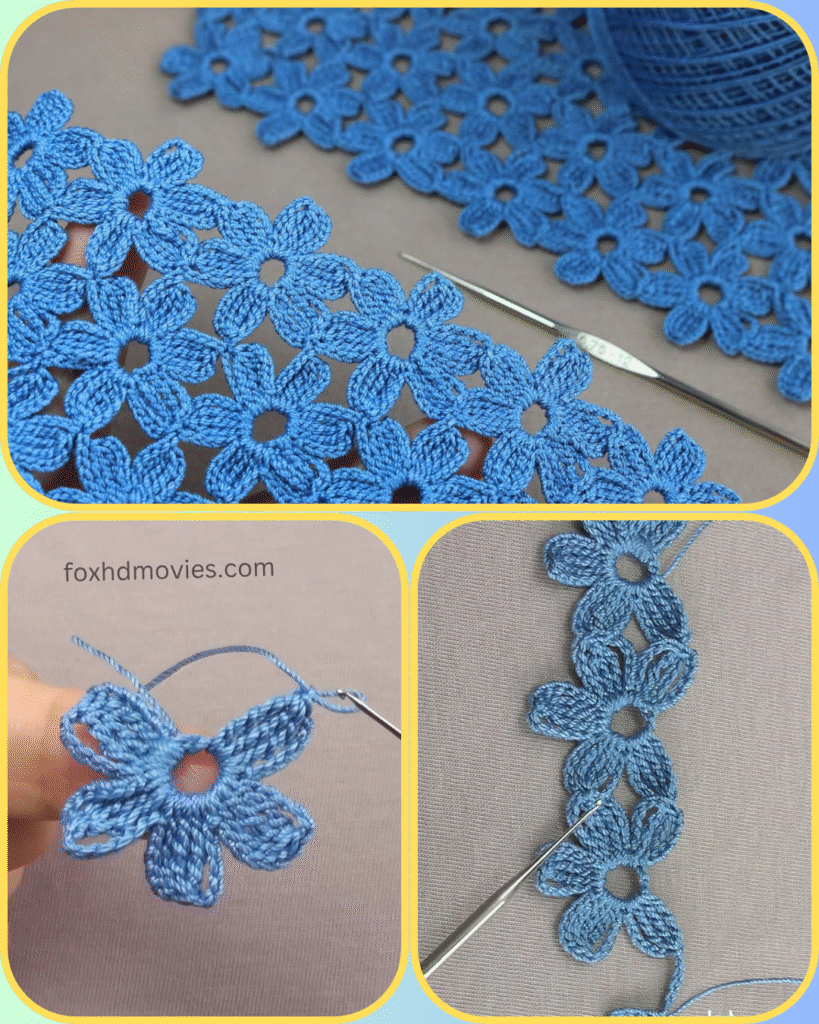
This pattern focuses on creating individual flower motifs and then joining them as you go to form a continuous strip, similar to the beautiful blue trim in our inspiration image. It’s a great way to practice your delicate stitches and create something truly unique.
What you’ll need:
- Yarn: Fine crochet thread (Size 10 or similar) in your favorite color. The sample uses a beautiful blue! You’ll need about 50-100 yards depending on the length of trim you want.
- Hook: Steel crochet hook, size 7 (1.5mm) or 8 (1.6mm) – choose one that gives you a nice, even fabric with your thread.
- Scissors
- Tapestry needle for weaving in ends
Abbreviations (US Terms):
- ch: chain
- sl st: slip stitch
- sc: single crochet
- dc: double crochet
- tr: treble crochet (or triple crochet)
- picot: ch 3, sl st in 3rd ch from hook
- sp(s): space(s)
- st(s): stitch(es)
- beg: beginning
- rep: repeat
- yo: yarn over
- BLO: back loop only
Let’s Bloom! Creating Your Floral Lace Trim
This pattern involves making individual flower motifs and joining them as you work on the last round of each flower.
Flower Motif:
(Make multiple motifs, joining them as instructed in Round 3)
Start with a magic ring OR Ch 4, join with sl st to form a ring.
Round 1: Ch 1, 12 sc in ring. Join with sl st to first sc. (12 sc)
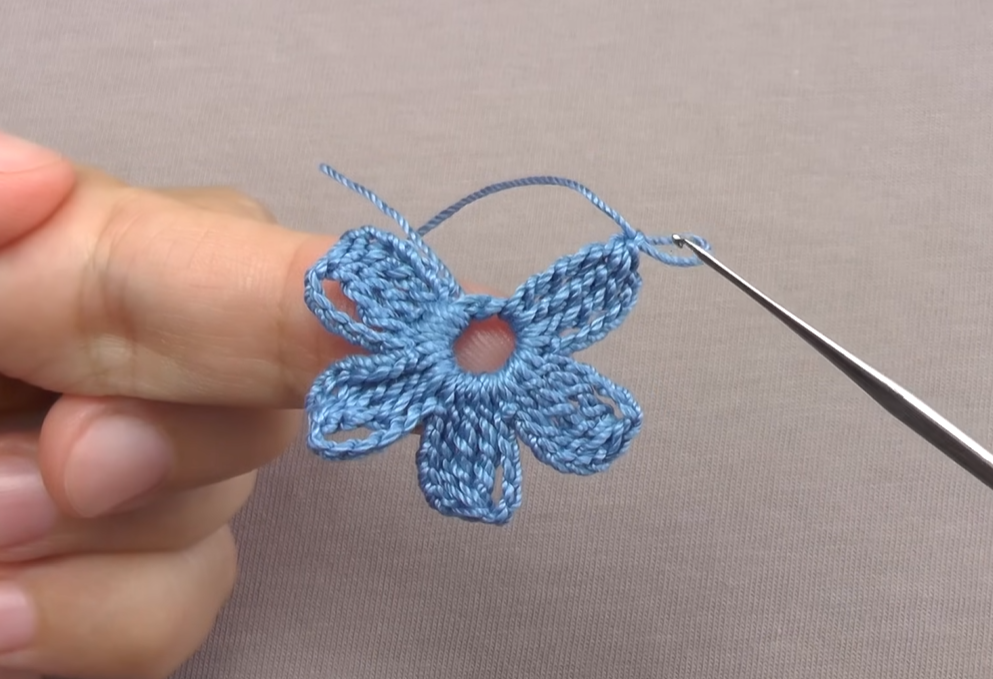
Round 2 (Petals): *Ch 3, 2 dc in same sc (counts as first dc, ch 3, 2 dc). *Ch 3, sl st into same sc (this completes one petal). *Sl st into the next sc (move to the base of the next petal). Ch 3, 2 dc in same sc, ch 3, sl st into same sc. Rep from * around. You will have 6 petals. Join with a sl st to the base of the first petal (the sl st before the first ch 3).
Round 3 (Joining Round / Finishing): This round forms the “holes” between the petals and is where you’ll join subsequent flowers.
Sl st into the center of the first ch-3 space of any petal (the top of the petal).

- For the First Flower (no joins yet): *Ch 4 (counts as 1 dc, ch 1), dc in same ch-3 sp. *Ch 3, (dc, ch 1, dc) in the ch-3 sp of the next petal. *Ch 3, (dc, ch 1, dc) in the ch-3 sp of the next petal. *Ch 3, (dc, ch 1, dc) in the ch-3 sp of the next petal. *Ch 3, (dc, ch 1, dc) in the ch-3 sp of the next petal. *Ch 3, (dc, ch 1, dc) in the ch-3 sp of the last petal. *Ch 3, join with sl st to the 3rd ch of beg ch 4. Fasten off.
- For Subsequent Flowers (Joining to previous flowers): You will join on two sides of the new flower to form a straight strip, connecting to the two “holes” of the previous flower. Start the new flower as usual up to Round 3. Sl st into the center of the first ch-3 space of any petal.
- First Side of New Flower (No Join): Ch 4 (counts as 1 dc, ch 1), dc in same ch-3 sp.
- Second Side of New Flower (First Join Point): Ch 1, sl st into the corresponding ch-3 sp of the PREVIOUS flower, ch 1, (dc, ch 1, dc) in the ch-3 sp of the current flower’s next petal. (This creates your first connection).
- Third Side of New Flower (Second Join Point): Ch 1, sl st into the next corresponding ch-3 sp of the PREVIOUS flower, ch 1, (dc, ch 1, dc) in the ch-3 sp of the current flower’s next petal. (This creates your second connection).
- Remaining Sides of New Flower (No Join): *Ch 3, (dc, ch 1, dc) in the ch-3 sp of the next petal. *Ch 3, (dc, ch 1, dc) in the ch-3 sp of the next petal. *Ch 3, (dc, ch 1, dc) in the ch-3 sp of the last petal. *Ch 3, join with sl st to the 3rd ch of beg ch 4. Fasten off.

Repeat making subsequent flowers, joining them in this manner, until your trim reaches the desired length.
Finishing:
Weave in all your ends neatly. For a crisper finish and to ensure your lace lays flat, you can gently block your finished trim. Dampen it, pin it to shape on a blocking mat, and let it dry completely.
Video tutorial
And there you have it! A gorgeous floral lace trim that adds a touch of handmade charm to any project. Experiment with different yarn colors and even add small beads to the center of the flowers for extra sparkle.
We’d love to see how you use your beautiful floral lace! Share your creations in the comments below or tag us on social media!
Happy Crocheting!