 by
by 
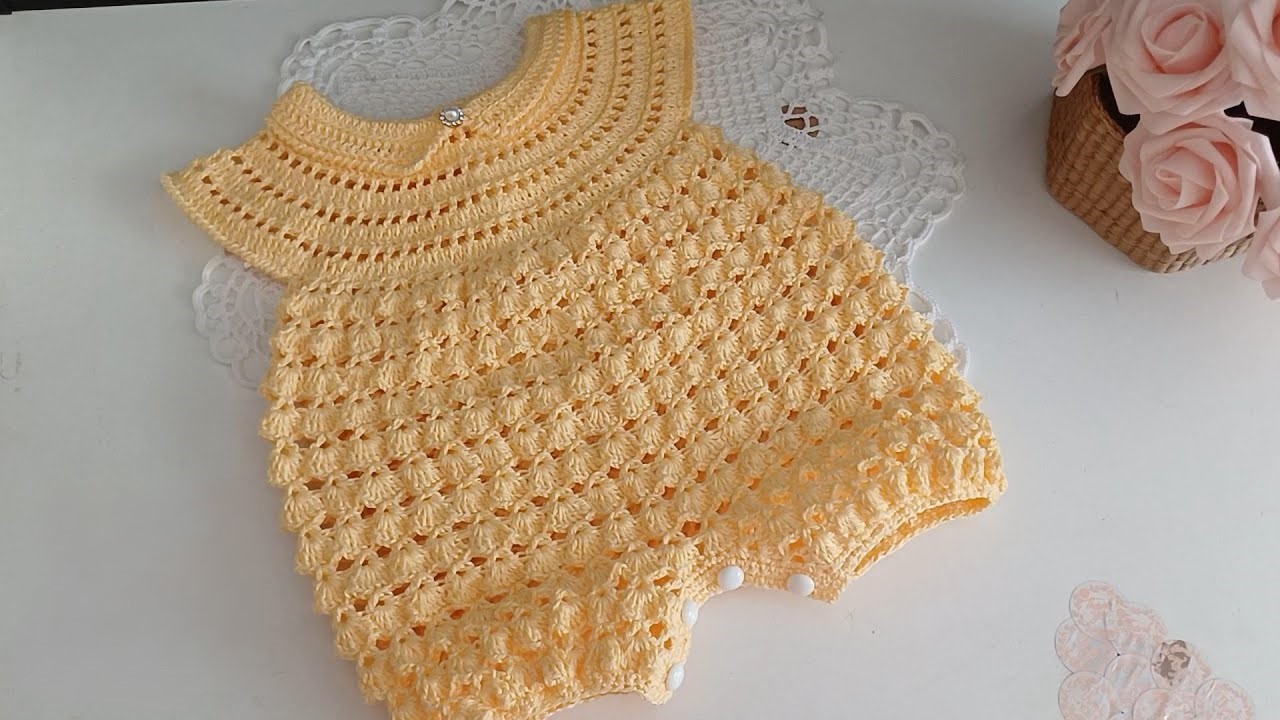
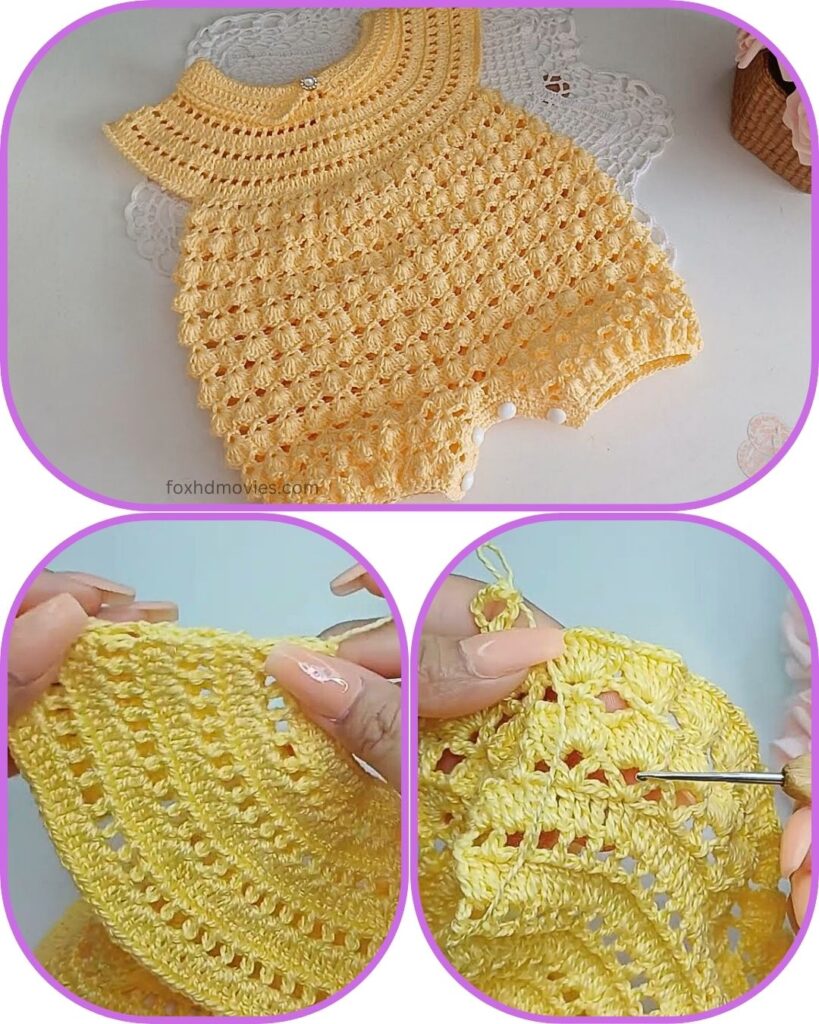
Dress your little one in pure sunshine with this adorable crochet baby romper! Inspired by the charming yellow design in the picture, this pattern features a comfortable textured yoke and a delightful all-over puff stitch body, creating a wonderful tactile and visual texture. With a sweet collar and practical bottom buttons, it’s perfect for any occasion!
Skill Level: Intermediate (Familiarity with basic stitches, working top-down, joining in the round, and creating puff/bobble stitches is helpful).
Materials:
- Yarn: DK (Light Worsted) weight yarn. A soft baby acrylic, cotton, or blend is highly recommended for baby comfort and drape.
- Main Color (MC): Yellow (or your chosen primary color) – approx. 300-500 yards, depending on size.
- Crochet Hook: Size G/6 (4.0 mm) or size needed to obtain gauge.
- Yarn Needle: For weaving in ends.
- Scissors
- Stitch Markers: Very helpful for marking increase points, armholes, and the beginning of rounds.
- Small Buttons: 2-3, for the bottom closure.
- Small Decorative Embellishment: A small rhinestone or pearl for the collar (optional).
Gauge (Crucial!):
Achieving the correct gauge is essential for the romper to fit properly.
- Yoke Gauge: 4 rows of hdc should measure approximately 1 inch.
- Puff Stitch Gauge: 4 puff stitches across should measure approximately 2 inches.
- Adjust your hook size if necessary to meet these gauges.
Finished Size (Approximate, 6-12 Months):
- Chest Circumference: 19-20 inches
- Length (Shoulder to Crotch): 16-17 inches
- Adjustments for other sizes: Guidance will be provided.
Abbreviations (US Crochet Terms):
- ch: chain
- sl st: slip stitch
- sc: single crochet
- hdc: half double crochet
- dc: double crochet
- sk: skip
- sp: space
- st(s): stitch(es)
- beg: beginning
- rep: repeat
- inc: increase (work 2 sts in the same st)
- dec: decrease (work 2 sts together)
- FPhdc: Front Post Half Double Crochet
- BPhdc: Back Post Half Double Crochet
- MC: Main Color
- ( ): repeat instructions in parentheses a specified number of times
- [ ]: total stitches at the end of the round
Special Stitches:
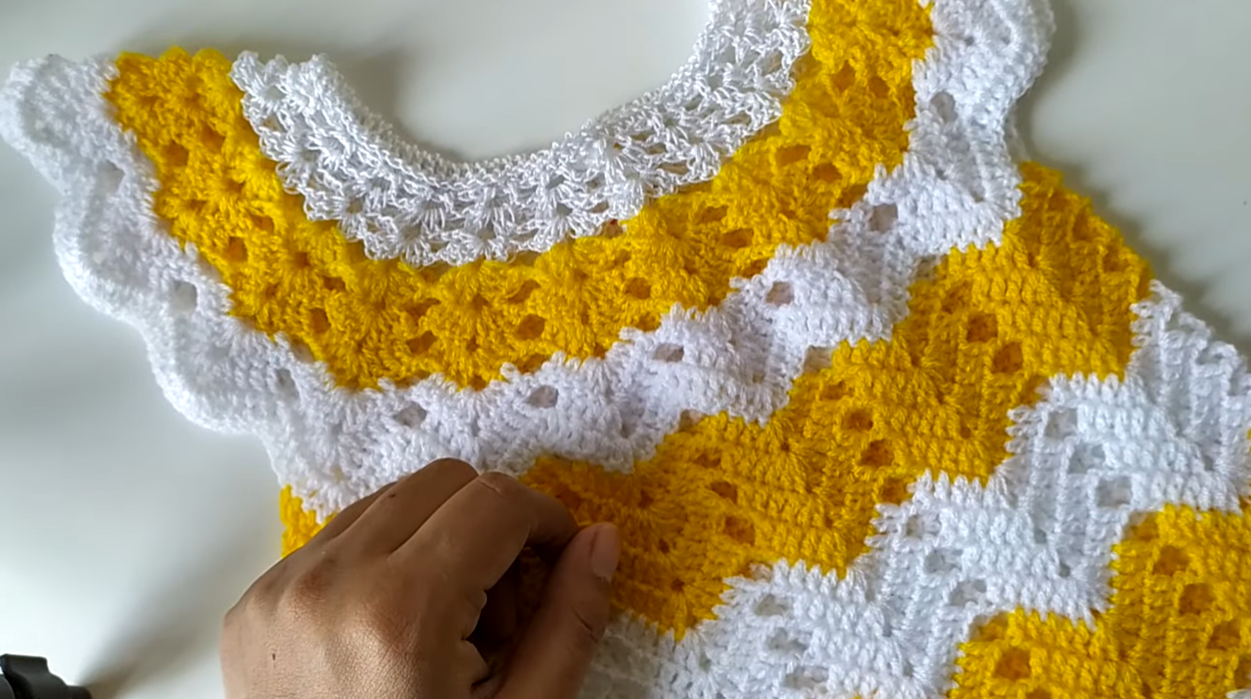
- Ribbed Texture (for Yoke & Collar): Achieved by alternating FPhdc and BPhdc, or by working hdc in the Back Loop Only (BLO) for a simpler rib. We will use FPhdc/BPhdc for the look in the picture.
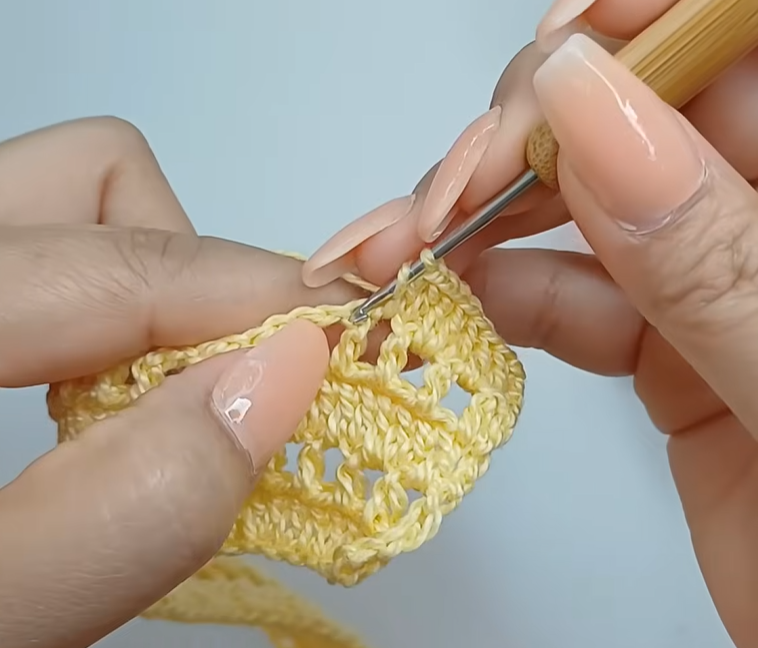
- Puff Stitch (PS): (YO, insert hook into st, YO, pull up a loop) 3 times in the same st, YO, pull through all 7 loops on hook, ch 1 to secure.
Pattern for Sunshine Puff Stitch Romper
Part 1: The Yoke (Top Down, Worked in Rows)
Using Main Color (MC – Yellow):
Initial Chain: Ch 76 (for 6-12 months). Adjust this number to fit around the widest part of the baby’s head comfortably, ensuring it’s a multiple of 4 plus 4 for symmetry of the yoke divisions.
Row 1 (Neckline/Foundation): Hdc in 3rd ch from hook and in each ch across. [74 hdc] Do NOT join. You’ll work in rows for the back opening.

Row 2 (First Yoke Row – Increases): Ch 2 (counts as hdc). Hdc in first st. Hdc in next 10 sts (Right Back Panel). (Hdc 2 in next st, ch 1, Hdc 2 in next st) in next st (Corner 1). Place stitch marker in ch-1 sp. Hdc in next 15 sts (Right Sleeve). (Hdc 2 in next st, ch 1, Hdc 2 in next st) in next st (Corner 2). Place stitch marker in ch-1 sp. Hdc in next 20 sts (Front Panel). (Hdc 2 in next st, ch 1, Hdc 2 in next st) in next st (Corner 3). Place stitch marker in ch-1 sp. Hdc in next 15 sts (Left Sleeve). (Hdc 2 in next st, ch 1, Hdc 2 in next st) in next st (Corner 4). Place stitch marker in ch-1 sp. Hdc in next 10 sts. Hdc 2 in last st (Left Back Panel). [86 hdc, 4 ch-1 sps] Ch 2, turn.
Row 3 (Yoke Increases): Hdc in first st. Hdc in each hdc until you reach the first ch-1 sp. (Hdc 2 in ch-1 sp, ch 1, Hdc 2 in ch-1 sp) in ch-1 sp (Corner 1). Hdc in each hdc until you reach the next ch-1 sp. (Hdc 2 in ch-1 sp, ch 1, Hdc 2 in ch-1 sp) in ch-1 sp (Corner 2). Hdc in each hdc until you reach the next ch-1 sp. (Hdc 2 in ch-1 sp, ch 1, Hdc 2 in ch-1 sp) in ch-1 sp (Corner 3). Hdc in each hdc until you reach the next ch-1 sp. (Hdc 2 in ch-1 sp, ch 1, Hdc 2 in ch-1 sp) in ch-1 sp (Corner 4). Hdc in each hdc until last st. Hdc 2 in last st. Ch 2, turn.
Repeat Row 3 for approximately 2-4 more rows, or until the yoke (measured across the widest part of the baby’s chest) reaches the desired width. Typically, 5-7 total yoke rows are sufficient for this age group. The romper in the picture has a relatively shallow yoke with a textured edge.
Textured Yoke Edging/Collar: After your final increase row, work 1-2 rows of alternating FPhdc and BPhdc along the neckline to create the ribbed collar effect shown in the picture. The photo appears to have the neckline worked as part of the yoke rounds, giving it a slight stand-up effect.
Joining for Armholes & Body:
Next Row (after final yoke increase row): Ch 2. Hdc in each hdc until you reach the first corner ch-1 sp. Hdc 1 in corner ch-1 sp. Ch 2 (this creates the armhole space). Sk ALL sts between this corner and the next corner. Hdc 1 in the next corner ch-1 sp. Hdc in each hdc across the Front Panel until you reach the next corner ch-1 sp. Hdc 1 in corner ch-1 sp. Ch 2 (this creates the second armhole space). Sk ALL sts between this corner and the next corner. Hdc 1 in the next corner ch-1 sp. Hdc in each hdc until the end of the row. [Number of sts will depend on yoke size, approx. 60-70 hdc plus 4 chs for armholes]. Sl st to the first hdc of the row to join. You will now work in rounds for the body.
Part 2: The Body (Worked in Rounds)
The body of the romper features a prominent puff stitch pattern.
Using Main Color (MC – Yellow):
Round 1 (Foundation for Puff Stitch): Ch 1. Sc in each st around, including the 2 chs under each armhole. Sl st to join. Ensure your stitch count is a multiple of 2 for the puff stitch pattern.
Round 2 (Puff Stitch Row): Ch 1. Sc in first st. *PS in next st, sc in next st.* Repeat from * to * around. Sl st to first sc to join.
Round 3 (Regular Stitch Row): Ch 1. Sc in first st. Sc in each PS and sc around. Sl st to join. You are working a plain sc row between puff stitch rows, working into the top of the puff stitch (where you chained 1 to secure) and the single crochet.
Repeat Rounds 2 and 3 until the body reaches your desired length to the crotch, or about 2-3 inches before the desired total length of the romper (to allow for the leg band).

Part 3: Crotch & Leg Openings
Using MC (Pink):
Next Round (Divide for legs): Ch 1. Sc in each st around for 1-2 rounds. [This creates a solid base before the leg openings.] Mark the center front and center back of your romper.
Next Round (Leg opening 1): Sc in the first half of the stitches (this will be one leg opening). Ch 2-3 (for the crotch seam). Sl st to the first sc to join, creating a loop for the first leg.
Part 4: The Legs (Make 2)
Leg 1:
Round 1 (Foundation for Puff Stitch): Ch 1. Sc in each st around the leg opening, ensuring your stitch count is suitable for the puff stitch pattern. Sl st to join.
Round 2 (Puff Stitch Row): Ch 1. Sc in first st. *PS in next st, sc in next st.* Repeat from * to * around. Sl st to first sc to join.
Round 3 (Regular Stitch Row): Ch 1. Sc in first st. Sc in each PS and sc around. Sl st to join.
Repeat Rounds 2 and 3 (Puff Stitch and Regular Stitch rows) until the leg reaches your desired length, ending about 1 inch before the ankle (where the cuff/band will begin).
Leg Band: Next Round: Ch 1. Sc in each st around. Sl st to join. Next Round: Ch 1. Sc in BLO of each sc around for 1-2 rounds to create a simple ribbed band. Sl st to join. Fasten off MC and weave in ends.
Leg 2: Join MC (Yellow) to the other side of the crotch ch-2. Repeat the instructions for Leg 1. Fasten off MC and weave in ends.

Part 5: Finishing Touches
Neckline Edging/Collar: The image shows a distinct, slightly scalloped or ribbed edge around the neckline, which is likely part of the initial yoke rows as written above. If you want a more defined collar, you can work additional rows of FPhdc/BPhdc around the top edge of the yoke.
Back Closure: The image does not show buttons on the back, implying a seamless back if it’s worked in the round. However, most rompers require a back or bottom opening for ease of dressing. If you chose to work the yoke in rows (as written in this pattern) to create a back opening for the head, you would add buttons there:
- Button Loops: On one side of the back opening (e.g., the right side when looking at the back of the romper), join MC yarn at the top. Ch 3 (to form a loop), sl st into a nearby stitch to create a small button loop. Make 2-3 loops evenly spaced down the back opening.
- Buttons: Sew 2-3 small buttons onto the opposite side of the back opening, aligning them with the button loops.
Bottom Closure: The picture clearly shows buttons at the bottom of the romper.
- Button Holes: On one side of the leg opening (or along the bottom edge where the two legs meet), work 2-3 small buttonholes by chaining 2-3, skipping stitches, and then continuing to sc.
- Buttons: Sew 2-3 small buttons on the corresponding side of the other leg opening/bottom edge to match the buttonholes.
Collar Embellishment (Optional):
- Carefully attach the small rhinestone or pearl embellishment to the center front of the collar using strong fabric glue or by sewing, ensuring it’s very secure and baby-safe.
Final Touches:
- Weave in all remaining yarn ends securely.
- Block the romper gently to open up the puff stitches and ensure evenness.
Video tutorial
Adjusting for Different Sizes:
- Initial Chain: Adjust the initial chain to fit the head circumference, always ensuring it works with your yoke increase formula (e.g., a multiple of 4 + 4 for the hdc rows).
- Yoke Rows: Add or subtract yoke increase rows (Row 3 repeats) to achieve the desired chest circumference and armhole depth. Measure regularly!
- Armhole Chain: For larger sizes, you might need to chain 3-4 stitches for the armhole bridge instead of 2.
- Body Length: Add or subtract repeats of the Puff Stitch rounds to achieve the desired length to the crotch.
- Leg Length: Add or subtract repeats of the Puff Stitch rounds on the legs to achieve the desired leg length before the cuff.
- Gauge Swatch: ALWAYS make a gauge swatch for garments to ensure the correct fit!
Enjoy crocheting this bright and cozy Sunshine Puff Stitch Romper! It’s a wonderful project that results in a cherished handmade item.