 by
by 
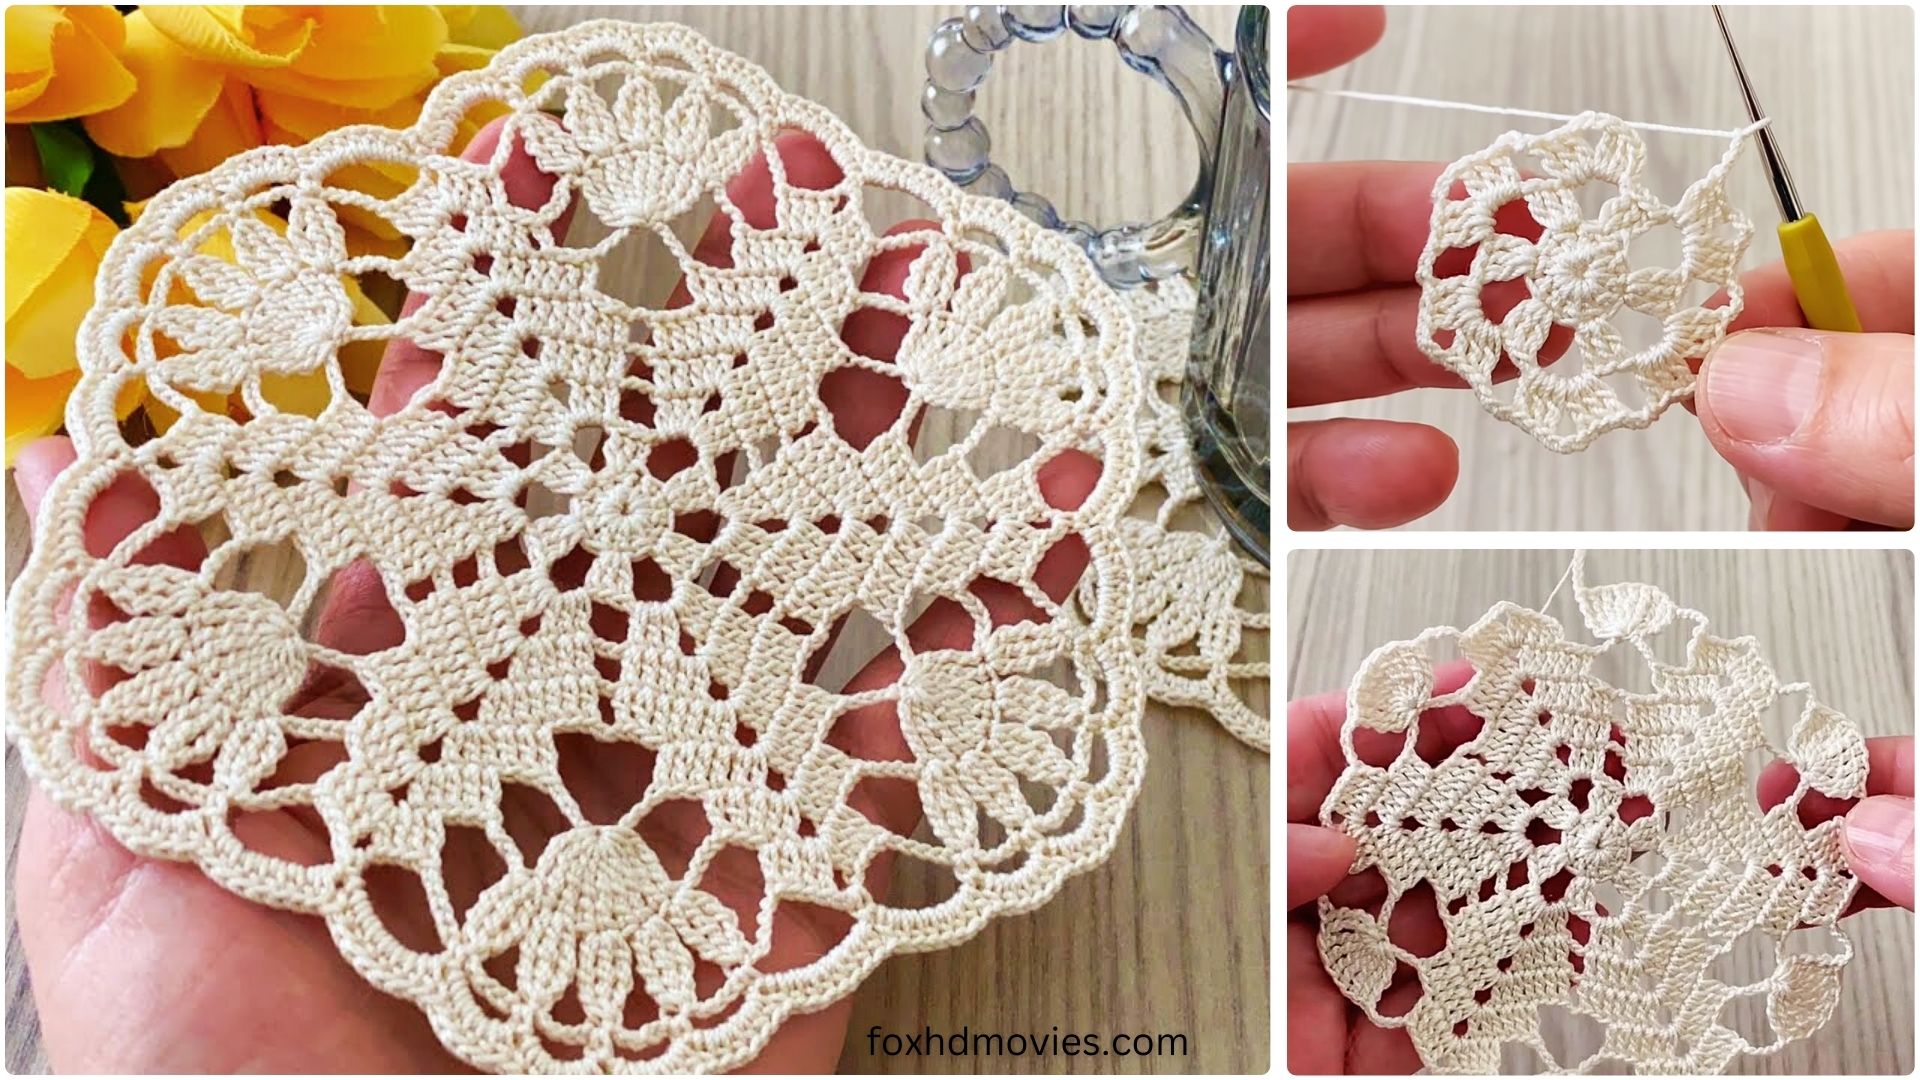
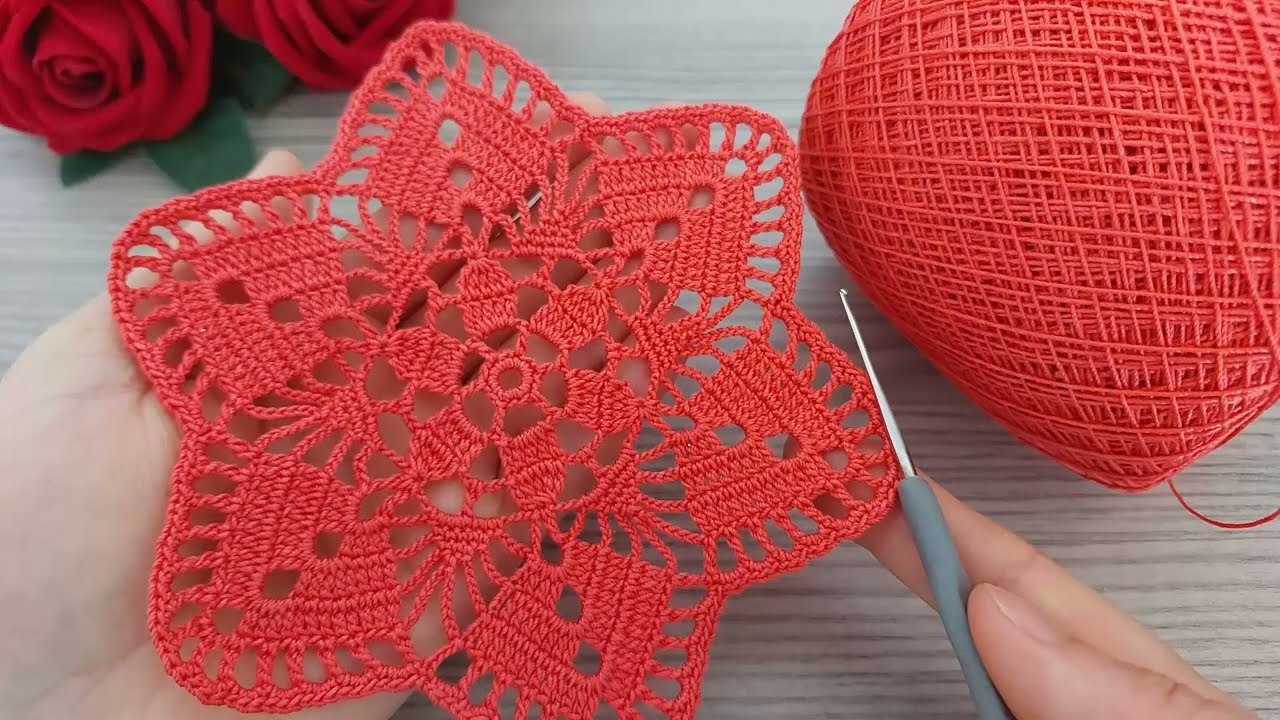
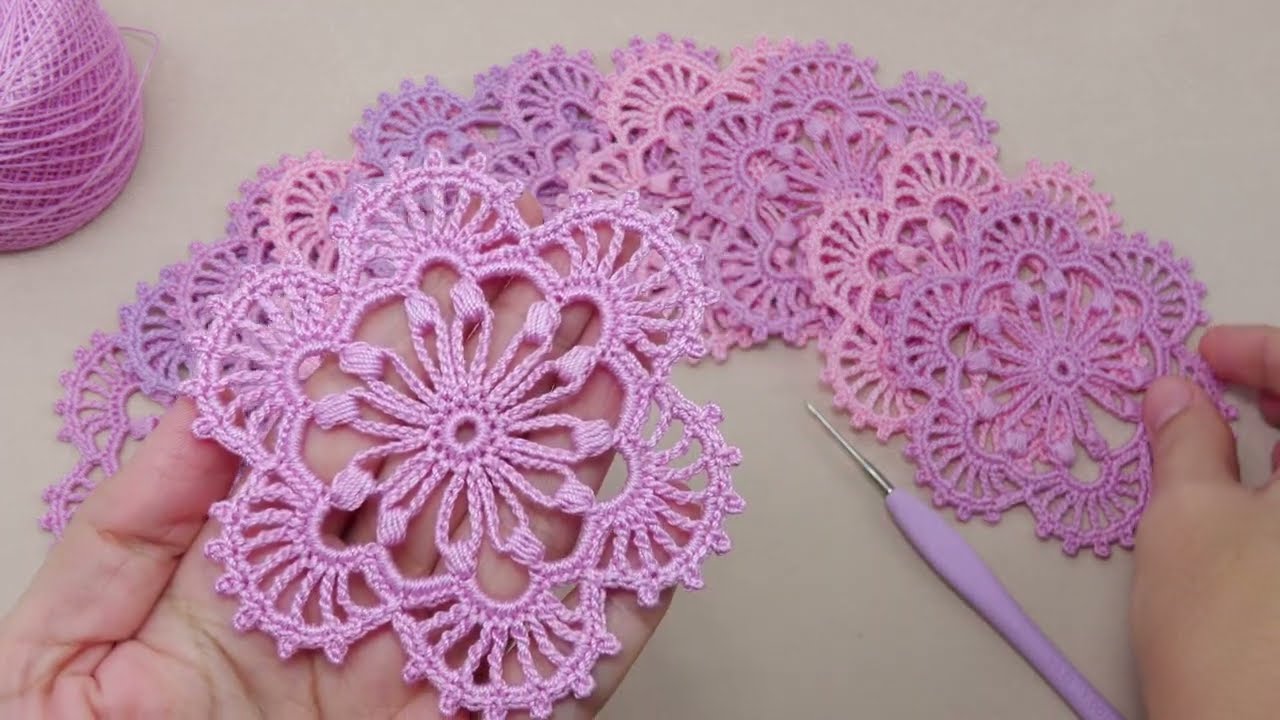
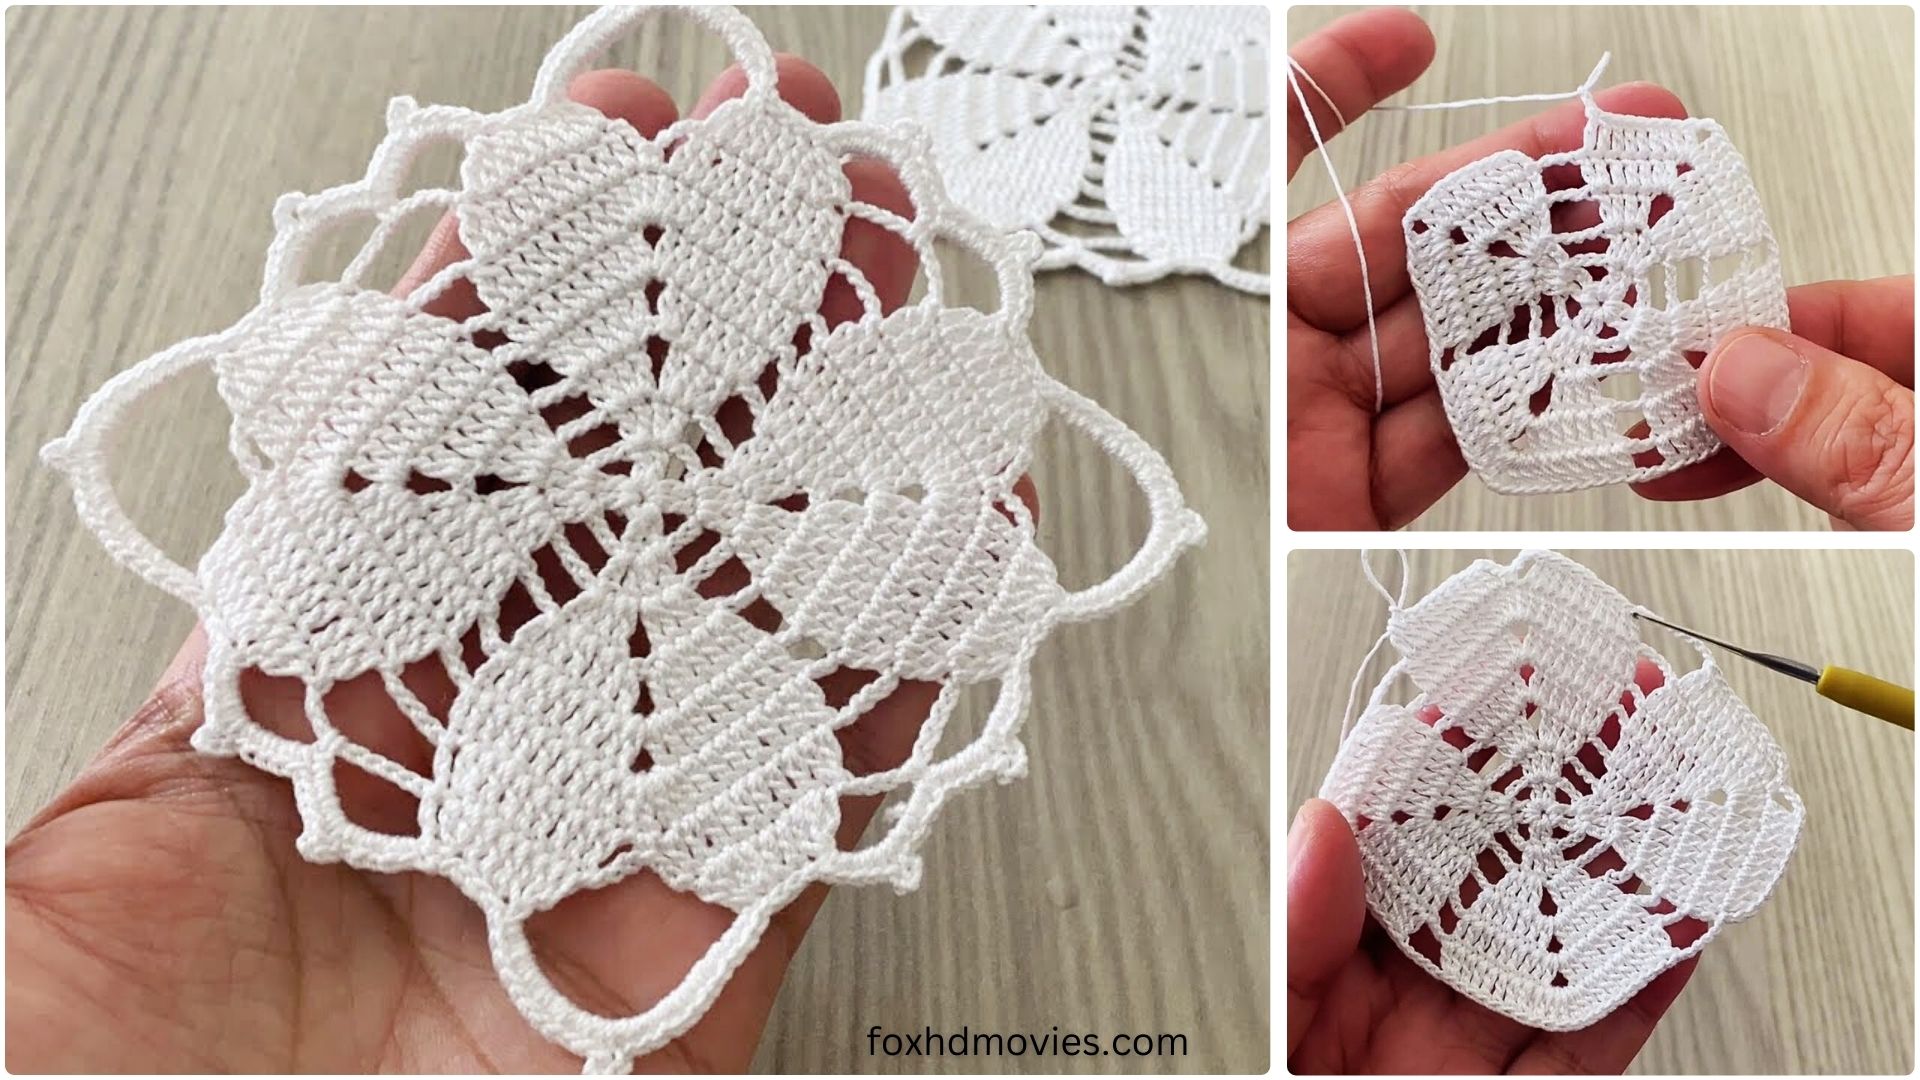
There’s something universally appealing about hearts, and incorporating them into your crochet projects adds a touch of warmth and charm. This pattern will guide you through creating a stunning square motif featuring a charming heart design, perfect for blankets, throws, dishcloths, or even as decorative coasters. It’s designed to be straightforward, creating a clear heart shape within the classic square.
Skill Level: Easy to Intermediate (due to some specific stitch placements for shaping the heart)
Materials:
- Worsted weight yarn in two contrasting colors:
- Color A: For the background of the square (e.g., white, cream, light grey)
- Color B: For the heart outline (e.g., red, pink, a vibrant contrasting color)
- Crochet hook size H/8 (5.0 mm) or size needed to obtain gauge
- Yarn needle for weaving in ends
- Scissors
- Stitch markers (optional, but helpful for corners)

Gauge:
A completed square should measure approximately 5×5 inches. Adjust your hook size if necessary to achieve this size, especially if you plan to join multiple squares.
Abbreviations (US Crochet Terms):
- ch: chain
- sl st: slip stitch
- sc: single crochet
- hdc: half double crochet
- dc: double crochet
- tr: treble crochet (triple crochet)
- fpdc: front post double crochet
- bpda: back post double crochet
- st(s): stitch(es)
- sp: space
- beg: beginning
- rep: repeat
- YO: yarn over
Let’s Get Started: Crocheting Your Heart Square!

This pattern works in rounds, building from the center outwards to form the square with the heart taking shape in later rounds.
Part 1: Starting the Square (Color A)
We’ll begin with the foundation of our square.
Round 1: With Color A, ch 4, sl st into the first ch to form a ring. (Alternatively, use a magic ring for a tighter center.) Ch 3 (counts as first dc), 2 dc into the ring, ch 2. *3 dc into the ring, ch 2.* Repeat from * to * 2 more times. Sl st to the top of the beg ch-3 to join. You should have 4 groups of 3 dc, separated by 4 ch-2 spaces.
Round 2: Ch 3 (counts as first dc), dc in the next 2 sts. *(2 dc, ch 2, 2 dc) in the next ch-2 sp (this forms your first corner). Dc in the next 3 sts.* Repeat from * to * 2 more times. (2 dc, ch 2, 2 dc) in the last ch-2 sp. Sl st to the top of the beg ch-3 to join. You should have 7 dc stitches along each side between corners.
Part 2: Introducing the Heart (Color B & A)
Now we’ll start shaping the heart by incorporating Color B. You’ll be dropping and picking up Color A as needed. For a cleaner look, you can carry Color A loosely behind your work when working with Color B, or simply cut and reattach the yarn (weaving in ends as you go). I recommend cutting and reattaching for beginners to avoid too much yarn bulk.
Round 3: With Color A, ch 3 (counts as first dc), dc in the next 4 sts. *(2 dc, ch 2, 2 dc) in the next ch-2 sp. Dc in the next 9 sts.* Repeat from * to * 2 more times. (2 dc, ch 2, 2 dc) in the last ch-2 sp. Dc in the remaining 4 sts. Sl st to the top of the beg ch-3 to join. You should have 13 dc stitches along each side between corners.

Round 4: Heart’s First Curve
Important Note for Round 4 onwards: We will be using Color B for the heart outline and Color A for the background. When instructed to change colors, simply drop the working color, pick up the new color, and complete the stitch. When switching back, drop the current color and pick up the other.
Attach Color B to your work.
Round 4: With Color A, ch 3 (counts as first dc), dc in the next 6 sts. *(2 dc, ch 2, 2 dc) in the next ch-2 sp. Dc in the next 5 sts. Change to Color B, dc in the next 3 sts. Change to Color A, dc in the next 5 sts.* Repeat from * to * 2 more times. (2 dc, ch 2, 2 dc) in the last ch-2 sp. Dc in the remaining 6 sts. Sl st to the top of the beg ch-3 to join. You should have 17 dc stitches along each side between corners.
Round 5: Heart’s Second Curve
Round 5: With Color A, ch 3 (counts as first dc), dc in the next 8 sts. *(2 dc, ch 2, 2 dc) in the next ch-2 sp. Dc in the next 4 sts. Change to Color B, dc in the next 7 sts. Change to Color A, dc in the next 4 sts.* Repeat from * to * 2 more times. (2 dc, ch 2, 2 dc) in the last ch-2 sp. Dc in the remaining 8 sts. Sl st to the top of the beg ch-3 to join. You should have 21 dc stitches along each side between corners.
Round 6: The Heart’s Peak
Round 6: With Color A, ch 3 (counts as first dc), dc in the next 10 sts. *(2 dc, ch 2, 2 dc) in the next ch-2 sp. Dc in the next 3 sts. Change to Color B, dc in the next 11 sts. Change to Color A, dc in the next 3 sts.* Repeat from * to * 2 more times. (2 dc, ch 2, 2 dc) in the last ch-2 sp. Dc in the remaining 10 sts. Sl st to the top of the beg ch-3 to join. You should have 25 dc stitches along each side between corners.
Round 7: Completing the Heart Shape
Round 7: With Color A, ch 3 (counts as first dc), dc in the next 12 sts. *(2 dc, ch 2, 2 dc) in the next ch-2 sp. Dc in the next 4 sts. Change to Color B, dc in the next 5 sts. Change to Color A, dc in the next 4 sts. Change to Color B, dc in the next 5 sts. Change to Color A, dc in the next 4 sts.* Repeat from * to * 2 more times. (2 dc, ch 2, 2 dc) in the last ch-2 sp. Dc in the remaining 12 sts. Sl st to the top of the beg ch-3 to join. You should have 29 dc stitches along each side between corners.
Round 8: Final Outline (Color A)
For this round, we will only use Color A. Fasten off Color B and weave in that end securely.
Round 8: With Color A, ch 3 (counts as first dc), dc in each st to the next ch-2 sp. *(2 dc, ch 2, 2 dc) in the ch-2 sp. Dc in each st to the next ch-2 sp.* Repeat from * to * 2 more times. (2 dc, ch 2, 2 dc) in the last ch-2 sp. Dc in each remaining st. Sl st to the top of the beg ch-3 to join. You should have 33 dc stitches along each side between corners.
Fasten off Color A and weave in all remaining ends.
Congratulations! Your Beautiful & Stylish Crochet Heart Patterned Square Motif is complete!
Video tutorial
Tips for a Perfect Heart Square:
- Tension is Key: Consistent tension will ensure your square is flat and the heart shape is well-defined.
- Carrying Yarn: If you choose to carry the unused color, make sure to do it loosely to prevent puckering. You can “trap” the carried yarn every few stitches by crocheting over it.
- Reading Your Work: Don’t be afraid to lay your work flat and look at the heart as you go. This will help you catch any missed stitches or color changes.
- Blocking: For a professional finish, wet block your square. Gently wet the square, lay it flat, and pin it into a perfect square shape. Let it dry completely.
- Joining Squares:
- Whip Stitch: A popular, neat joining method.
- Slip Stitch Join: Creates a nearly invisible seam.
- Single Crochet Join: Creates a more textured, raised seam that can be decorative.
- Join-As-You-Go (JAYG): An excellent technique for larger projects that eliminates a lot of seaming at the end.
Creative Uses for Your Heart Square:
- Love-Themed Blanket: Make many squares in various color combinations!
- Cushion Cover: Join two squares for a quick and lovely pillow.
- Wall Hanging: Frame a single square or join a few.
- Coasters/Placemats: They make beautiful and functional table decor.
- Bag or Tote Panels: Add a charming touch to your accessories.
- Garlands: String several squares together for a festive decoration.
Enjoy spreading the love with your beautiful crochet heart squares! Happy hooking!