by
by Alright, let’s get you started on crocheting that perfect square! Here’s a pattern that focuses on keeping things even and square:
Materials:
- Yarn of your choice
- Crochet hook appropriate for your yarn
Abbreviations (US Crochet Terms):
- ch = chain
- sl st = slip stitch
- sc = single crochet
- hdc = half double crochet
- dc = double crochet
Instructions:
This pattern starts with a small number of chains and works outwards. The key to a perfect square is consistent tension and ensuring you have the same number of stitches on each side as you grow.
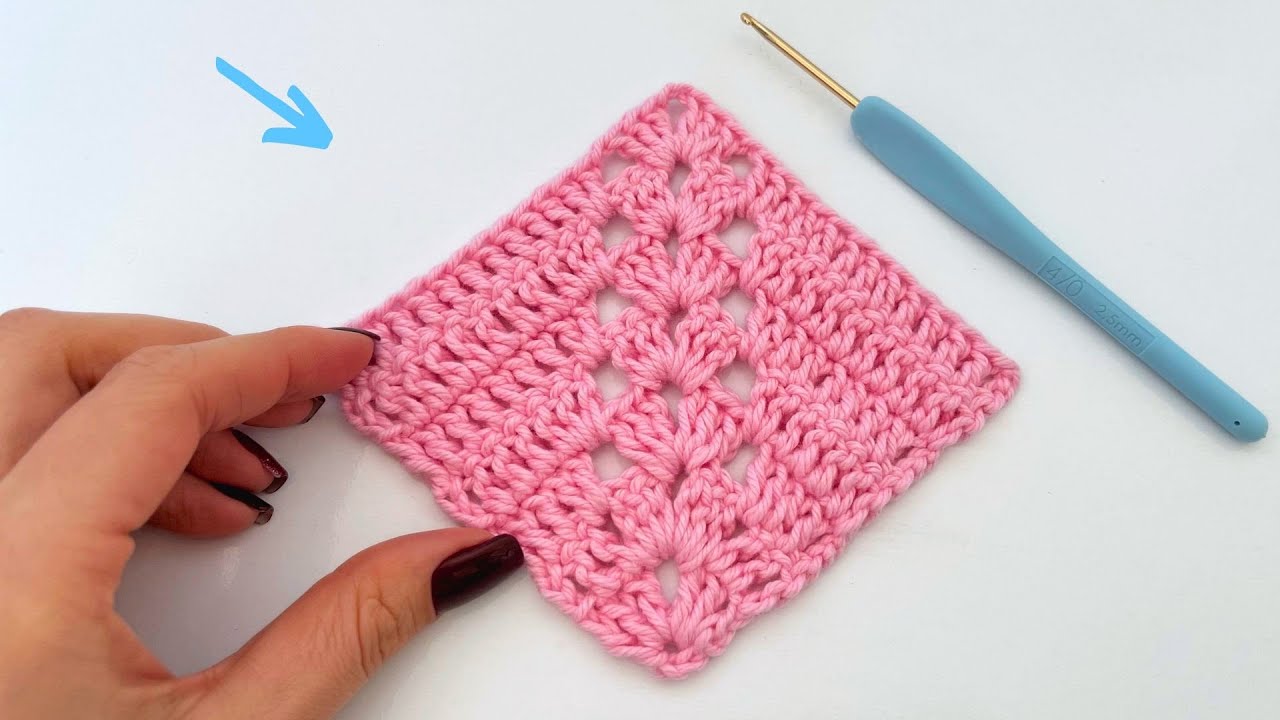
Option 1: Using Double Crochet (dc)
- Round 1: Ch 4, join with a sl st to form a ring.
- Round 2: Ch 3 (counts as first dc), 2 dc in the ring, ch 2, 3 dc in the ring, ch 2, 3 dc in the ring, ch 2, 3 dc in the ring, ch 2. Join with a sl st to the top of the beginning ch-3. (12 dc, 4 ch-2 spaces)
- Round 3: Sl st into the next 2 dc and into the first ch-2 space. Ch 3 (counts as first dc), (2 dc, ch 2, 3 dc) in the same ch-2 space (corner made). * 3 dc in the space between the next two 3-dc groups, (3 dc, ch 2, 3 dc) in the next ch-2 space (corner made); repeat from * 2 more times. 3 dc in the space between the last two 3-dc groups. Join with a sl st to the top of the beginning ch-3.
- Round 4 and onwards: Sl st into the next 2 dc and into the first ch-2 space. Ch 3 (counts as first dc), (2 dc, ch 2, 3 dc) in the same ch-2 space (corner made). * dc in each st across to the next ch-2 space, (3 dc, ch 2, 3 dc) in the ch-2 space (corner made); repeat from * around. dc in each remaining st. Join with a sl st to the top of the beginning ch-3.

Option 2: Using Single Crochet (sc)
This method creates a denser fabric.
- Round 1: Ch 4, join with a sl st to form a ring.
- Round 2: Ch 1 (does not count as a st), 8 sc in the ring. Join with a sl st to the first sc. (8 sc)
- Round 3: Ch 1 (does not count as a st), 2 sc in each st around. Join with a sl st to the first sc. (16 sc)
- Round 4: Ch 1 (does not count as a st), *sc in the next st, 2 sc in the next st; repeat from * around. Join with a sl st to the first sc. (24 sc)
- Round 5: Ch 1 (does not count as a st), sc in each st around. Join with a sl st to the first sc. (24 sc)
- Round 6: Ch 1 (does not count as a st), *sc in the next 2 sts, 2 sc in the next st; repeat from * around. Join with a sl st to the first sc. (32 sc)
- Round 7: Ch 1 (does not count as a st), sc in each st around. Join with a sl st to the first sc. (32 sc)
- Round 8 and onwards: Continue increasing by adding one more single crochet between the increases in every other round. For example, Round 8 would be sc in the next 3 sts, 2 sc in the next st, Round 9 would be all sc, Round 10 would be sc in the next 4 sts, 2 sc in the next st, and so on.


Tips for a Perfect Square:
- Consistent Tension: This is the MOST important factor. Try to keep your stitches the same tightness throughout.
- Turning Chains: If you’re working in rows instead of rounds, your turning chain counts as the first stitch of the next row (unless otherwise specified). Be mindful of this when counting stitches.
- Counting Stitches: Count your stitches at the end of each round or row, especially as you’re learning. This helps catch mistakes early.
- Blocking: Once your square is finished, blocking can work wonders for achieving a perfect shape and evening out any slight inconsistencies. You can gently wash and then pin your square to a flat surface, shaping it into a perfect square until it dries.
- Hook Size: Make sure you’re using the recommended hook size for your yarn. If your square is coming out too tight, try a larger hook. If it’s too loose, try a smaller one.
- Stitch Markers: Using stitch markers in the corner chain spaces (in the dc version) can help you easily identify where to make your corner increases.
Video tutorial
Pick the stitch you prefer (dc for a more open weave, sc for a denser one) and give it a go! Let me know if you have any questions as you crochet. Happy hooking!