 by
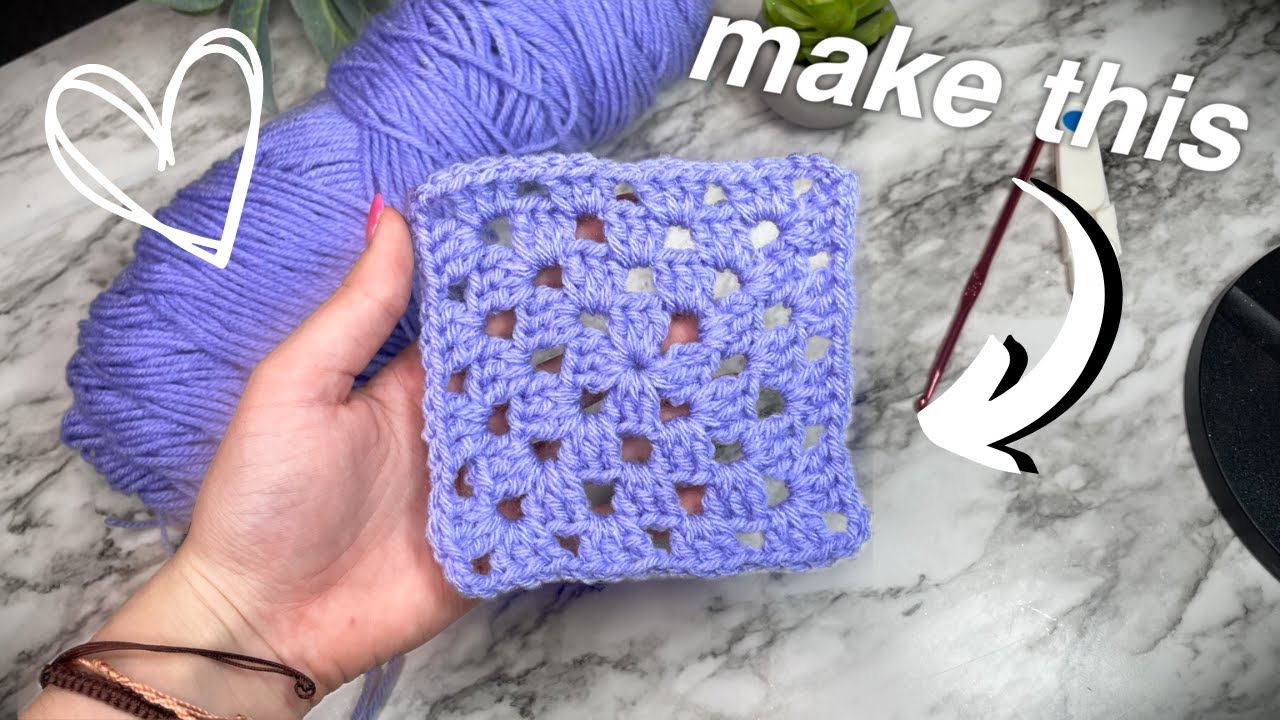
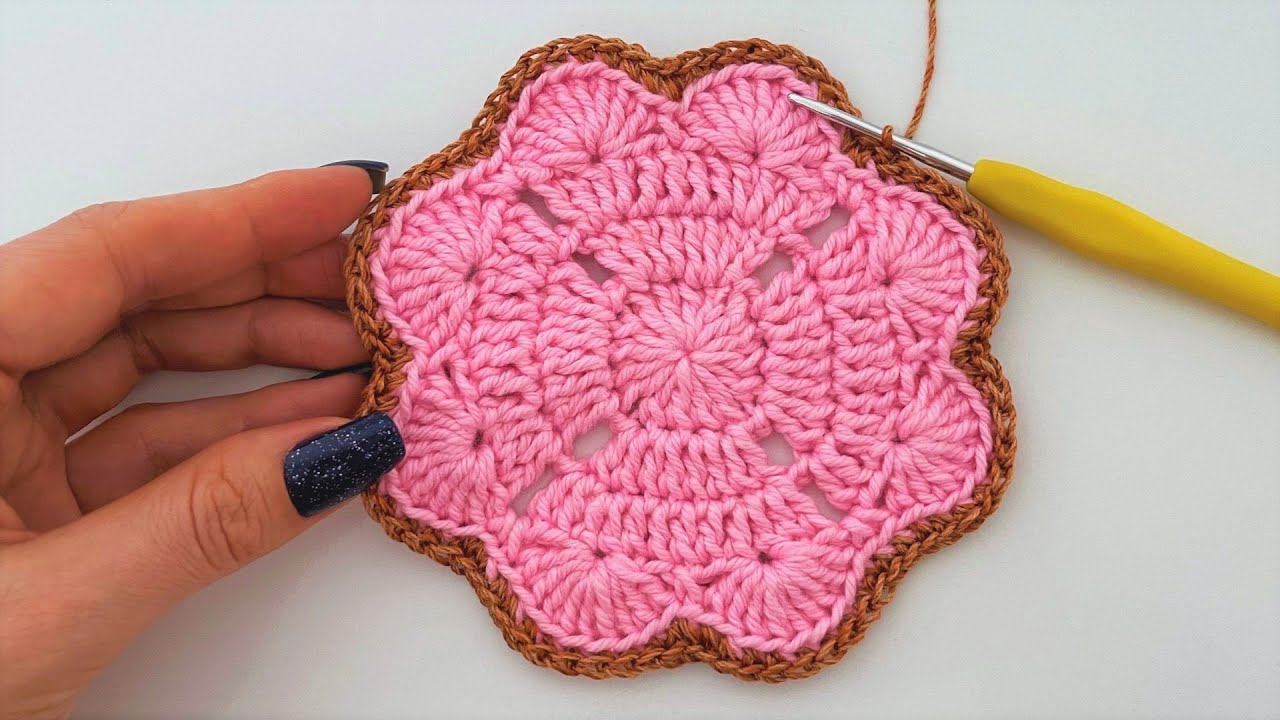
by let’s get this heart-shaped cup holder crocheted! Here’s a pattern for a round model:

Materials:
- Worsted weight yarn in your desired color
- Crochet hook (size H-8 or 5.0 mm is a good starting point, adjust if needed for your yarn)
- Scissors
- Yarn needle
Abbreviations:
- ch = chain
- sl st = slip stitch
- sc = single crochet
- hdc = half double crochet
- dc = double crochet
- tr = treble crochet
- inc = increase (2 sc in the same stitch)
- dec = decrease (sc2tog – single crochet two stitches together)
- st(s) = stitch(es)
- rnd(s) = round(s)
Pattern:
Base (Worked in a spiral):
- Make a magic ring.
- Rnd 1: 6 sc in the magic ring. (6 sts)
- Rnd 2: inc in each st around. (12 sts)
- Rnd 3: *sc in the next st, inc in the next st* repeat around. (18 sts)
- Rnd 4: *sc in the next 2 sts, inc in the next st* repeat around. (24 sts)
- Rnd 5: *sc in the next 3 sts, inc in the next st* repeat around. (30 sts)
- Rnd 6: *sc in the next 4 sts, inc in the next st* repeat around. (36 sts)
- Rnd 7: *sc in the next 5 sts, inc in the next st* repeat around. (42 sts)
- Rnd 8: *sc in the next 6 sts, inc in the next st* repeat around. (48 sts)
- Rnd 9: sc in each st around. (48 sts)
- Rnd 10: sc in each st around. (48 sts)

Continue adding rounds of single crochet until your base is the desired width for your cup. For a standard mug, around 4-5 inches in diameter is a good target.
Shaping the Heart:
- Next Rnd: Sc in the next 24 sts. Turn. (24 sts) You’ll now be working back and forth to create one side of the heart.
- Row 1: Ch 1 (doesn’t count as a st), sc in the first 7 sts, hdc in the next 5 sts, dc in the next 6 sts, hdc in the next 5 sts, sc in the last st. Turn. (24 sts)
- Row 2: Ch 1 (doesn’t count as a st), sc in the first 6 sts, hdc in the next 5 sts, dc in the next 6 sts, hdc in the next 5 sts, sc in the last 2 sts. Turn. (24 sts)
- Row 3: Ch 1 (doesn’t count as a st), sc in the first 5 sts, hdc in the next 4 sts, dc in the next 6 sts, hdc in the next 4 sts, sc in the last 5 sts. Turn. (24 sts)
- Row 4: Ch 1 (doesn’t count as a st), sc in the first 4 sts, hdc in the next 3 sts, dc in the next 6 sts, hdc in the next 3 sts, sc in the last 8 sts. Turn. (24 sts)
- Row 5: Ch 1 (doesn’t count as a st), sc in the first 3 sts, hdc in the next 2 sts, dc in the next 6 sts, hdc in the next 2 sts, sc in the last 11 sts. Turn. (24 sts)
- Row 6: Ch 1 (doesn’t count as a st), sc in the first 2 sts, hdc in the next st, dc in the next 6 sts, hdc in the next st, sc in the last 14 sts. Turn. (24 sts)
- Row 7: Ch 1 (doesn’t count as a st), sc in the first st, dc in the next 6 sts, sc in the last 17 sts. Turn. (24 sts)


- Row 8: Ch 1 (doesn’t count as a st), dc in the next 6 sts, sc in the last 18 sts. Turn. (24 sts)
- Row 9: Ch 1 (doesn’t count as a st), dec over the first 2 sts, dc in the next 2 sts, dec over the next 2 sts, sc in the last 18 sts. Turn. (22 sts)
- Row 10: Ch 1 (doesn’t count as a st), sc in the first 20 sts, dec over the last 2 sts. Turn. (21 sts)
- Row 11: Ch 1 (doesn’t count as a st), dec over the first 2 sts, sc in the last 19 sts. Turn. (20 sts)
- Row 12: Ch 1 (doesn’t count as a st), sc in the first 18 sts, dec over the last 2 sts. Turn. (19 sts)
- Row 13: Ch 1 (doesn’t count as a st), dec over the first 2 sts, sc in the last 17 sts. Turn. (18 sts)
- Row 14: Ch 1 (doesn’t count as a st), sc in the first 16 sts, dec over the last 2 sts. Turn. (17 sts)
- Row 15: Ch 1 (doesn’t count as a st), dec over the first 2 sts, sc in the last 15 sts. Turn. (16 sts)
- Row 16: Ch 1 (doesn’t count as a st), sc in the first 14 sts, dec over the last 2 sts. Turn. (15 sts)
- Row 17: Ch 1 (doesn’t count as a st), dec over the first 2 sts, sc in the last 13 sts. Turn. (14 sts)
- Row 18: Ch 1 (doesn’t count as a st), sc in the first 12 sts, dec over the last 2 sts. Turn. (13 sts)
- Row 19: Ch 1 (doesn’t count as a st), dec over the first 2 sts, sc in the last 11 sts. Turn. (12 sts)
- Row 20: Ch 1 (doesn’t count as a st), sc in the first 10 sts, dec over the last 2 sts. Turn. (11 sts)
- Row 21: Ch 1 (doesn’t count as a st), dec over the first 2 sts, sc in the last 9 sts. Turn. (10 sts)
- Row 22: Ch 1 (doesn’t count as a st), sc in the first 8 sts, dec over the last 2 sts. Turn. (9 sts)
- Row 23: Ch 1 (doesn’t count as a st), dec over the first 2 sts, sc in the last 7 sts. Turn. (8 sts)
- Row 24: Ch 1 (doesn’t count as a st), sc in the first 6 sts, dec over the last 2 sts. Turn. (7 sts)
- Row 25: Ch 1 (doesn’t count as a st), dec over the first 2 sts, sc in the last 5 sts. Turn. (6 sts)
- Row 26: Ch 1 (doesn’t count as a st), sc in the first 4 sts, dec over the last 2 sts. Turn. (5 sts)
- Row 27: Ch 1 (doesn’t count as a st), dec over the first 2 sts, sc in the last 3 sts. Turn. (4 sts)
- Row 28: Ch 1 (doesn’t count as a st), sc in the first 2 sts, dec over the last 2 sts. Turn. (3 sts)
- Row 29: Ch 1 (doesn’t count as a st), dec over the first 2 sts, sc in the last st. Turn. (2 sts)
- Row 30: Ch 1 (doesn’t count as a st), dec over the last 2 sts. Fasten off and weave in the end. (1 st)
Now, attach your yarn to the opposite side of the base where you left off after Round 10 (the other 24 stitches) and repeat the Shaping the Heart section to create the other side of the heart.
Edging (Optional):
You can add a final touch by working a round of single crochet around the entire outer edge of the heart for a cleaner finish.
Finishing:
Weave in all remaining yarn ends securely.
Video tutorial
Tips and Variations:
- Gauge: Don’t worry too much about exact gauge for a cup holder, but try to keep your tension consistent.
- Yarn Weight and Hook Size: Adjust your yarn weight and hook size to achieve your desired size and thickness. A thicker yarn and smaller hook will create a denser fabric.
- Color Changes: Get creative with color changes to make a unique design!
- Texture: Experiment with different stitches for the shaping of the heart if you want a different texture.