by
by 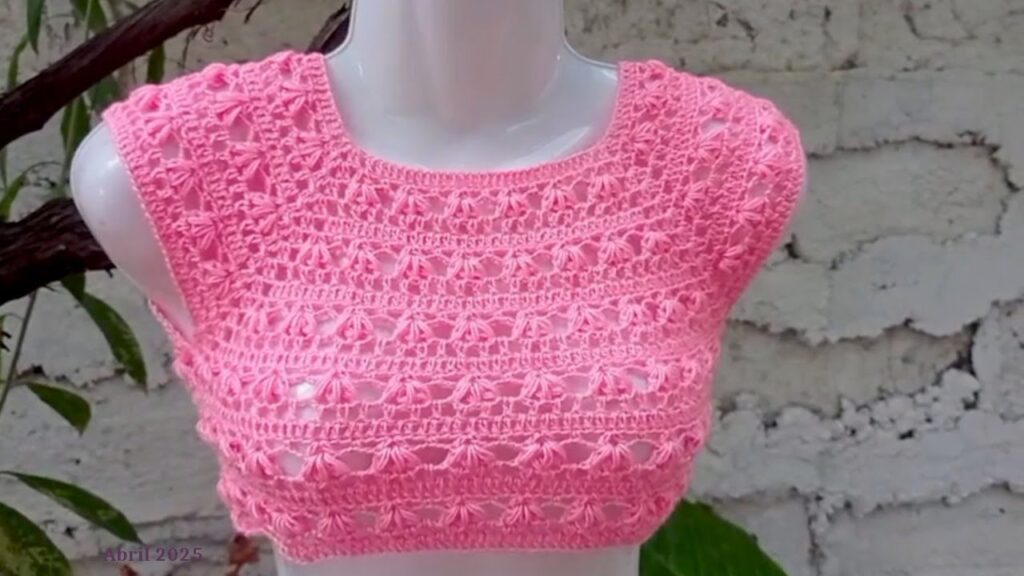
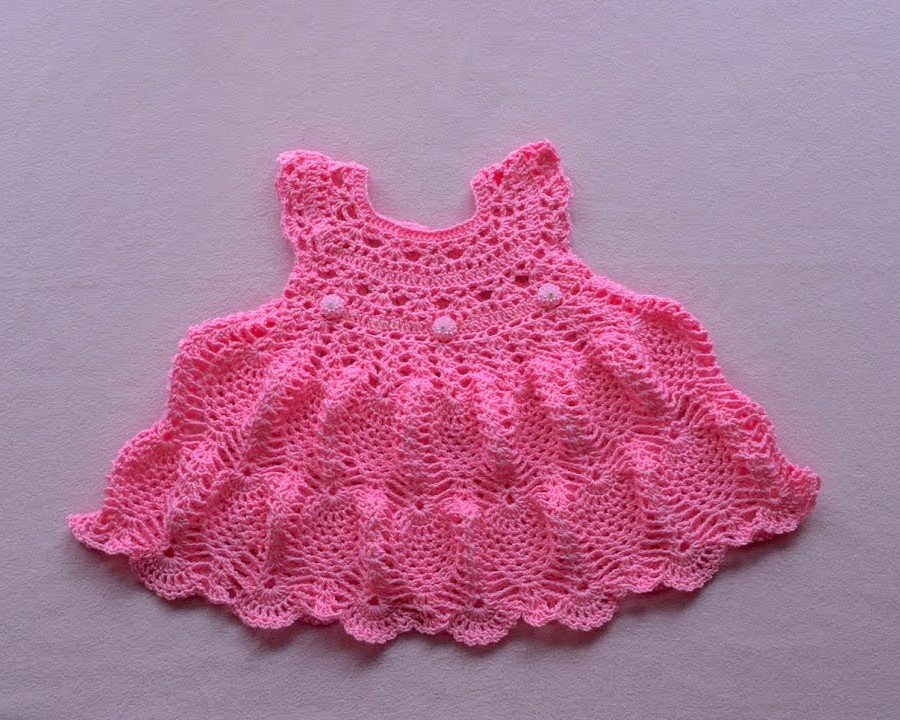
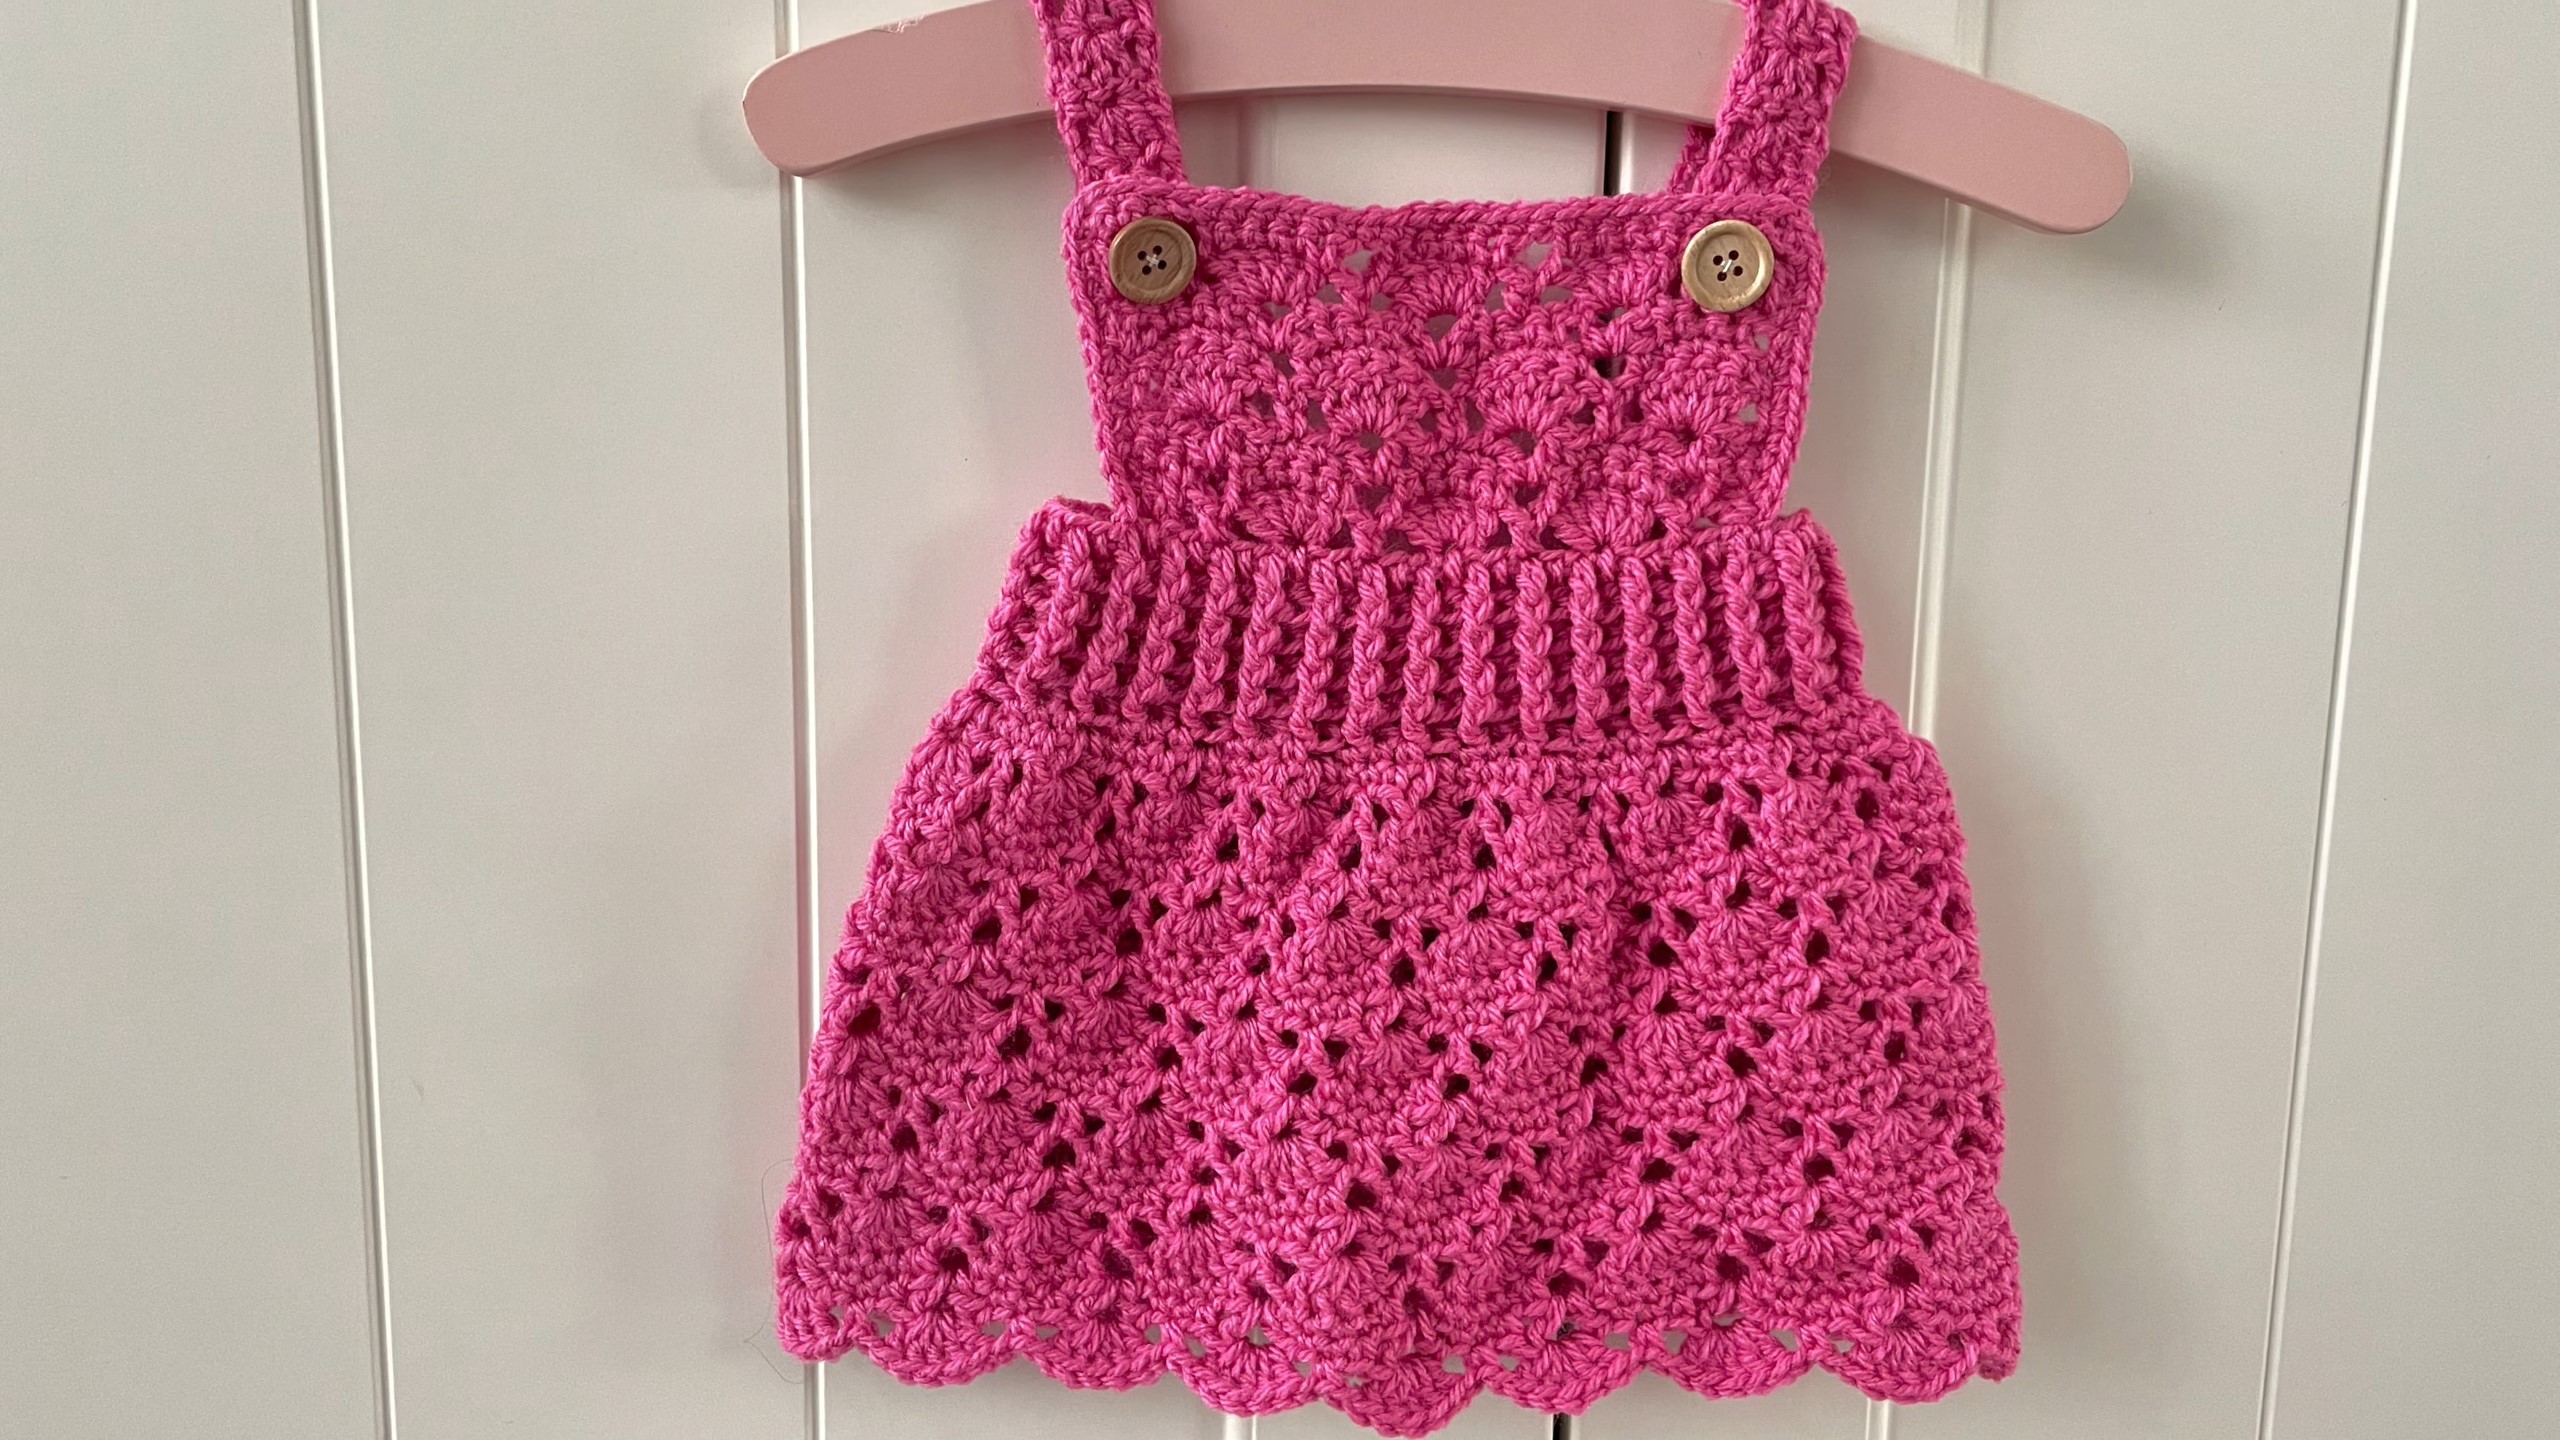
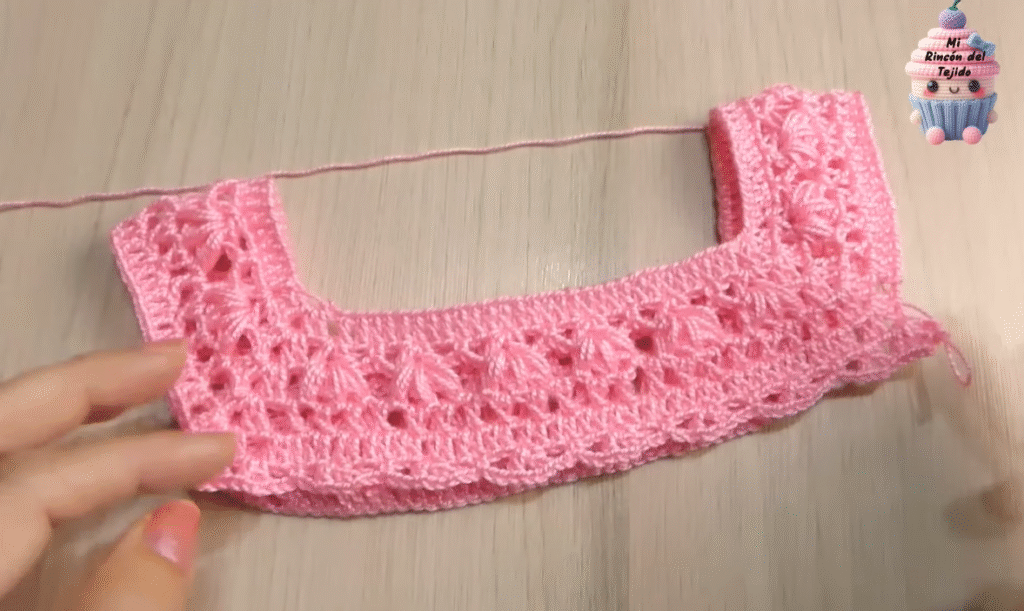
Hello, fellow yarn enthusiasts! Get ready to fall in love with the “Blushing Petal” top – a truly charming and versatile crochet piece. This beautiful pink sleeveless top features a classic rounded neckline and a stunning, repetitive lace pattern that creates a delightful floral-like texture. It’s perfect for warm weather, layering, or as a pretty everyday garment for a little one.
The top is worked seamlessly from the top down, making it a satisfying project for those comfortable with basic stitches and reading lace charts or written lace instructions. Let’s gather our supplies and create this lovely, lacy top!
Materials You’ll Need:
- Yarn: DK (Light Worsted / 8 ply) weight yarn.
- Main Color (MC): Approx. 150-200g in Pink (as pictured).
- Crochet Hook: 4.0mm (G-6 US) or size needed to obtain gauge.
- Yarn Needle: For weaving in ends.
- Stitch Markers: Very helpful for marking beginnings of rounds or increase points.
- Scissors
Abbreviations Used (US Terms):
- ch: chain
- sl st: slip stitch
- sc: single crochet
- dc: double crochet
- sk: skip
- st(s): stitch(es)
- sp: space
- rnd(s): round(s)
- fo: fasten off
- V-st: (dc, ch 1, dc) in same st/space
- 3-dc cluster: [Yarn over, insert hook into st/space, yarn over, pull up loop, yarn over, draw through 2 loops] 3 times in same st/space. Yarn over, draw through all 4 loops on hook.
Gauge (Crucial!):
16 dc x 8 rows = 4 inches (10 cm) using a 4.0mm hook.
- Make a swatch to check your gauge. If your swatch is smaller, go up a hook size; if it’s larger, go down a hook size.
- For the lace pattern, ensure one repeat of the (3-dc cluster, ch 3) sequence measures approximately 1.5 inches wide.
Pattern Notes:
- This top is worked seamlessly from the top down, starting at the neckline.
- Chains at the beginning of rounds typically do not count as a stitch unless otherwise specified.
- Join rounds with a sl st to the first stitch of the round (not the beginning chain).
- The yoke is designed to fit comfortably over the head.
- For sizing adjustments, you will need to modify the initial chain and the number of increase rounds in the yoke.
The Pattern: “Blushing Petal” Lacy Top (Child Small – Approx. 2T-4T)
Part 1: The Yoke (Worked in Rounds)
Start with MC yarn.
- Initial Chain: Ch 96. Join with a sl st to the first ch, being careful not to twist. (96 sts)
- Rnd 1 (Neckline Edge): Ch 1 (does not count as st), sc in each ch around. Join with sl st to first sc. (96 sc)
- Rnd 2: Ch 2 (does not count as st), dc in each st around. Join with sl st. (96 dc)
- Rnd 3 (Increase Round): Ch 2, dc in next 7 sts, 2 dc in next st. Repeat from * 12 times around. Join with sl st. (108 dc)
- Rnd 4: Ch 2, dc in each st around. Join with sl st. (108 dc)
- Rnd 5 (Increase Round): Ch 2, dc in next 8 sts, 2 dc in next st. Repeat from * 12 times around. Join with sl st. (120 dc)
- Rnd 6: Ch 2, dc in each st around. Join with sl st. (120 dc)
- Rnd 7 (Armhole Round): Ch 2, dc in next 20 sts (front body). Ch 4, sk next 20 sts (sleeve). Dc in next 40 sts (back body). Ch 4, sk next 20 sts (sleeve). Dc in last 20 sts (front body). Join with sl st to first dc. (80 dc + 8 ch-4 spaces)
- You’ve now created the armholes!
- Rnd 8: Ch 2, dc in each dc and 4 dc in each ch-4 space around. Join with sl st. (80 + 16 = 96 dc)
- Rnd 9 (Last Yoke Round – Solid): Ch 2, dc in each st around. Join with sl st. (96 dc)
- This completes the solid section of the yoke.


Part 2: The Body (Lacy Petal Pattern)
Continue with MC yarn, working directly from the yoke. The lace pattern requires a multiple of 6 stitches. 96 stitches is a multiple of 6 (96 / 6 = 16 repeats).
- Rnd 1 (Setting up for Lace): Ch 1, sc in first st. Ch 3, sk 2 sts, sc in next st. Repeat from * around, ending with a ch 3, then join with sl st to first sc. (32 sc, 32 ch-3 spaces)
- Rnd 2 (Cluster Row): Ch 3 (counts as 1 dc here and throughout). Work 2 dc in same sc (counts as first part of a V-st). Ch 1, sk ch-3 sp, work V-st (dc, ch 1, dc) in next sc. Repeat from * around. Join with sl st to 3rd ch of beginning ch 3. (32 V-sts)
- Wait, looking closer at the image, it’s more like clustered V-stitches. Let’s revise for a better match.
- Rnd 1 (Setting up for Lace – same as before): Ch 1, sc in first st. Ch 3, sk 2 sts, sc in next st. Repeat from * around, ending with a ch 3, then join with sl st to first sc. (32 sc, 32 ch-3 spaces)
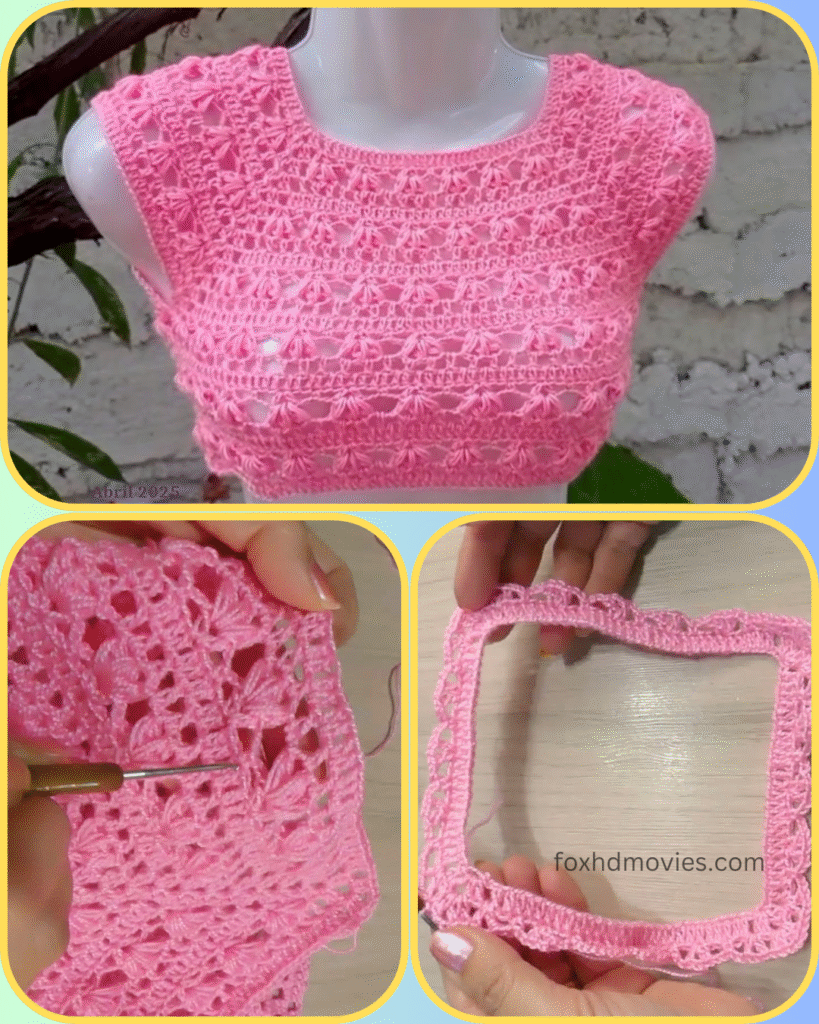
- Rnd 2 (Petal/Cluster Row): Sl st into first ch-3 space. Ch 3 (counts as 1 dc). Work (2 dc, ch 1, 3 dc) in the same ch-3 space (this forms your first “petal” or cluster fan). Sk next sc, work (3 dc, ch 1, 3 dc) in the next ch-3 space. Repeat from * around. Join with sl st to 3rd ch of beginning ch 3. (16 “Petal” Shells)
- Rnd 3 (Connecting Row): Sl st into first 2 dc, sl st into ch-1 space. Ch 1, sc in the ch-1 space of the first petal shell. Ch 3, sc in the ch-1 space of the next petal shell. Repeat from * around, ending with a ch 3, then join with sl st to first sc. (16 sc, 16 ch-3 spaces)
- This creates the new foundation for the next row of petals.
- Rnd 4 (Next Petal/Cluster Row): Sl st into first ch-3 space. Ch 3 (counts as 1 dc). Work (2 dc, ch 1, 3 dc) in the same ch-3 space. Sk next sc, work (3 dc, ch 1, 3 dc) in the next ch-3 space. Repeat from * around. Join with sl st to 3rd ch of beginning ch 3. (16 “Petal” Shells)
- Rnd 5 – X (Continuing Skirt Length): Repeat Rnds 3 and 4 alternately until the top reaches your desired length. The image shows approximately 7-8 repeats of the petal pattern.
- For example:
- Rnd 5: Repeat Rnd 3
- Rnd 6: Repeat Rnd 4
- …continue until you have enough length.
- For example:
- Final Edge (Simple Scallop – Optional):
- Final Rnd: Ch 1, sc in the first sc (from the last Rnd 3 repeat). In the ch-3 space, work (sc, hdc, 2 dc, hdc, sc). Sc in the next sc. Repeat from * around. Join with sl st to first sc.
- Fo MC. Weave in ends.
Part 3: Finishing
- Armhole Edging (Optional):
- Attach yarn to any stitch around an armhole. Ch 1, sc evenly around the armhole opening. Join with sl st. Fo.
- Repeat for the second armhole.
- The image doesn’t show a distinct armhole edge, so this is optional for a neat finish.
- Weave in All Ends: Take your time to meticulously weave in all loose yarn ends for a neat and professional finish.
Video tutorial
Your “Blushing Petal” Lacy Top is Complete!
Congratulations! You’ve just crocheted a truly beautiful and delicate top. This charming piece is perfect for a special occasion or simply adding a touch of handmade elegance to an outfit. Don’t forget to snap a picture and share your finished creation! I’d love to see your “Blushing Petal” top.
Happy crocheting!