 by
by 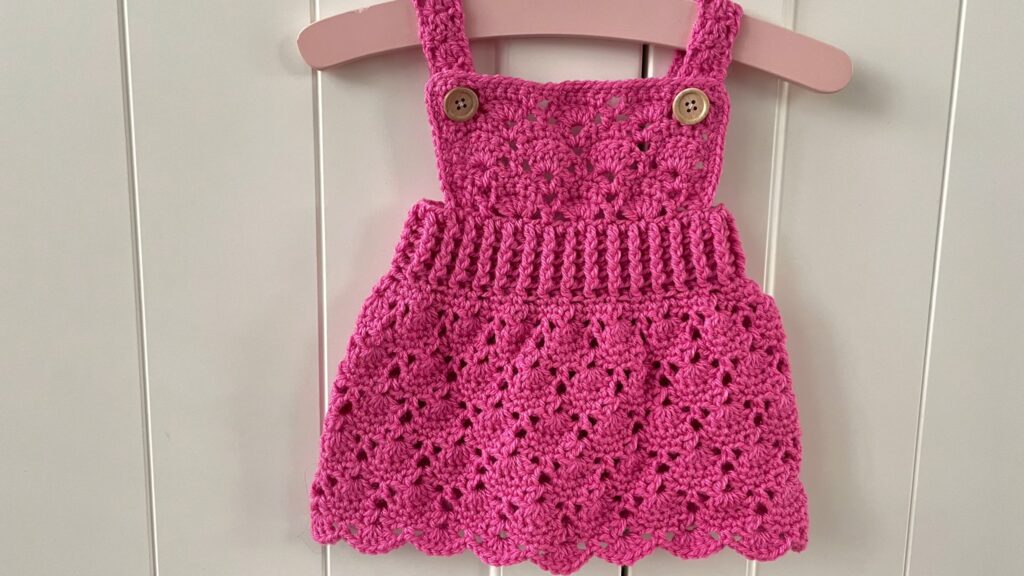
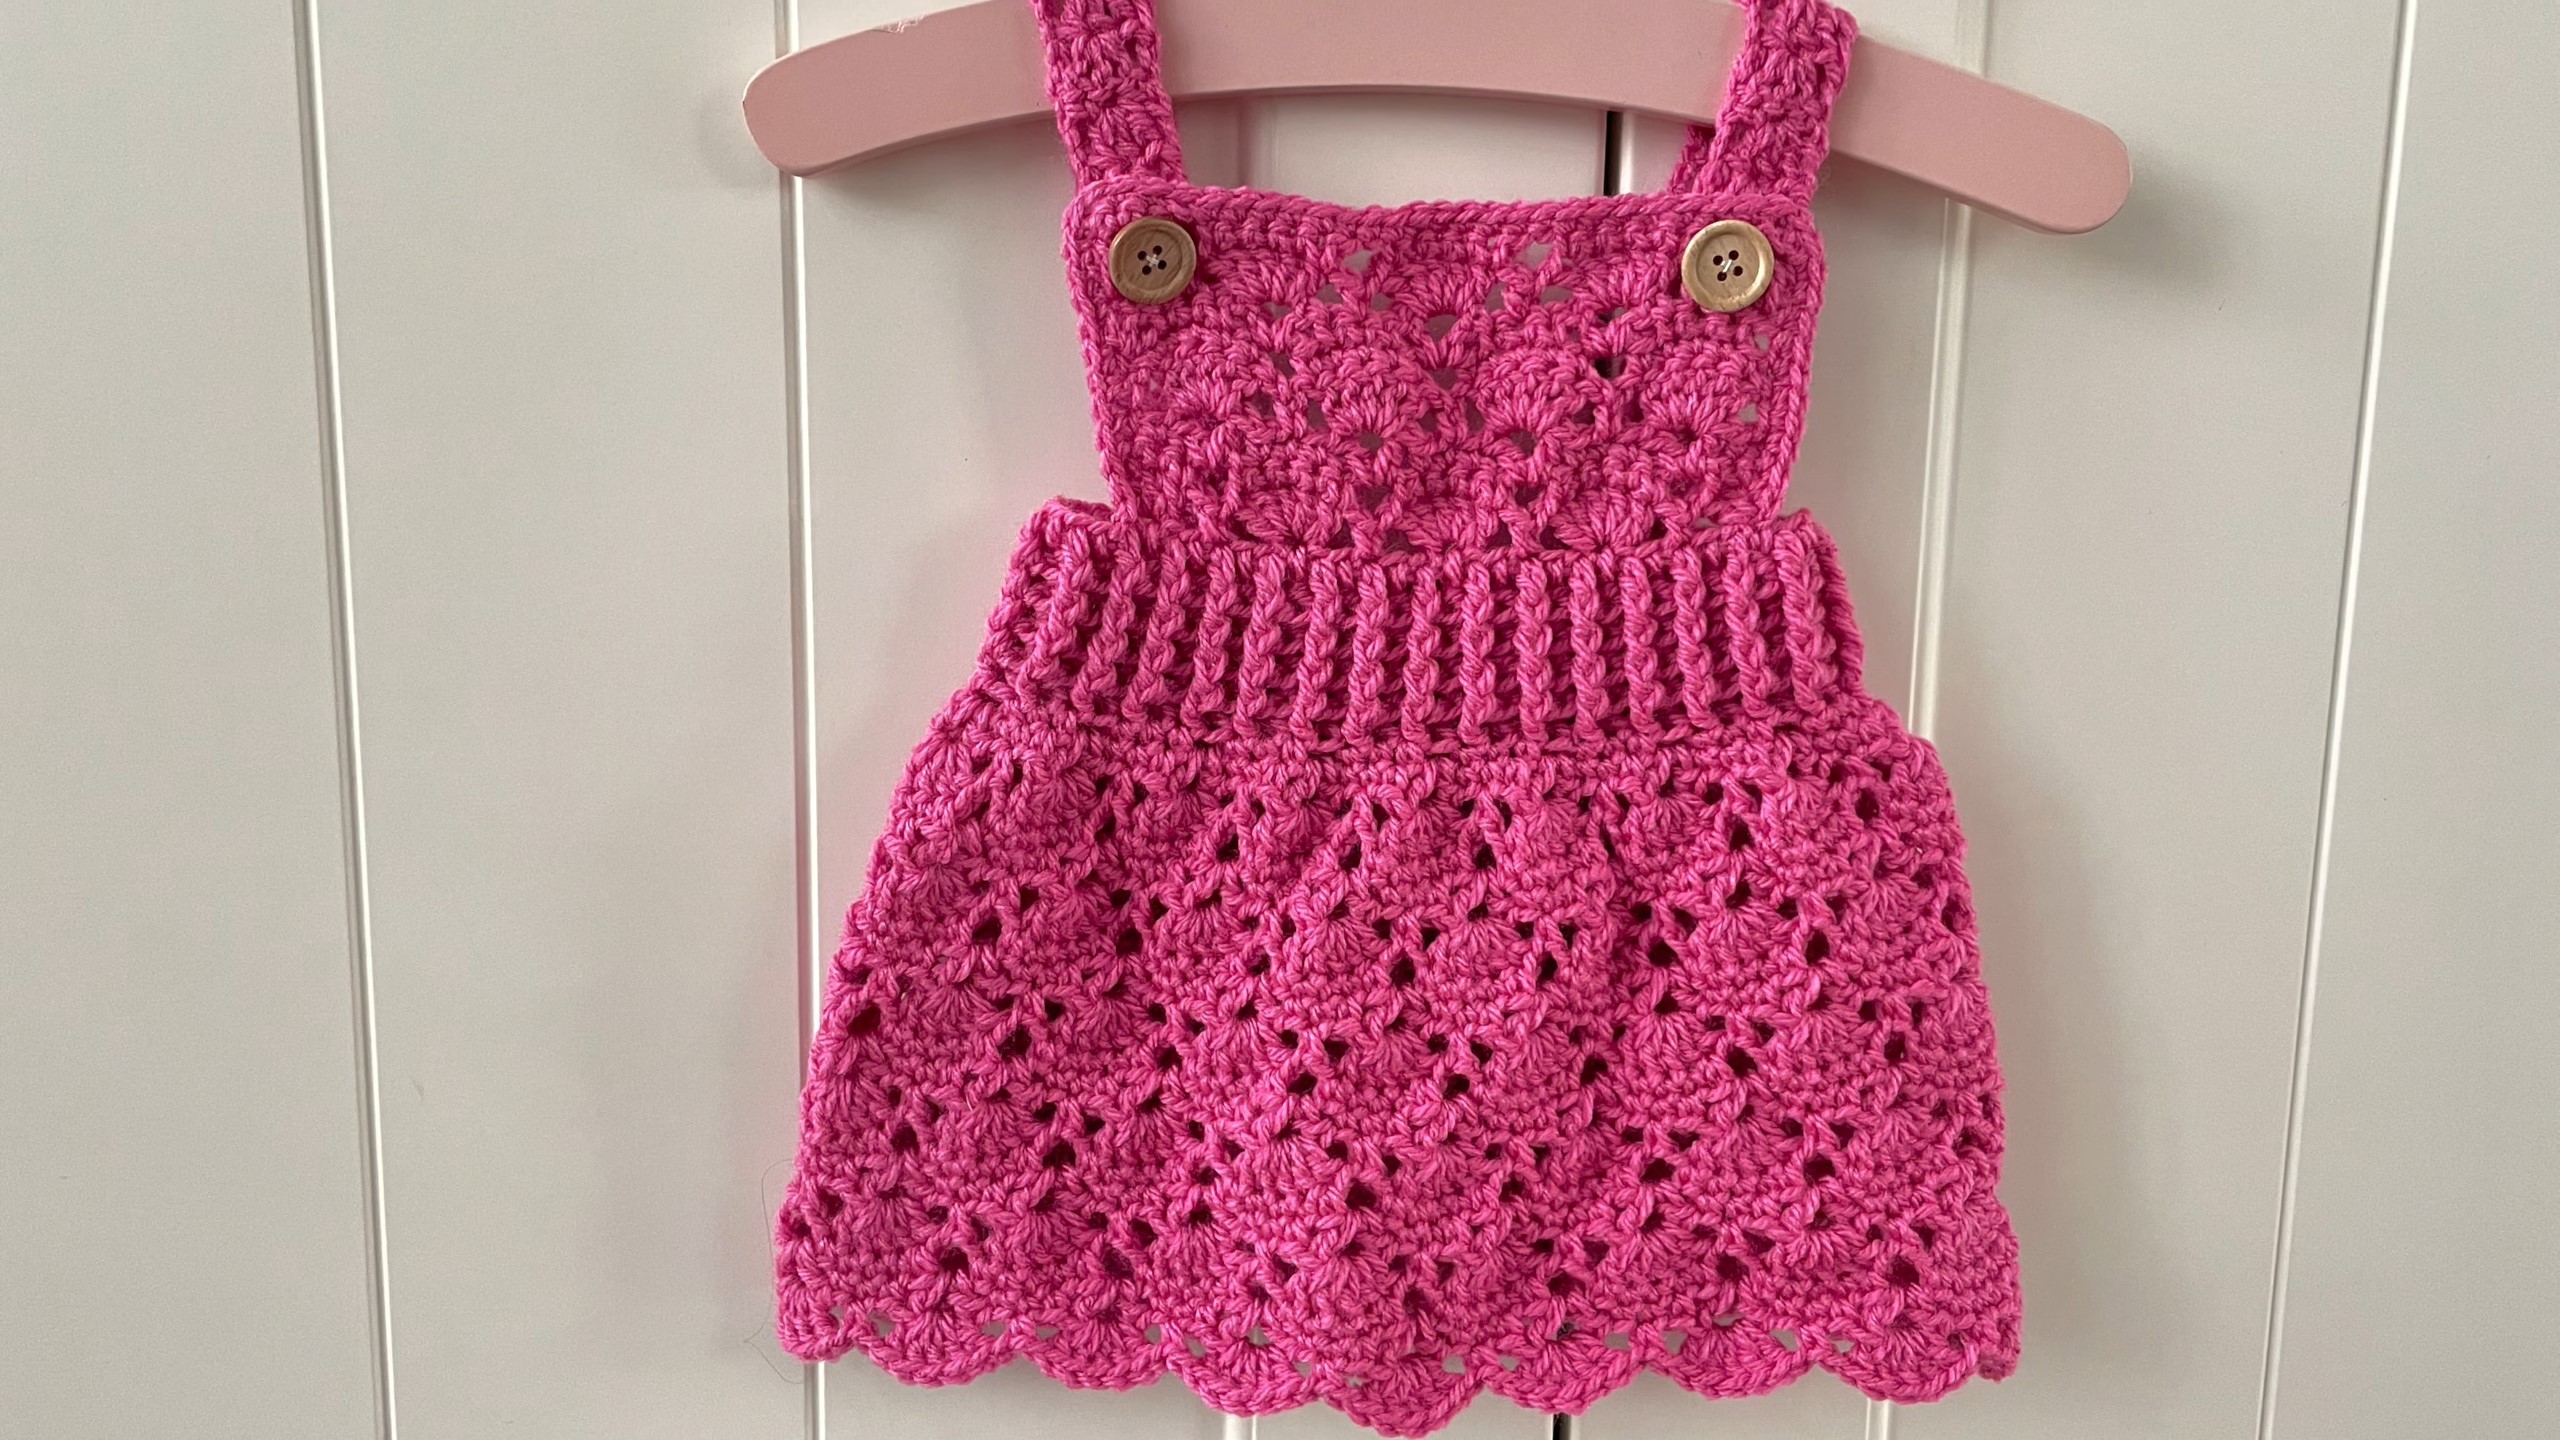
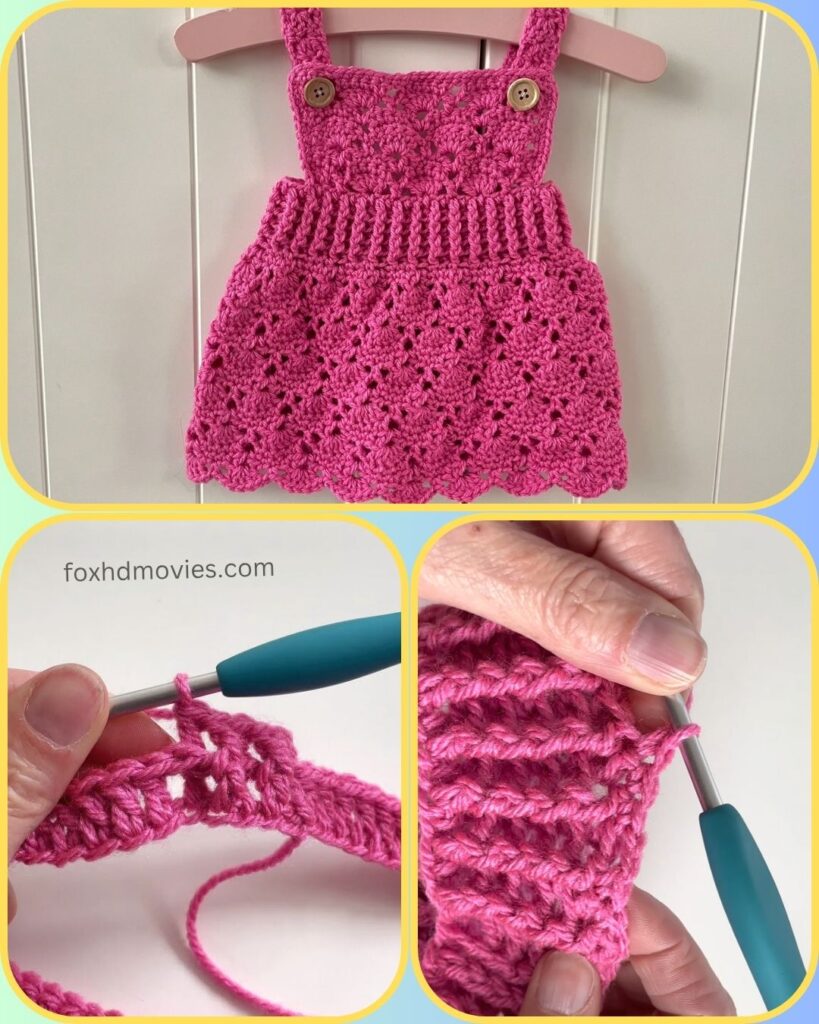
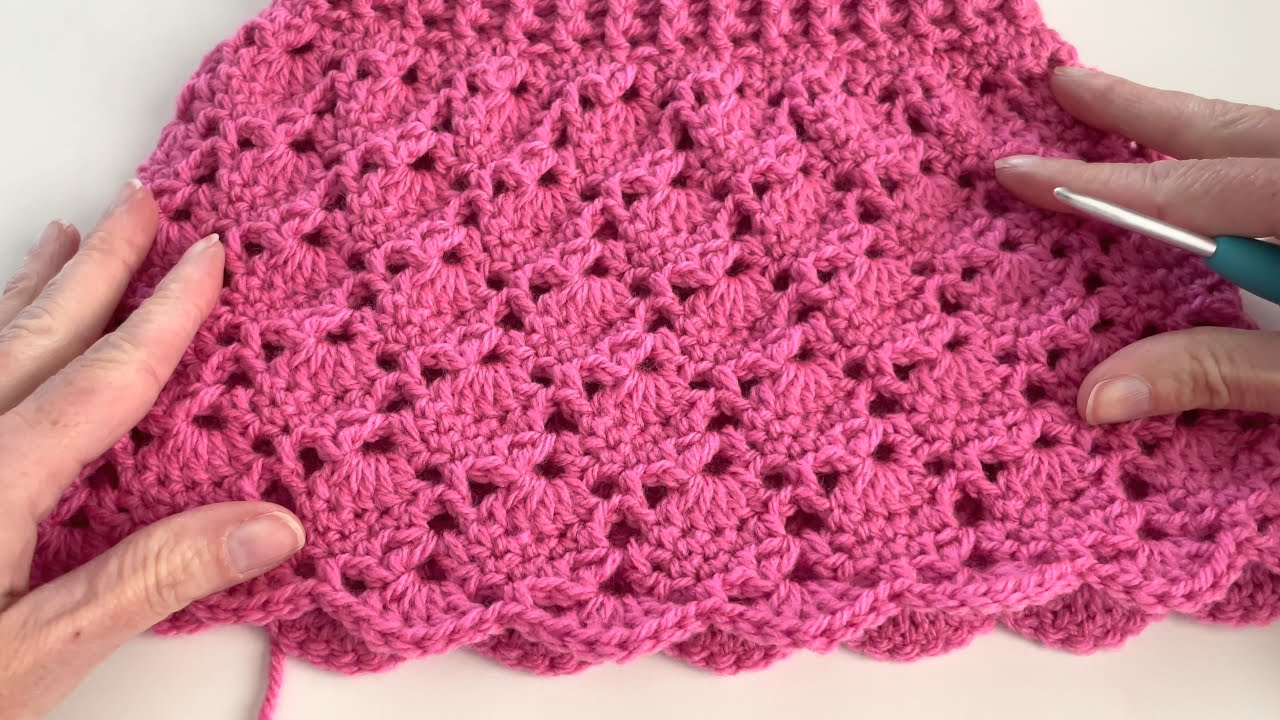
Hello lovely makers! Today, I’m thrilled to share a pattern for this adorable fuchsia crochet baby pinafore dress. With its cute shell stitch details, ribbed waist, and sweet button straps, it’s a timeless piece perfect for layering over a little top or onesie. This dress is not only super cute but also relatively quick to work up!
This pattern is designed for an average 0-3 month size. I’ll include notes on how you might adapt it for other sizes.
Skill Level: Intermediate
Materials You’ll Need:
- Yarn: DK weight (Light Worsted / #3) yarn in Fuchsia or a similar bright pink (approx. 250-300 yards)
- Crochet Hook: 4.0 mm (G/6) or size needed to obtain gauge
- Tapestry Needle
- Scissors
- Stitch Markers (helpful!)
- Buttons: Two (2) small wooden or decorative buttons (approx. 15-20mm)
Gauge: Working in double crochet: 18 stitches x 10 rows = 4 inches (10 cm)
Abbreviations (US Terms):
- ch: chain
- sl st: slip stitch
- sc: single crochet
- hdc: half double crochet
- dc: double crochet
- sk: skip
- st(s): stitch(es)
- sp: space
- rep: repeat
- FPhdc: front post half double crochet
- BPhdc: back post half double crochet
- V-st: V-stitch (dc, ch 1, dc in same st/sp)
- Shell: (2 dc, ch 1, 2 dc) in same stitch or space
Pattern Notes:
- Ch 2 at the beginning of a row/round counts as a hdc.
- Ch 3 at the beginning of a row/round counts as a dc.
- The bodice is worked first, then the skirt is added.
- Join rounds with a sl st to the top of the beginning ch unless otherwise specified.
- Remember to check your gauge! This is crucial for getting the correct sizing.
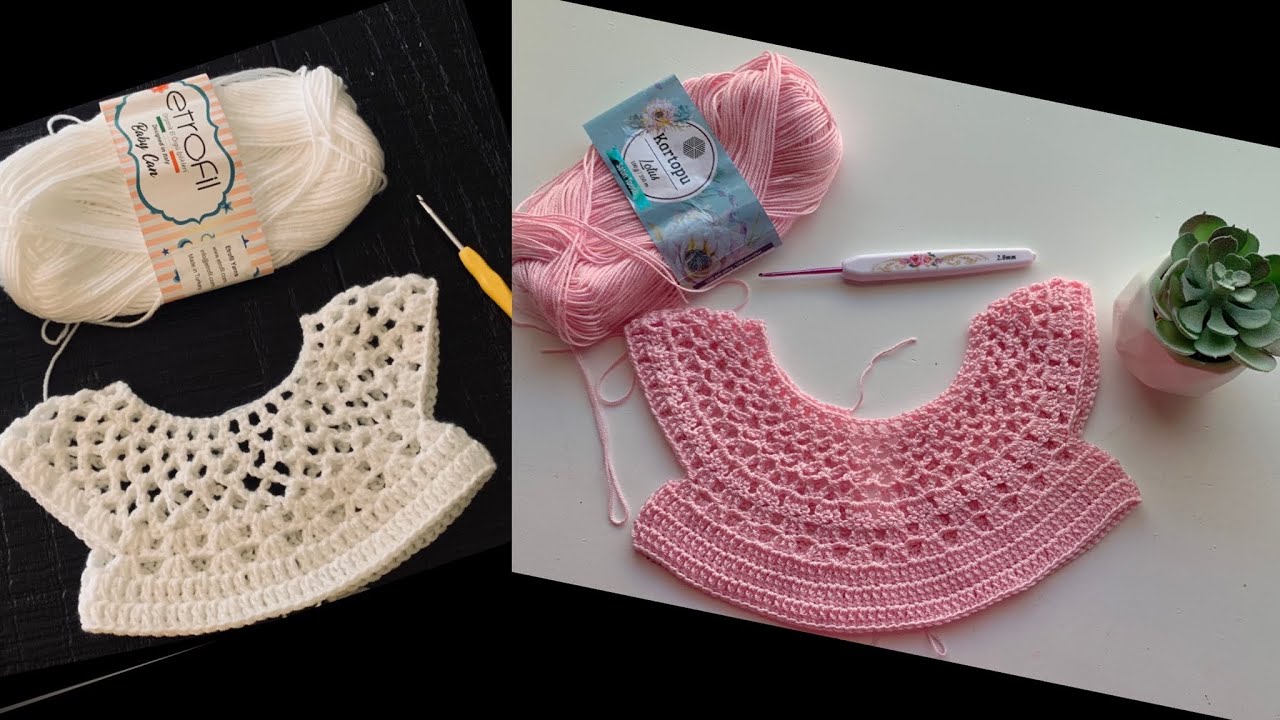
The Bodice (Fuchsia Yarn)
Start with Fuchsia Yarn. Ch 56 (this creates the top edge of the front and back bodice). Join with a sl st to the first ch to form a ring, being careful not to twist the chain.
Round 1: Ch 2 (counts as hdc), hdc in each ch around. Join with sl st to top of beg ch-2. (56 hdc)
Round 2 (Shell Stitch Pattern): Ch 3 (counts as dc), dc in same st. Sk 3 sts, Shell (2 dc, ch 1, 2 dc) in next st. Rep from * around. You should have 14 shell stitches. Join with sl st to top of beg ch-3. (14 Shells)
Round 3: Sl st into the first ch-1 space of the first shell. Ch 3, dc in same ch-1 sp. Shell (2 dc, ch 1, 2 dc) in next ch-1 sp. Rep from * around. Join with sl st to top of beg ch-3. (14 Shells)
Round 4 & 5: Repeat Round 3.
At this point, you will have 14 shells around. We will now create the armholes by splitting the work.
Splitting for Armholes:
Row 6 (Front Bodice): Sl st into the first ch-1 space. Ch 3, dc in same ch-1 sp. Shell in next 5 ch-1 spaces. (You should have 6 Shells total for the front). Turn.
Row 7: Ch 3, dc in same ch-1 sp. Shell in next 5 ch-1 spaces. Turn. Repeat Row 7 two more times (for a total of 3 rows for the front bodice section). Fasten off.
Back Bodice: Count 1 shell over from where you ended the front bodice (this is your armhole space). Attach yarn with a sl st into the ch-1 space of the next shell. Row 6 (Back Bodice): Ch 3, dc in same ch-1 sp. Shell in next 5 ch-1 spaces. (6 Shells total for the back). Turn.
Row 7: Ch 3, dc in same ch-1 sp. Shell in next 5 ch-1 spaces. Turn. Repeat Row 7 two more times (for a total of 3 rows for the back bodice section). Fasten off.
The Ribbed Waistband (Fuchsia Yarn)
Now we’ll work across the bottom of the bodice sections.
Rejoining for Waistband: Attach yarn with a sl st into the first dc of the first shell on the front bodice. Round 1: Ch 2 (counts as hdc). Hdc in each dc around the bottom edge of the front bodice (should be 24 hdc from the 6 shells). Ch 2 (this creates the side seam/joining under the arm). Hdc in each dc around the bottom edge of the back bodice (24 hdc). Ch 2 (second side seam/joining). Join with sl st to top of beg ch-2. (52 hdc and 4 ch-spaces total).
Round 2: Ch 2, hdc in each of the 52 hdc. Hdc 2 in each of the 2 ch-2 sps under the arms. Join with sl st. (56 hdc).
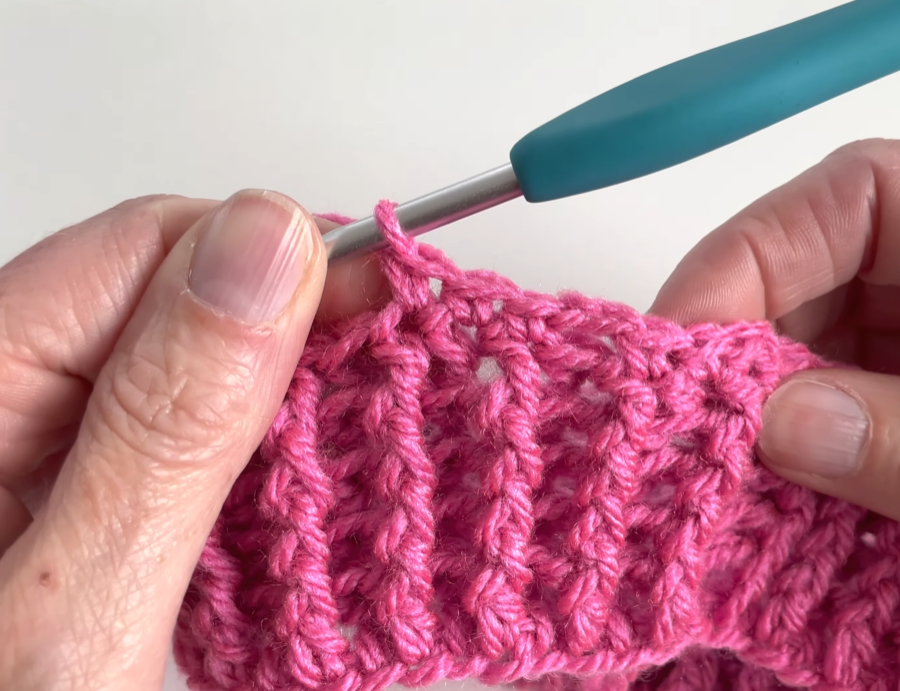
Round 3 (Ribbing): Ch 2, FPhdc around next hdc, BPhdc around next hdc. Rep from * around. Join with sl st. (56 hdc)
Round 4 & 5: Repeat Round 3.

Fasten off.
The Skirt (Fuchsia Yarn)
Attach Fuchsia Yarn with a sl st to any hdc from the last round of the waistband.
Round 1 (Foundation for Skirt): Ch 3 (counts as dc), dc in same st. Dc in next st. 2 dc in next st, dc in next st. Rep from * around. Join with sl st to top of beg ch-3. (Approx. 84 dc)
Round 2 (Shell Stitch Pattern): Ch 3 (counts as dc), dc in same st. Sk 3 sts, Shell (2 dc, ch 1, 2 dc) in next st. Rep from * around. Join with sl st to top of beg ch-3. (Approx. 21 Shells)
Round 3: Sl st into the first ch-1 space of the first shell. Ch 3, dc in same ch-1 sp. Shell (2 dc, ch 1, 2 dc) in next ch-1 sp. Rep from * around. Join with sl st to top of beg ch-3. (Approx. 21 Shells)
Round 4 (Increase Round): Sl st into the first ch-1 space. Ch 3, dc in same ch-1 sp. (2 dc, ch 1, 2 dc) in next ch-1 space. (2 dc, ch 1, 2 dc, ch 1, 2 dc) in next ch-1 space. Rep from * around, alternating the regular shell with an increased shell. Join with sl st. (This will add more shells/fullness).
Round 5 – 12 (or desired length): Sl st into the first ch-1 space. Ch 3, dc in same ch-1 sp. Shell (2 dc, ch 1, 2 dc) in next ch-1 sp. Rep from * around. Join with sl st. Continue working the Shell stitch pattern into the ch-1 spaces of the previous shells until the skirt reaches your desired length.
Last Round (Scalloped Edging): Ch 1, sc in first dc, (dc, ch 1, dc) in ch-1 sp, sc in next dc. Rep from * around. Join with sl st to first sc. Fasten off.
Straps (Make 2 – Fuchsia Yarn)
Start with Fuchsia Yarn. Ch 26 (or desired length for strap).
Row 1: Sc in 2nd ch from hook and in each ch across. (25 sc) Fasten off, leaving a long tail for sewing.
Make a second strap.
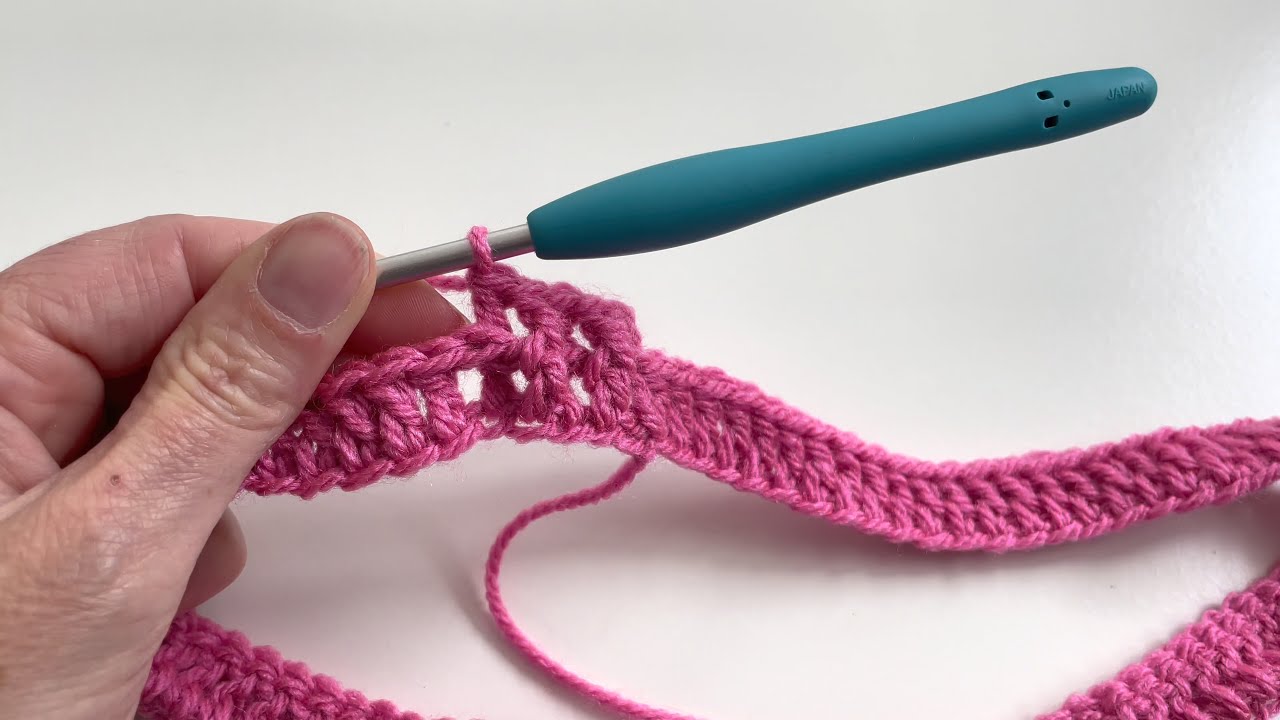
Video tutorial
Finishing:
- Weave in all ends neatly using your tapestry needle.
- Attach Straps:
- Front: Using your tapestry needle, sew one end of each strap to the front top corners of the bodice (above the armholes). Ensure they are evenly spaced.
- Back: Cross the straps in the back if desired, or keep them straight. Sew your buttons securely onto the top corners of the back bodice. Create small buttonholes on the ends of your straps by either using existing gaps in the crochet or making a small ch 1 space. Button the straps to the back bodice.
- Block your dress gently if desired to help it lay nicely and open up the stitches.
And there you have it! Your adorable Fuchsia Crochet Baby Pinafore Dress is complete. It’s truly a sweet piece for any little one.
I’d love to see your finished pinafores! Share your creations on social media using the hashtag #FuchsiaPinafore so I can admire your work!
Happy Crocheting!