by
by 
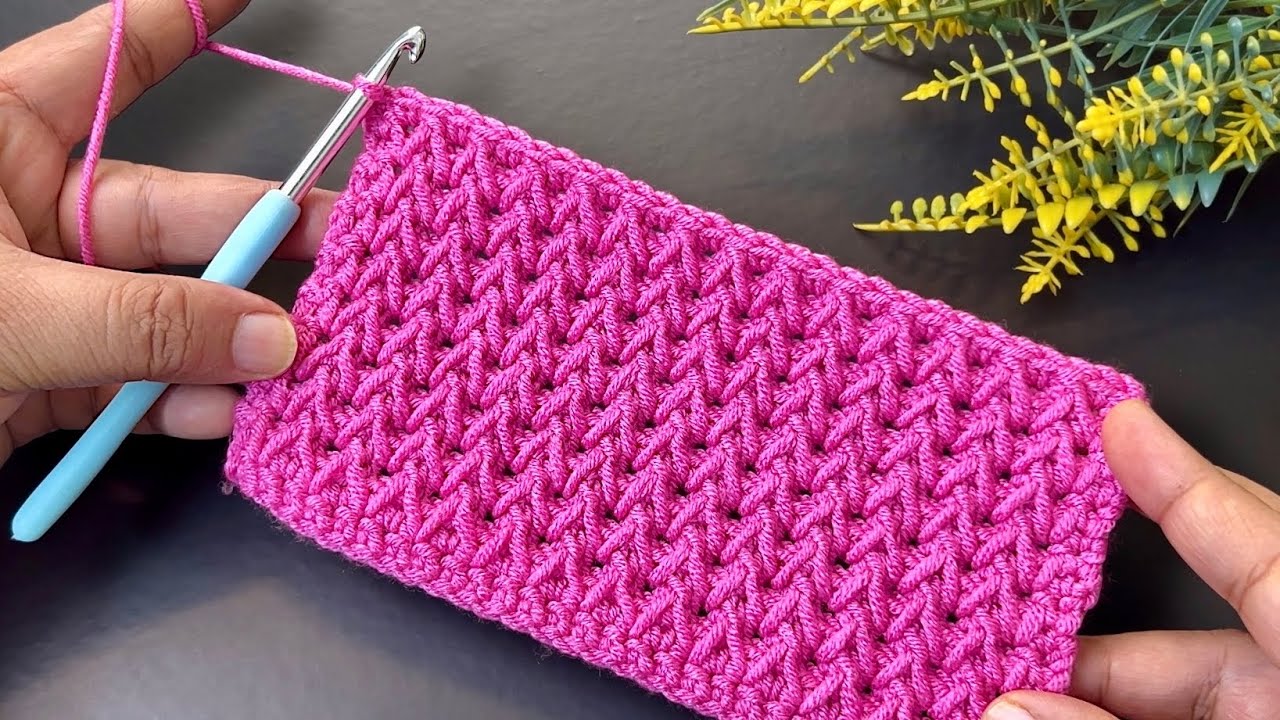
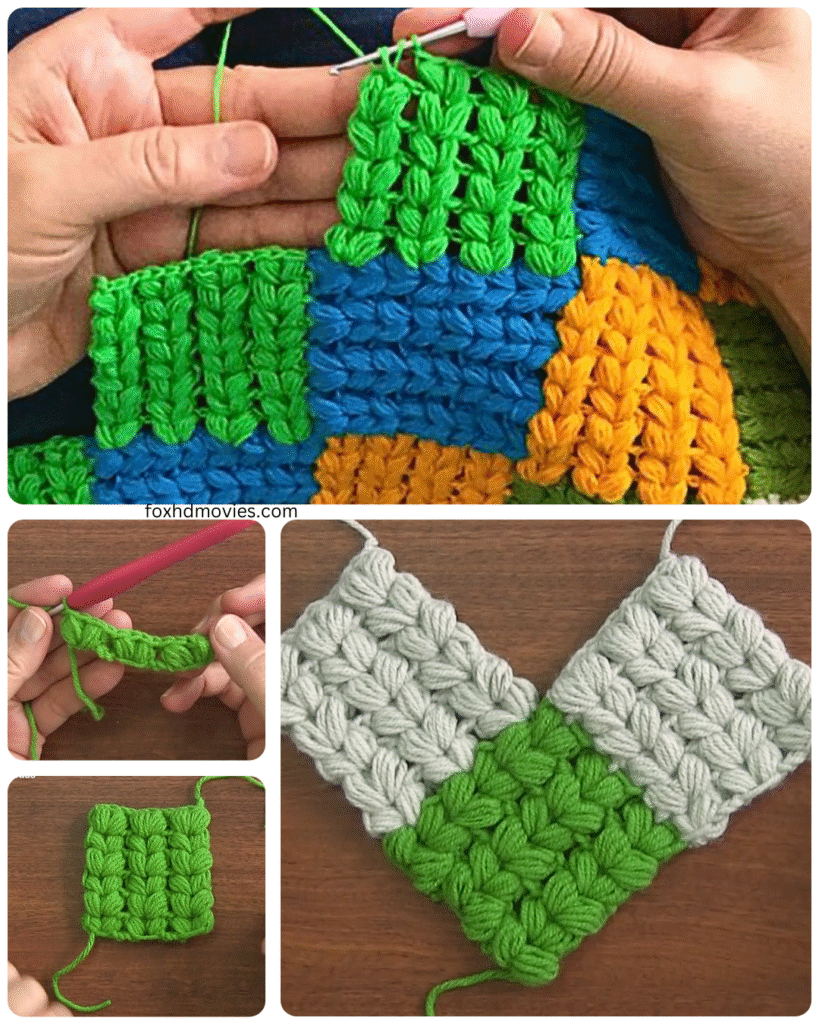
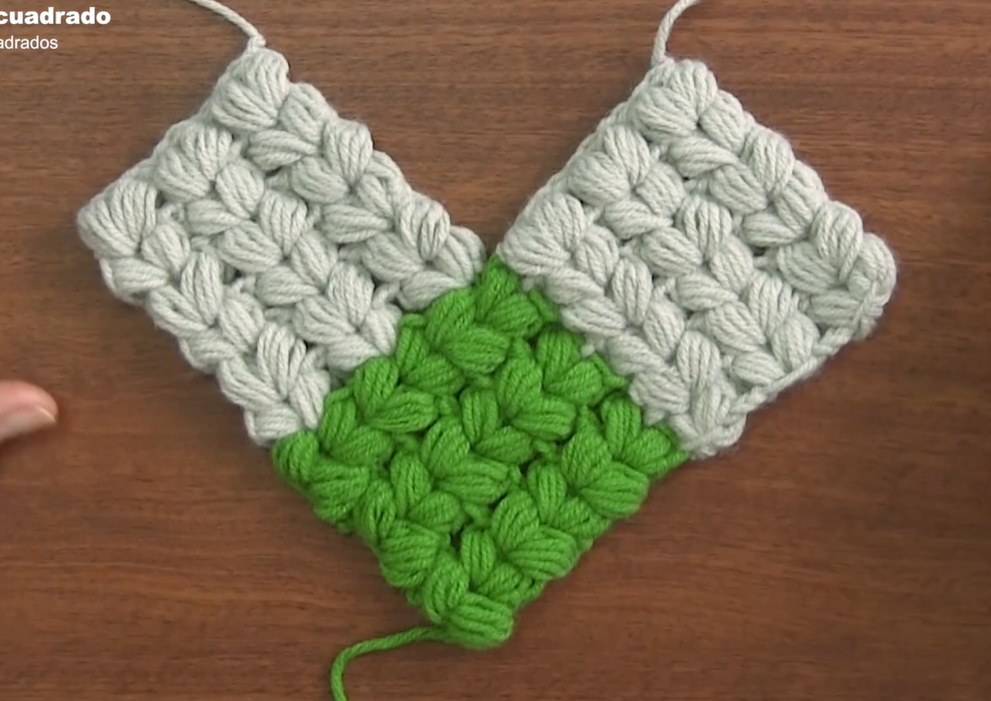
Hello, fiber artists! Are you ready to add a stunning, three-dimensional texture to your crochet repertoire? Today, we’re diving deep into the captivating Interlaced Braided Crochet Stitch. This stitch creates a fabric that looks intricately woven, with raised “braids” that add incredible visual and tactile interest to your projects.
While it might appear complex at first glance, the Interlaced Braided Crochet Stitch is built upon simple crochet fundamentals. With a little patience and attention to the steps, you’ll be creating fabrics that are truly eye-catching and unique. Get your hooks ready, and let’s explore this fascinating technique!
What You’ll Need:
- Worsted Weight Yarn: A smooth, even yarn will best showcase the texture of this stitch. Choose your favorite color! The amount will depend on your project.
- Crochet Hook: Select a hook size appropriate for your chosen yarn (usually an H/8 or I/9 (5.0-5.5 mm) is a good starting point for worsted weight).
- Scissors: For snipping your yarn.
- Yarn Needle: For weaving in ends neatly.
- Stitch Markers (highly recommended): These will be invaluable for keeping track of your working areas.
Understanding the Anatomy: Breaking Down the Braid
The Interlaced Braided Crochet Stitch works by creating vertical columns of stitches and then strategically weaving horizontal strands through them, forming the “braided” effect. We’ll be working in rows, and each row will build upon the previous one to create this unique texture.
The key elements of this stitch are:
- Foundation Chain: The starting point of our fabric.
- Base Rows: Rows of simple stitches (usually single crochet or half double crochet) that create the vertical columns.
- Interlacing Rows: Rows where we strategically skip stitches and work into previous rows to create the horizontal “braids.”
Video tutorial
The Pattern: Weaving Your Way to Texture
Let’s get started with the step-by-step instructions. For this tutorial, we’ll use single crochet (sc) for the base rows. You can adapt this to half double crochet (hdc) for a slightly taller and looser braid.
- Foundation Chain: Chain a multiple of 4 + 3. For a sample swatch, you could start with ch 19 (4 x 4 + 3).
- Row 1 (Base Row 1 – RS): Single crochet (sc) in the second chain from the hook and in each chain across. Turn. (18 sc)
- Row 2 (Base Row 2 – WS): Chain 1 (does not count as a stitch). Single crochet (sc) in each stitch across. Turn. (18 sc)
- Row 3 (Interlacing Row 1 – RS): Chain 1. Skip the first stitch. *Work 1 single crochet (sc) in the second stitch behind the skipped stitch (this will be in Row 1). Skip the next stitch of the current row (Row 3). Repeat from * across until 2 stitches remain in the current row. Work 1 single crochet (sc) in each of the last 2 stitches of the current row. Turn. (18 sc)
- Important Note: When working into the row behind, make sure your hook goes under both loops of the stitch in that previous row.
- Row 4 (Base Row 3 – WS): Chain 1. Single crochet (sc) in each stitch across. Turn. (18 sc)
- Row 5 (Base Row 4 – RS): Chain 1. Single crochet (sc) in each stitch across. Turn. (18 sc)
- Row 6 (Interlacing Row 2 – WS): Chain 1. Single crochet (sc) in the first stitch. Skip the next stitch. *Work 1 single crochet (sc) in the second stitch behind the skipped stitch (this will be in Row 4). Skip the next stitch of the current row (Row 6). Repeat from * across until 1 stitch remains in the current row. Work 1 single crochet (sc) in the last stitch of the current row. Turn. (18 sc)
- Notice that the “braids” are now offset from the previous interlacing row, creating the staggered effect.


Repeating the Pattern:
To continue the Interlaced Braided Crochet Stitch, repeat Rows 3 through 6.
- Rows 3 and 4 create one set of interlaced “braids.”
- Rows 5 and 6 create the next set, offset from the first.
Tips and Variations for Braided Brilliance:
- Stitch Markers are Your Friends: Place stitch markers at the beginning and end of each repeat in your foundation chain. This will help you keep track of your stitch counts, especially in the interlacing rows.
- Consistent Tension is Key: Maintaining even tension throughout your project will ensure that the braids are uniform and the fabric lies flat.
- Experiment with Colors: Use two or more contrasting colors, alternating rows or even within the interlacing rows, to create a more visually striking braided effect.
- Try Different Base Stitches: As mentioned earlier, using half double crochet (hdc) for the base rows will result in taller, more pronounced braids. Adjust your foundation chain accordingly (multiple of 4 + 3).
- Vary the Skip Count: Experiment with skipping more than one stitch in the interlacing rows for a wider “braid.” However, this will also create more open spaces in your fabric.
- Right Side vs. Wrong Side: Pay attention to which side is the right side (RS) and which is the wrong side (WS) as you work. The texture of the braids will be more prominent on the right side.
Bringing the Braids to Life: Project Ideas
The Interlaced Braided Crochet Stitch is perfect for projects where you want to add significant texture and visual interest:
- Blankets and Throws: Create cozy and visually stunning blankets with a unique braided texture.
- Scarves and Cowls: Wrap yourself in the warmth and texture of a braided scarf or cowl.
- Pillows and Cushions: Add a tactile element to your home decor with braided pillow covers.
- Bags and Clutches: Create sturdy and stylish bags with a distinctive woven look.
- Garment Panels: Incorporate panels of this stitch into sweaters, vests, or jackets for a unique design element.