by
by 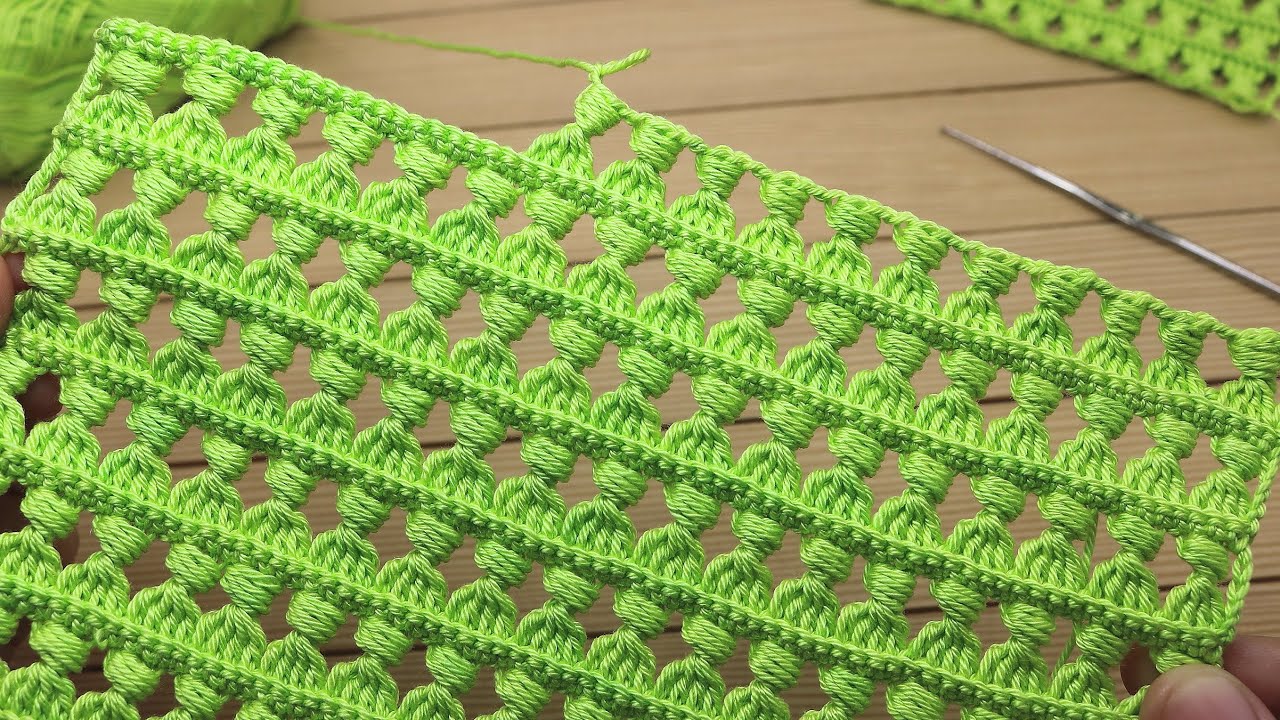
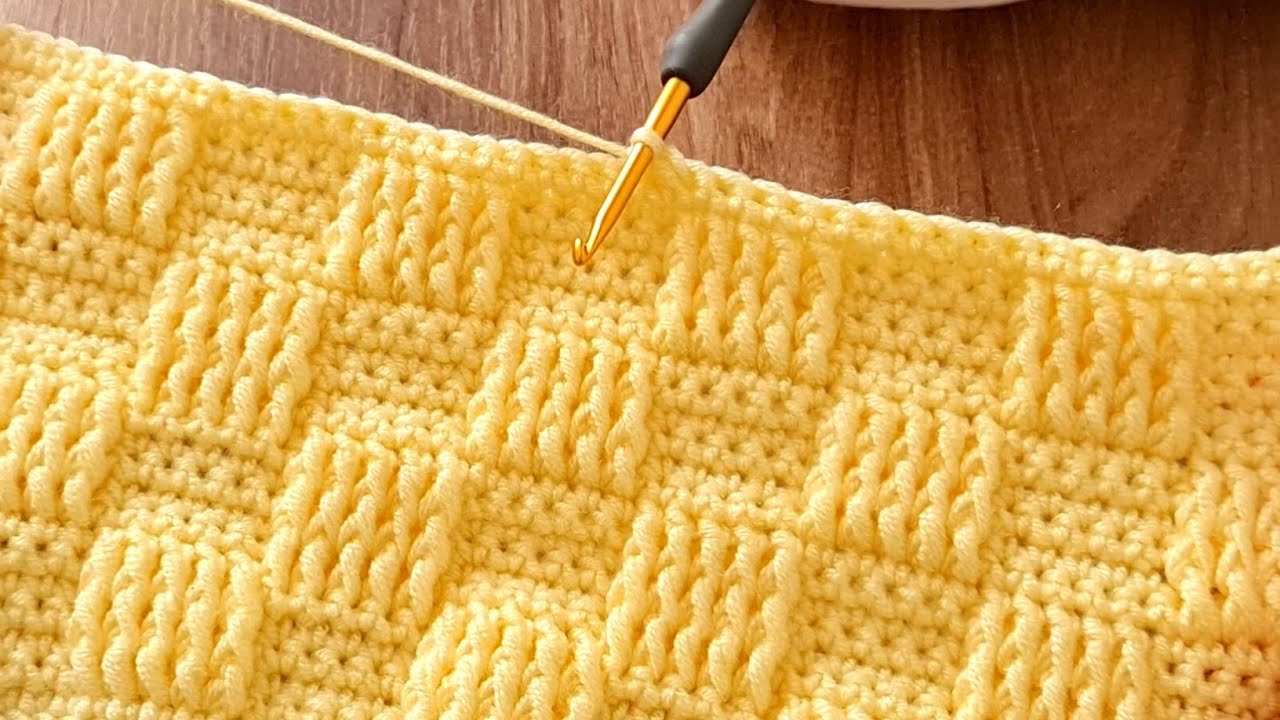
the Puffy Stitch! It’s such a delightful way to add texture and a bit of squishiness to your crochet projects. You’re right, it’s definitely one worth learning. Here’s a detailed pattern to guide you:

Skill Level: Beginner-Intermediate (familiarity with basic crochet stitches like chain and single crochet is helpful)
Materials:
- Yarn of your choice
- Crochet hook appropriate for your yarn weight
Abbreviations (US Crochet Terms):
- ch: chain
- sc: single crochet
- puff st: puffy stitch
- yo: yarn over
- lp(s): loop(s)
- st(s): stitch(es)
Understanding the Puffy Stitch:
The puffy stitch is created by working multiple loops of yarn around your hook and then drawing them all together at the top. This creates a raised, “puffy” texture. The number of loops you draw up will determine how “puffy” your stitch is. This pattern will use 5 loops for a nice, noticeable puff.

Pattern:
Let’s start with a foundation chain and a row of single crochet to provide a base for our puffy stitches.
Foundation:
- Chain any even number of stitches. This will be the length of your row.
- In the second chain from the hook, work 1 sc.
- Work 1 sc in each remaining chain across. Turn your work.
Row 1: Puffy Stitch Row
- Ch 1 (does not count as a stitch).
- Work 1 sc in the first stitch.
- * Yo, insert your hook into the next stitch, yo and pull up a loop (you now have 3 loops on your hook).
- Yo, insert your hook into the same stitch, yo and pull up a loop (5 loops on your hook).
- Yo, insert your hook into the same stitch, yo and pull up a loop (7 loops on your hook).
- Yo, insert your hook into the same stitch, yo and pull up a loop (9 loops on your hook).
- Yo, insert your hook into the same stitch, yo and pull up a loop (11 loops on your hook).
- Yo, and draw your yarn through all 11 loops on your hook.
- Ch 1 to secure the puffy stitch at the top. This completes one puff st.
- Skip the next stitch.
- Repeat from * across the row.
- Work 1 sc in the last stitch. Turn your work.

Row 2: Single Crochet Row
- Ch 1 (does not count as a stitch).
- Work 1 sc in each stitch across. You will be working into the top of the puffy stitch (the ch 1 you made to secure it) and the single crochet stitches. Turn your work.
Repeating the Pattern:
To continue the pattern and create a fabric with rows of puffy stitches, simply repeat Row 1 and Row 2.
Tips and Variations:
- Adjusting Puffiness: You can make your puffy stitches more or less puffy by changing the number of loops you draw up in steps 3-7 of Row 1. For a smaller puff, try pulling up 3 or 4 loops each time. For a larger puff, you can go up to 6 or 7 loops. Just be mindful that more loops will use more yarn.
- Spacing: The pattern above skips one stitch between each puffy stitch. You can adjust this spacing by skipping more or fewer stitches. Experiment to see what look you prefer.
- Staggered Puffs: For a different visual effect, you can stagger the puffy stitches in subsequent puffy stitch rows. To do this, in your puffy stitch row, start with a puff stitch in the second stitch, skip one, puff stitch, and so on. In the following puffy stitch row, start with a single crochet, then puff stitch in the skipped stitch from the previous row, skip one, and continue.
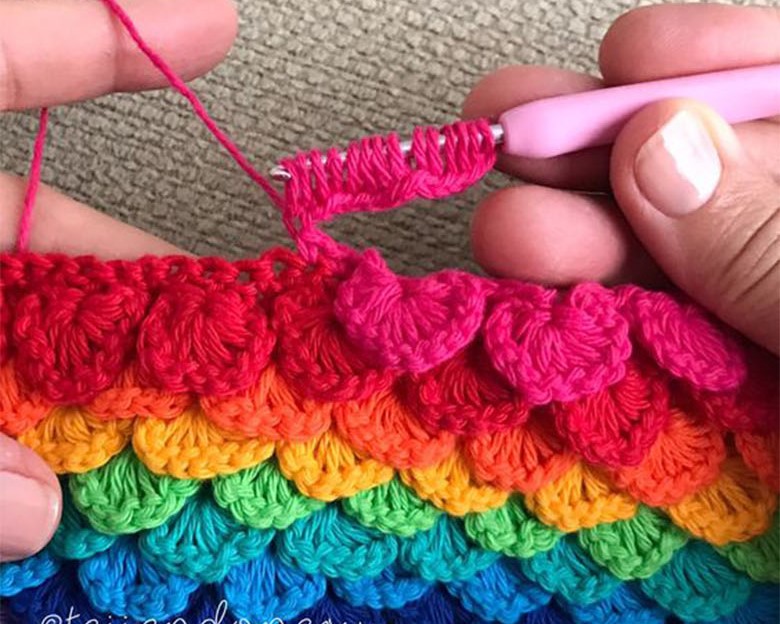
- Color Changes: Puffy stitches look fantastic with color changes! Try changing colors every row or every few rows to highlight the texture.
- Using Puffy Stitches in Projects: Puffy stitches are wonderful for adding texture to blankets, scarves, pillows, and even appliques.

Video tutorial
Practice Makes Perfect:
Don’t be discouraged if your first few puffy stitches don’t look exactly as you envision. It takes a little practice to get the hang of pulling up the loops evenly and drawing the yarn through smoothly. Keep practicing, and you’ll soon be creating beautiful, textured fabric with this fun stitch!