Below is a detailed pattern for making a crochet stove or fridge handle. This pattern assumes you have basic crochet knowledge, including how to chain (ch), single crochet (sc), and slip stitch (sl st). The pattern is written in US crochet terminology.
Skill Level: Intermediate
Materials Needed:
- Worsted weight yarn in the color of your choice (acrylic or cotton yarn is recommended for durability)
- Appropriate crochet hook size for your chosen yarn (typically around 4.0 mm to 5.5 mm)
- Scissors
- Yarn needle
Abbreviations:
- ch: chain
- sc: single crochet
- sl st: slip stitch
Pattern:
- Chain 21 stitches (or any multiple of 2 stitches to adjust the length).
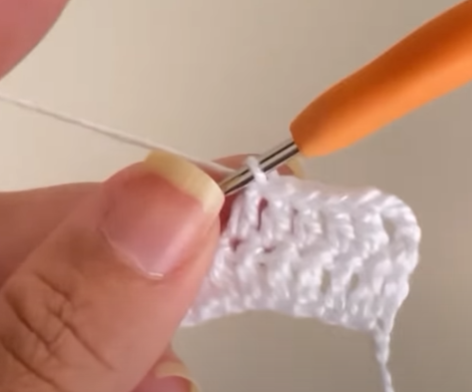
- Row 1: Starting from the second chain from the hook, sc in each chain across. (20 sc)
- Row 2: Ch 1 (does not count as a stitch here and throughout), turn. Sc in each stitch across.
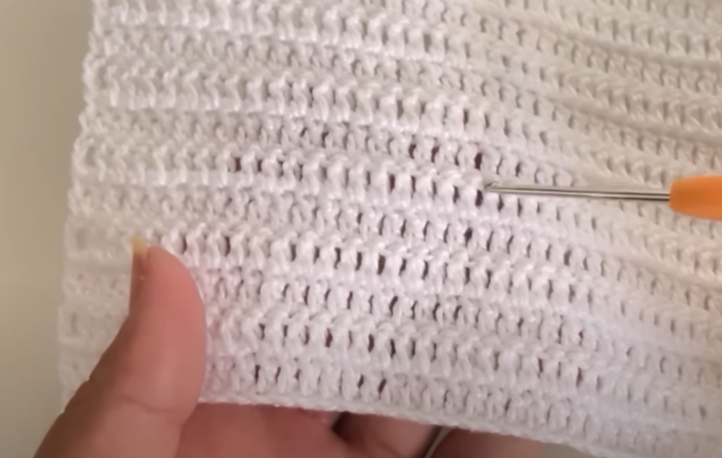
- Repeat Row 2 until the handle reaches the desired length. Make sure to leave a long tail (about 8-10 inches) at the end.
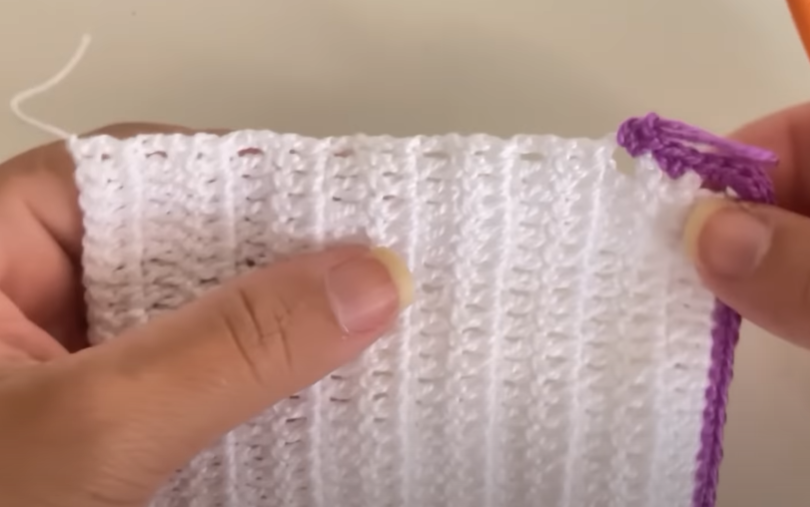
- Fasten off, leaving a long tail for sewing the handle onto the appliance.
Assembly:
- Position the handle on the desired location of the stove or fridge, making sure it is straight and evenly placed.
- Thread the long tail from one end of the handle onto the yarn needle.
- Insert the needle through the first stitch on one side of the handle and then through the corresponding stitch on the appliance.56
- Continue sewing the handle to the appliance by going back and forth through the stitches, making sure to secure it firmly.
- Once you’ve sewn the entire handle onto the appliance, secure the yarn on the backside and weave in any loose ends using the yarn needle.
- Repeat the same process to attach the second handle if your appliance requires two handles.
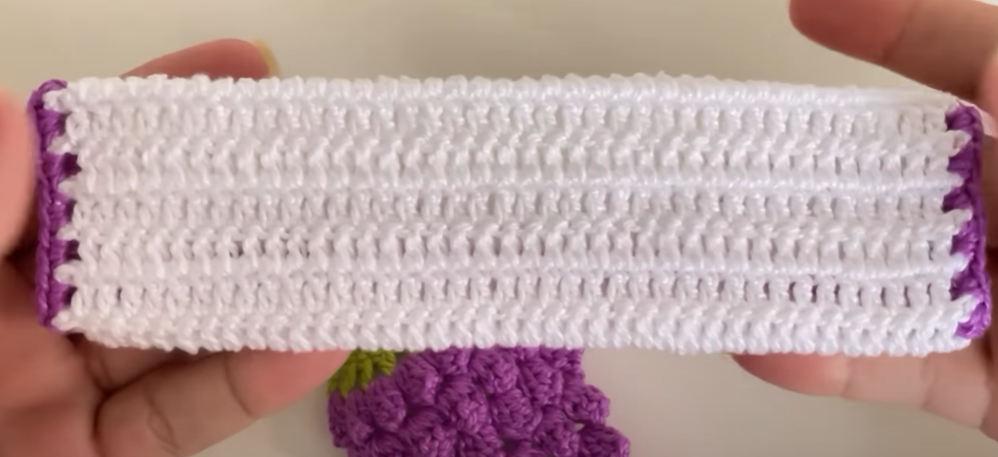
And there you have it! A crochet handle for your stove or fridge. You can customize this pattern by adjusting the length or using different yarn colors to match your kitchen decor. Happy crocheting!