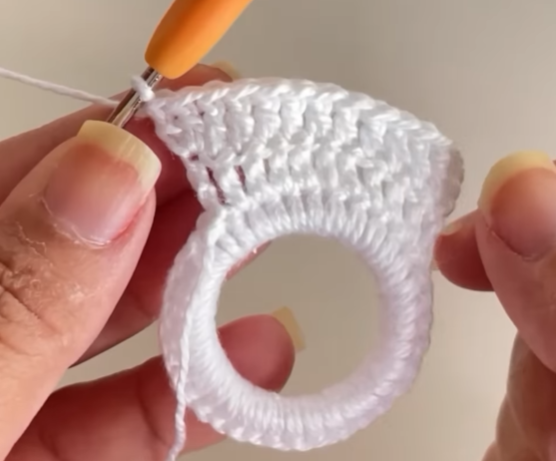
Here’s a detailed pattern for making a crochet lighter holder:
Skill Level: Intermediate
Materials:
- Worsted weight yarn in your desired color
- Crochet hook size H/8 (5.00mm)
- Button
- Needle and thread
- Scissors
Abbreviations:
- ch: chain
- sc: single crochet
- hdc: half double crochet
- dc: double crochet
- sl st: slip stitch
- st(s): stitch(es)
Pattern:
Step 1: Starting the Base
- Make a slip knot and chain 13.
- Starting from the second chain from the hook, work 1 sc in each chain across. You will have 12 sc.
- Ch 1 and turn your work.
Step 2: Creating the Body
4. Work 1 sc in each stitch across the row.
- Repeat Step 4 until the piece measures approximately 5 inches (13 cm) in length. This will depend on the size of your lighter.
Step 3: Forming the Flap
6. Ch 1 and turn your work.
- Work 1 sc in the next 8 sts.
- Ch 1 and turn your work.
- Work 1 sc in each stitch across the row.
- Repeat Step 9 until the flap measures approximately 2 inches (5 cm) in length.


Step 4: Shaping the Buttonhole
11. Ch 1 and turn your work.
- Work 1 sc in the first 2 sts.
- Ch 4 (or the number of chains needed to create a buttonhole that fits your button).
- Skip the next 4 stitches and work 1 sc in the last 2 sts.
- Ch 1 and turn your work.
- Work 1 sc in each stitch across the row.
Step 5: Completing the Holder
17. Ch 1 and turn your work.
- Work 1 sc in each stitch across the row.
- Repeat Step 18 until the piece reaches the desired length to cover the bottom and side of your lighter.
- Fasten off and weave in any loose ends.
Step 6: Adding the Button
21. Sew the button onto the front of the holder, aligning it with the buttonhole.
Step 8: Finishing
- Fasten off the yarn, leaving a long tail for sewing.
- Fold the flap over to the front of the holder.
- Using the yarn needle, sew the sides of the flap to the body of the holder, creating a pocket for the lighter.
- Weave in any loose ends with the yarn needle.
- Slip your lighter into the pocket, and your crochet lighter holder is complete!

Feel free to customize the pattern by adding embellishments, buttons, or other decorative elements to personalize your crochet lighter holder. Enjoy your new accessory!