Enhance Your Home with a DIY Crochet Cloth Rack: A Perfect Blend of Style and Functionality
Introduction
Crochet borders are the perfect finishing touch to any project, adding a touch of elegance and refinement. Whether you’re working on a blanket, a scarf, or a garment, a well-executed crochet border can elevate the overall appearance and make your creation stand out. In this comprehensive guide, we will delve into the world of crochet borders, exploring various techniques, tips, and tricks that will help you create stunning and unique borders for your crochet projects.
Pattern: Crochet Cloth Rack Organizer
Skill Level: Intermediate
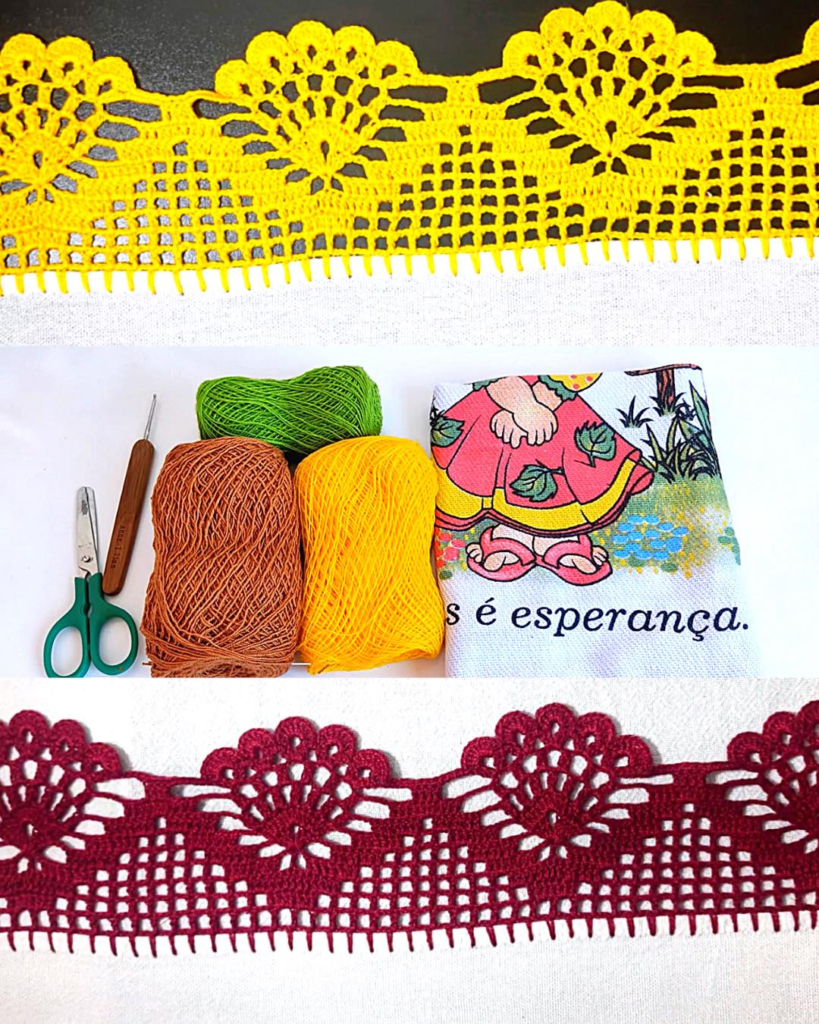
Materials Needed:
- Worsted weight yarn in your choice of color (approximately 500-600 yards)
- Crochet hook (size H/5.00mm)
- Wooden dowel or PVC pipe (18 inches long and 1 inch in diameter)
- Measuring tape
- Yarn needle
- Scissors
Finished Size: Approximately 18 inches wide and 24 inches long
Gauge: Gauge is not crucial for this pattern.
Abbreviations:
- ch: chain
- sc: single crochet
- hdc: half double crochet
- dc: double crochet
- st(s): stitch(es)
- rep: repeat
Pattern Instructions:
Base:
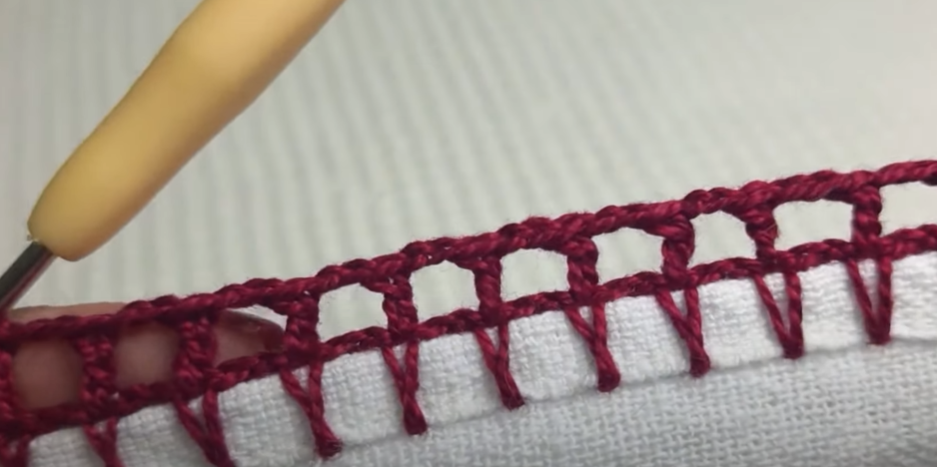
- Ch 60.
Row 1: Starting in the 2nd ch from the hook, sc in each ch across. (59 sc) Row 2: Ch 1, turn. Sc in each st across. (59 sc) Repeat Row 2 until your work measures 24 inches long. Fasten off, leaving a long tail for sewing.
Sides (make 2):
- Ch 6.
Row 1: Starting in the 2nd ch from the hook, sc in each ch across. (5 sc) Row 2: Ch 1, turn. Sc in each st across. (5 sc) Repeat Row 2 until the side piece measures 18 inches long. Fasten off, leaving a long tail for sewing.
Assembly:
- Lay the base piece flat on a surface. Place the wooden dowel or PVC pipe across the top edge of the base, leaving an equal amount of space on each side.
- Use the long tail left from the base piece to sew the sides to the base, joining them at each corner. Repeat for the other side.
- Weave in all loose ends.
Hanging Loop:
- Attach your yarn to one corner of the top edge of the base.
- Ch 25.
- Slip stitch in the same corner stitch to form a loop.
- Fasten off and weave in the loose end.
Finishing:
- Slide the wooden dowel or PVC pipe through the loops created by the side pieces.
- Hang your crochet cloth rack on a wall or any desired location using the hanging loop.
- Arrange your dishcloths, hand towels, or other small items over the dowel to keep them organized and easily accessible.
Here The Detail Step By Step:
- Understanding the Purpose of Crochet Borders
Before we dive into the “how-to” of crochet borders, it’s essential to understand their significance in a crochet project. Crochet borders serve several purposes:
a) Aesthetic Appeal: Borders enhance the overall appearance of your project, adding a decorative element that complements the main body.
b) Structural Support: Crochet borders help stabilize the edges, preventing the project from stretching or fraying over time.
c) Customization: Borders provide an opportunity to add personal flair and creativity to your crochet pieces.
- Selecting the Perfect Yarn and Hook
The first step in creating a crochet border is choosing the right yarn and hook size. Consider the texture, weight, and color of the yarn, ensuring it complements your project’s main body. Select an appropriate hook size that complements the yarn weight and allows for an even tension throughout the border.
- Swatching for Gauge
Just like any crochet project, swatching for gauge is crucial when creating a border. Work up a small sample using your chosen yarn and hook to ensure the border’s size matches your project’s dimensions. This step is especially important if you’re following a pattern that requires specific stitch counts.
- Planning the Border Design
Before diving into the border, take some time to plan the design. You can opt for a simple, classic border or experiment with various stitch combinations and motifs. Consider the project’s theme, colors, and overall style to create a border that complements the main piece seamlessly.
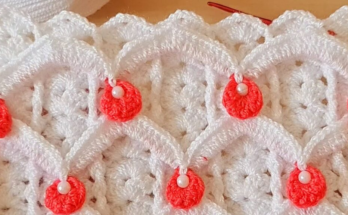
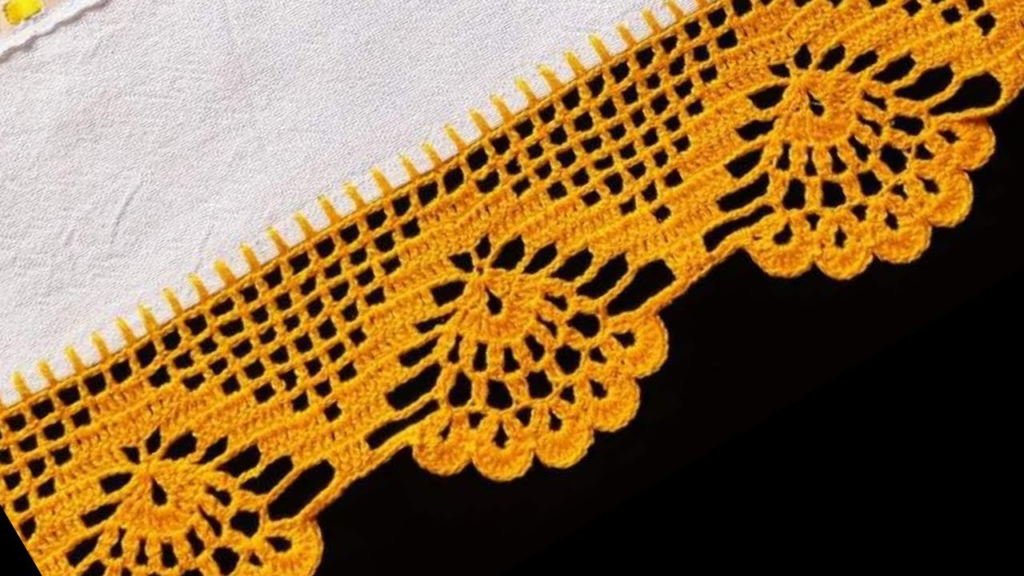
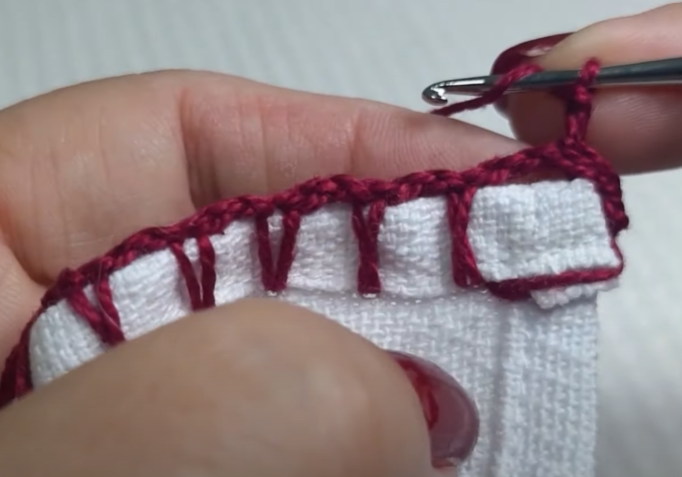
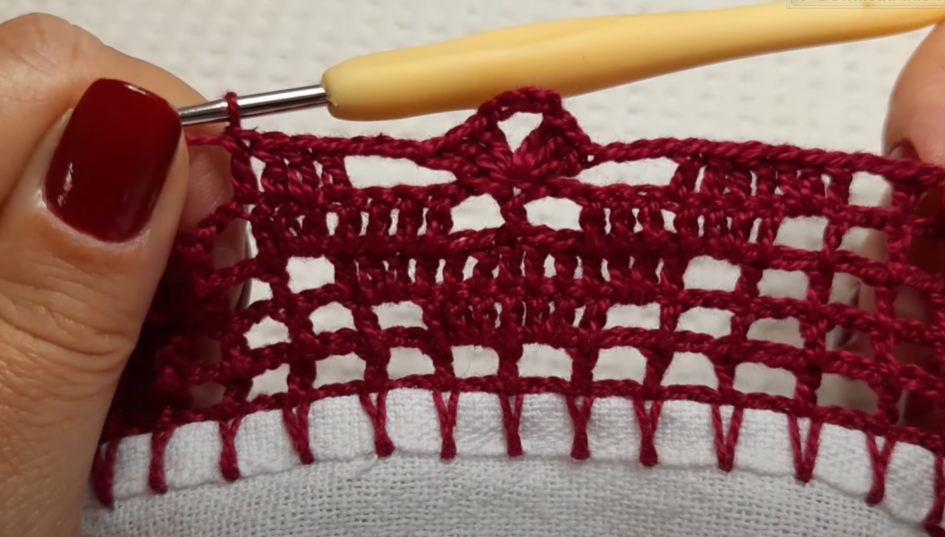
- Basic Crochet Border Techniques
There are numerous border techniques to choose from, each offering a distinct look. Some popular basic crochet border stitches include:
a) Single Crochet Border: A simple, clean edge achieved by working single crochet stitches evenly around the project.
b) Double Crochet Border: A taller stitch that adds a bit more height and decorative element to the edge.
c) Shell Border: Consisting of multiple double crochets in the same stitch, creating a scalloped effect.
d) Picot Border: A classic, delicate edge formed by working chains and slip stitches.
e) Puff Stitch Border: A textured border achieved by puff stitches that add dimension and interest.
- Joining Techniques for Continuous Borders
For projects that require a continuous border without a visible seam, mastering joining techniques is essential. Some common methods include slip-stitch join, slip-stitch with chain join, and the seamless join-as-you-go technique. These methods ensure a polished, seamless appearance for your borders.
- Adding Color to Borders
Incorporating multiple colors into your crochet border can create a striking contrast and make your project pop. Learn how to change colors seamlessly and strategically, whether through color-blocking or intricate color patterns.
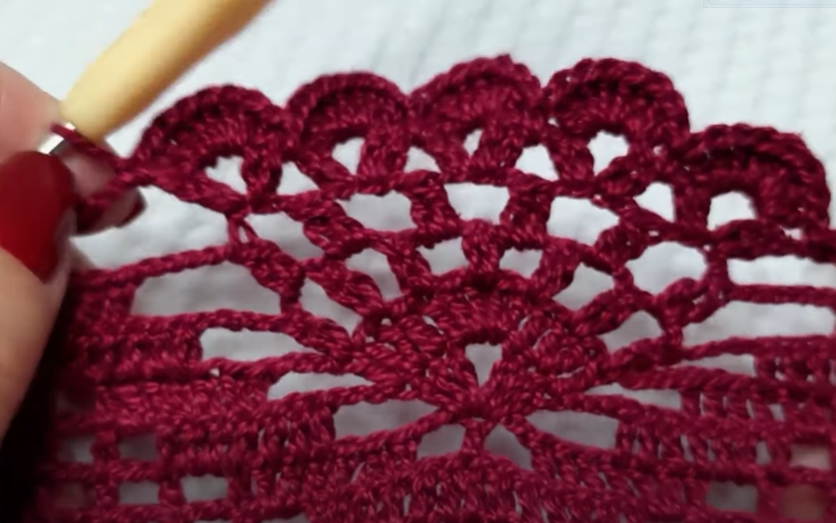
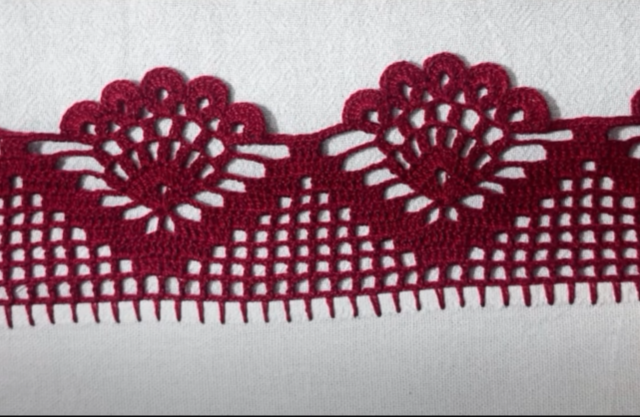
- Advanced Crochet Border Techniques
Once you’ve mastered the basics, it’s time to explore more advanced crochet border techniques, such as:
a) Broomstick Lace Border: A unique and lacy border created using a large knitting needle or dowel to achieve a stunning visual effect.
b) Filet Crochet Border: Ideal for adding intricate designs and patterns to your project’s edge, using a combination of solid and open spaces.
c) Crocodile Stitch Border: This textured stitch resembles crocodile scales and adds a bold, three-dimensional effect to your border.
- Experimenting with Embellishments
Take your crochet borders to the next level by experimenting with various embellishments like beads, buttons, tassels, or embroidery. These small details can add a touch of sophistication and uniqueness to your projects.
- Blocking and Finishing the Border
Once you’ve completed your crochet border, blocking is essential to ensure the stitches lie flat and the border retains its desired shape. Learn how to properly block your project and add any final touches before presenting your masterpiece to the world.
Note: You can customize the size of the cloth rack by adjusting the initial chain length and the length of the base and side pieces. You can also add decorative elements like flowers or pom-poms to personalize your creation.
Conclusion
In conclusion, crochet borders are the finishing touch that can elevate your crochet projects from ordinary to extraordinary. Armed with the knowledge of various crochet border techniques, the right yarn and hook, and a pinch of creativity, you can create stunning and unique borders that will leave a lasting impression. So, the next time you’re working on a crochet project, don’t forget to add that extra flair with a beautiful crochet border! Happy crocheting!