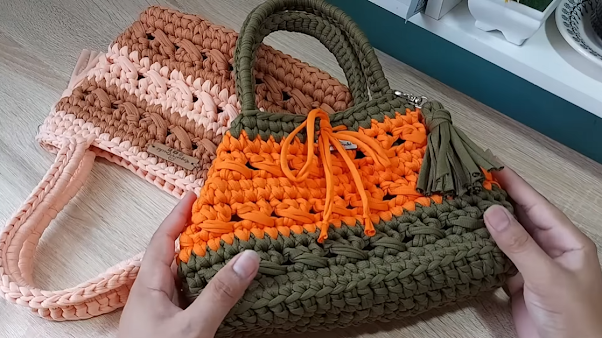
Creating a knitted wire bag is a unique and stylish project. Here’s a step-by-step guide to making an easy and economical knitted wire bag:
Materials you’ll need:
- Wire (such as aluminum or copper wire) in your desired gauge
- Knitting needles (appropriate size for your wire gauge)
- Scissors
- Pliers (optional, for wire cutting and shaping)
- Fabric or yarn for lining (optional)
- Sewing needle and thread (if adding a lining)

Instructions:
- Start by selecting your wire. Choose a wire gauge that is suitable for knitting and sturdy enough to hold the shape of the bag. Aluminum or copper wire in a gauge between 18 and 22 is commonly used.
- Begin with a slipknot: Make a slipknot with the end of your wire, leaving a tail of a few inches.
- Casting on: Hold the slipknot in your left hand and insert your knitting needle through the slipknot from left to right. Loop the working wire around the needle counterclockwise. Pull the loop through the slipknot to create your first stitch. Slide the stitch onto the needle and tighten the wire.
- Knitting the base: Continue knitting in a flat, rectangular shape to create the base of the bag. Knit each row by inserting the needle through the loop on the previous row and wrapping the wire counterclockwise around the needle. Slide the stitch onto the needle and tighten the wire. Repeat this process for each row until you reach the desired width for the base of your bag.
- Knitting the sides: Once the base is complete, begin knitting up the sides of the bag. Turn your work 90 degrees so that the side of the base is facing you. Insert the needle through the first stitch of the side row, wrap the wire counterclockwise around the needle, slide the stitch onto the needle, and tighten the wire. Repeat this process for each stitch along the side row
- Repeat Step 5 for each side of the bag until you have reached the desired height. You can choose to create short handles or continue knitting for longer handles.
- Binding off: To finish your bag, bind off the stitches by knitting two stitches together, then pulling the first stitch over the second stitch and off the needle. Repeat this process for each stitch until only one stitch remains. Cut the wire, leaving a tail of a few inches. Pull the tail through the last stitch to secure it.
- Optional: If you prefer, you can line the bag to provide additional stability and to prevent small items from slipping through the knitted wire. Measure and cut a piece of fabric or yarn to fit the interior of the bag. Sew the lining onto the bag using a sewing needle and thread.
- Shape and finish: Use pliers to cut and shape the wire ends if needed. Bend the wire handles to your desired shape.
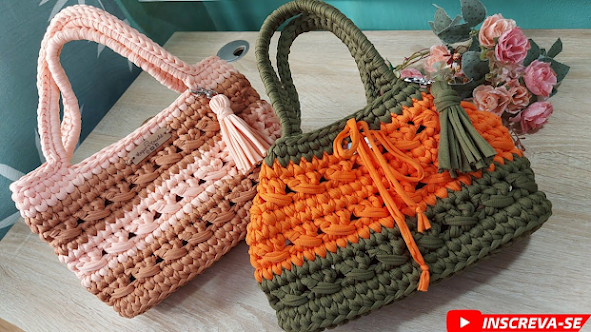
That’s it! You’ve completed your easy and economical knitted wire bag. Remember to handle the wire carefully to avoid sharp ends, and choose a wire gauge that is comfortable to knit with. Enjoy your unique knitted wire bag!