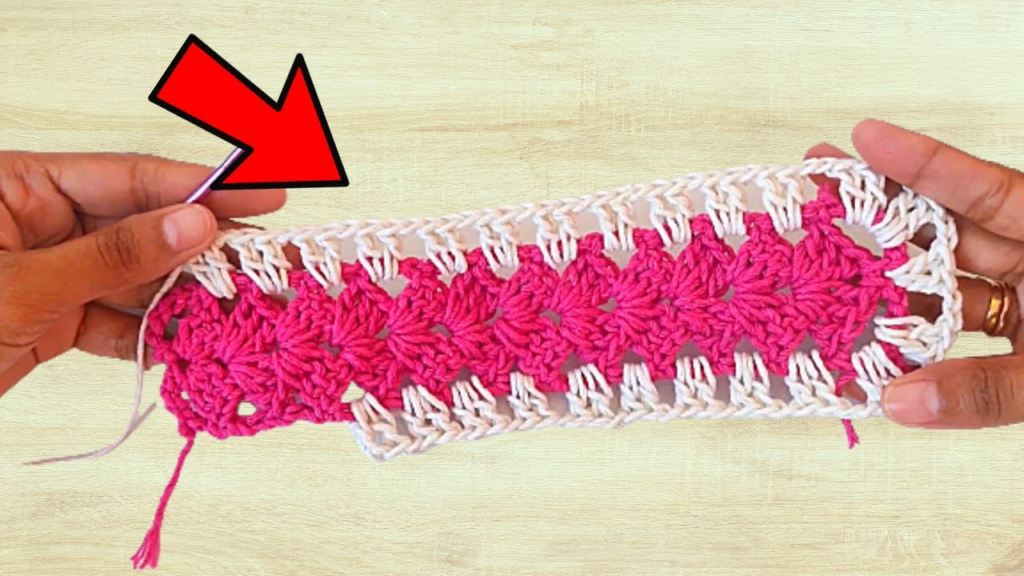
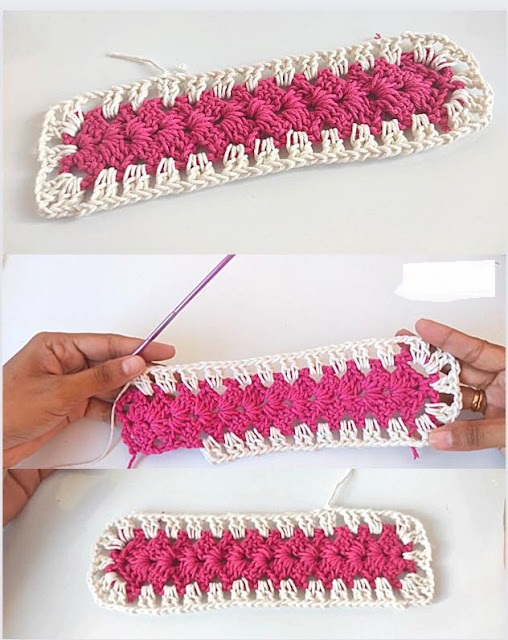
Here’s a detailed pattern for making a crochet rug:
Skill Level: Beginners
Materials:
- Chunky yarn in your desired colors
- Crochet hook suitable for your yarn (check the yarn label for recommended hook size)
- Scissors
- Tapestry needle
Instructions:
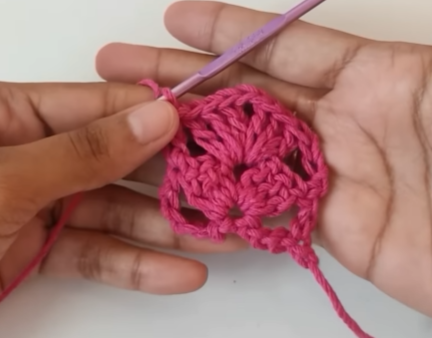
- Start by making a slip knot and then chain the desired number of stitches to achieve your desired rug width. This will serve as the foundation chain for your rug. Keep in mind that the number of stitches should be a multiple of 2, plus an additional 1 for turning.
- Row 1: Single crochet in the second chain from the hook. Single crochet in each chain across the row. At the end of the row, chain 1 and turn.
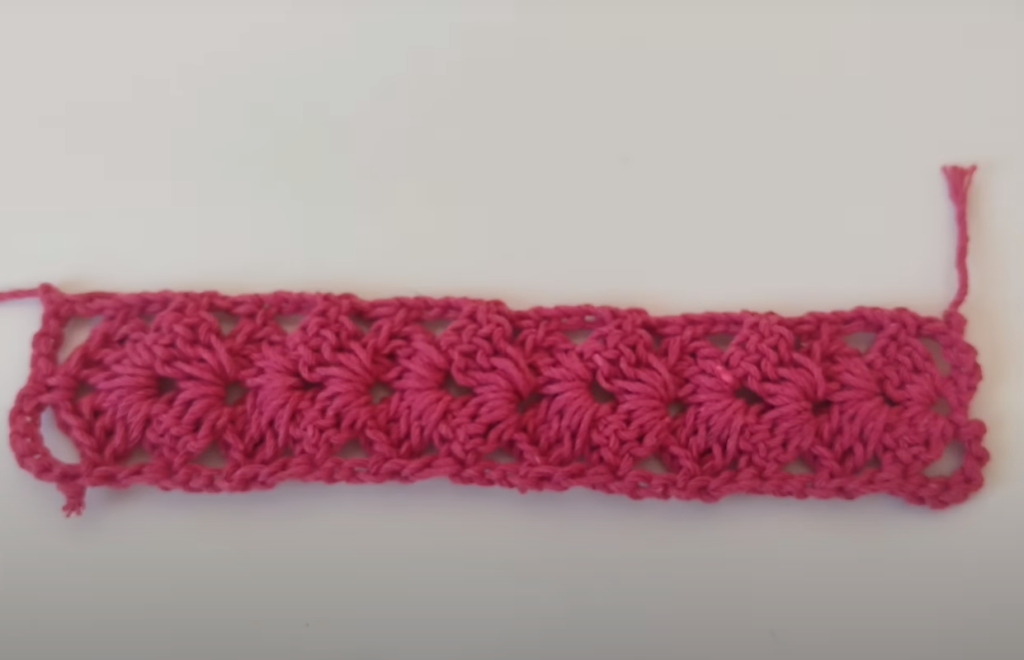
- Repeat Row 2 until your rug reaches the desired length. Make sure to keep the edges straight by always single crocheting in the first and last stitch of each row.
- When you have reached the desired length, fasten off the yarn, leaving a long tail for sewing.

- Finishing: Weave in any loose ends with a tapestry needle.
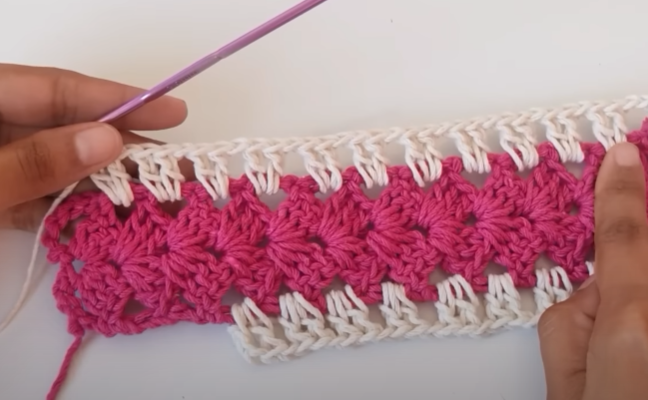
- To give your rug a more polished look and added durability, you can add a border. Choose a contrasting color of yarn and attach it to any corner of the rug.
- Border Round 1: Single crochet evenly around the entire rug, working 3 single crochets in each corner stitch. Join with a slip stitch to the first single crochet.
- Border Round 2: Chain 1, single crochet in each stitch around, working 3 single crochets in each corner stitch. Join with a slip stitch to the first single crochet. Fasten off and weave in any loose ends.
- Your crochet rug is now complete! Give it a gentle stretch or block it to help it lay flat.
Remember, this is a basic pattern, and you can modify it according to your preferences. Feel free to add different stitches, patterns, or embellishments to make it uniquely yours. Happy crocheting!


