Introduction:
Crochet borders are an excellent way to add a finishing touch to your projects, whether it’s a blanket, scarf, or even a garment. They not only enhance the overall appearance but also provide structure and durability. In this blog post, we will explore a detailed pattern on how to make a crochet border, enabling you to elevate your creations to the next level.
Materials:
- Yarn of your choice
- Crochet hook suitable for your yarn weight
- Scissors
- Yarn needle
Abbreviations:
- ch: chain
- sl st: slip stitch
- sc: single crochet
- hdc: half double crochet
- dc: double crochet
- tr: treble crochet
Instructions:
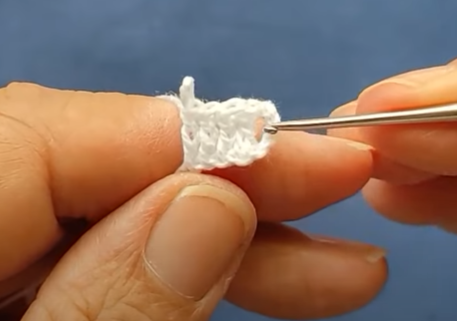
Step 1: Start with a foundation row.
- Join your yarn to any corner or side of your project with a slip stitch.
- Work a row of single crochet stitches evenly along the edge of your project. The number of stitches will depend on the size of your project and the desired density of the border. Try to space the stitches evenly, placing more in corners if necessary. You can use a multiple of 2 or 3 stitches for a simple border.
Step 2: Choose your border pattern.
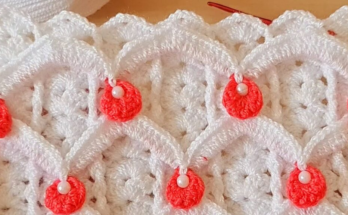
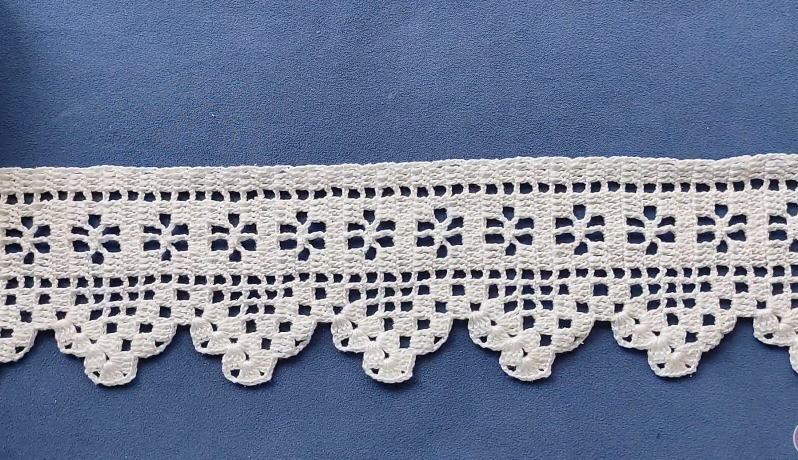
- There are various border patterns you can choose from, such as scallops, shells, picots, or waves. Select the pattern that best suits your project or create your own design.
Step 3: Work the first round of the border.
- Start by chaining the required number of stitches for the chosen pattern. For example, if you want to create a shell pattern, you might chain 3.
- Skip a certain number of stitches (this will depend on the pattern), and then work the designated stitches in the next stitch. For instance, if you’re creating a shell, you might skip 2 stitches and then work 5 double crochet stitches in the next stitch.
- Repeat the pattern across the row until you reach the corner. Adjust the number of stitches or skips as needed to ensure the border lies flat and matches the dimensions of your project.
Step 4: Corners.
- When you reach a corner, you may need to modify the pattern slightly to accommodate the turn. You can either work additional stitches in the corner stitch or create a special corner stitch pattern.
- For example, to create a corner with 90-degree angles, you might work 3 double crochet stitches, chain 2, and then work 3 double crochet stitches in the same corner stitch.
Step 5: Continue working the subsequent rounds.
- Repeat Step 3 for each additional round of the border, adjusting the stitch counts and pattern as desired.
- You can create multiple rounds of the same pattern or mix different patterns for a unique look.
Step 6: Finishing the border.
- Once you’ve completed the desired number of rounds, finish off the border.
- Cut the yarn, leaving a tail of several inches.
- Pull the tail through the last stitch to secure it.
- Use a yarn needle to weave in any loose ends.
Conclusion:
Adding a crochet border to your projects can elevate their visual appeal and provide a polished finishing touch. By following this step-by-step guide, you can create beautiful crochet borders that enhance your creations and showcase your crochet skills. Experiment with different stitch patterns and designs to make each project uniquely yours. Happy crocheting!