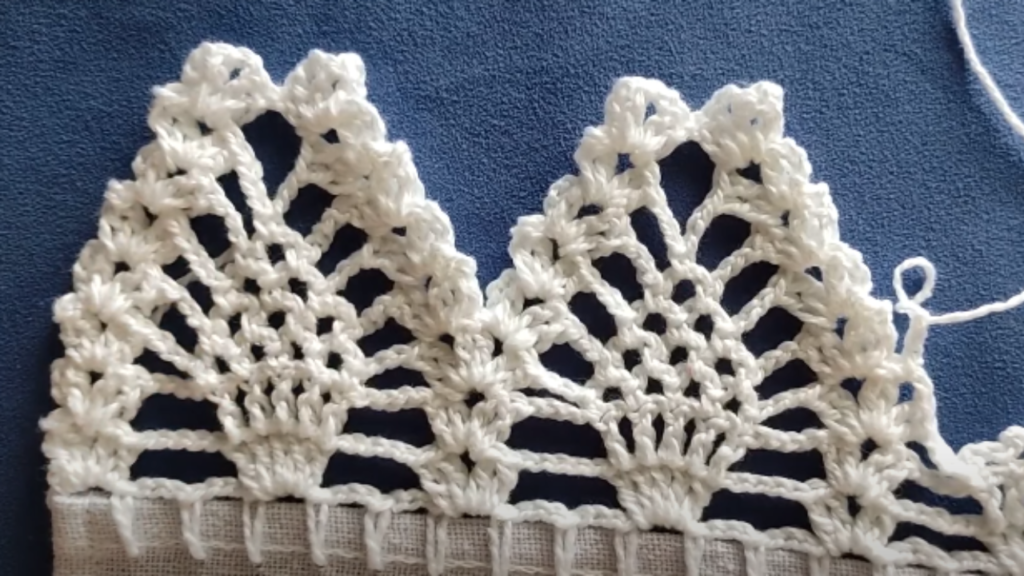
Here’s a detailed pattern for creating a BEAUTIFUL CROCHET BEAK BORDER:
Skill Level: Intermediate
Materials needed:
- Worsted weight yarn in your desired color
- Crochet hook suitable for the yarn weight
- Yarn needle
- Scissors
Abbreviations:
- ch: chain
- st(s): stitch(es)
- sc: single crochet
- hdc: half double crochet
- dc: double crochet
- sl st: slip stitch
Pattern:
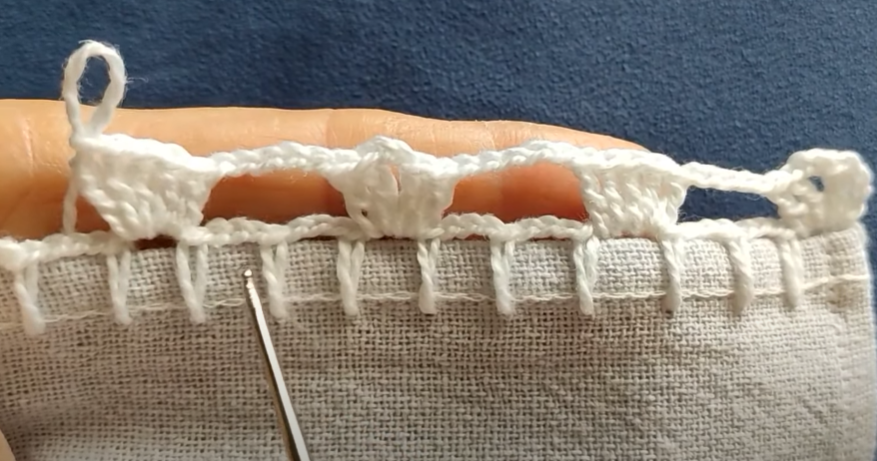
Step 1: Start by creating a foundation row with a multiple of 4 stitches. This will ensure that your border is even and balanced. You can either work directly on your project or create a swatch to practice.
Step 2: Join your yarn to the first stitch of the foundation row with a slip stitch.
Step 3: Round 1: Ch 1, sc in the same stitch as the join. Ch 3, skip the next 3 sts, sc in the next st Repeat from * to * across the row. End with a ch 3 and skip the last 3 sts. Join with a sl st to the first sc.
Step 4: Round 2: Sl st into the first ch-3 space. Ch 3 (counts as first dc), 3 dc in the same ch-3 space. Skip the next sc, 4 dc in the next ch-3 space Repeat from * to * across the row. End by skipping the last sc and join with a sl st to the top of the beginning ch-3.

Step 5: Round 3: Sl st into the first dc of the previous round. Ch 1, sc in the same st. Ch 4, skip the next 3 sts. Sc in the next st, ch 4, skip the next 3 sts Repeat from * to * across the row. End with a sc in the last st and join with a sl st to the first sc.
Step 6: Round 4: Sl st into the first ch-4 space. Ch 3 (counts as first dc), 3 dc in the same ch-4 space. Skip the next sc, 4 dc in the next ch-4 space Repeat from * to * across the row. End by skipping the last sc and join with a sl st to the top of the beginning ch-3.


Step 7: Repeat Rounds 3 and 4 until your border reaches the desired width. You can continue alternating these rounds as many times as you like, depending on the thickness you desire for your border.
Step 8: Finish off the border: Once you’ve reached the desired width for your border, fasten off the yarn, leaving a tail for weaving in later. Use a yarn needle to weave in any loose ends.
Step 9: Block your work: To give your crochet beak border a polished look, gently block your project by dampening it with water and shaping it to the desired dimensions. Allow it to dry completely before using or attaching it to your project.

That’s it! You’ve created a beautiful crochet beak border. You can now use it to enhance the edges of blankets, scarves, hats, or any other project you like. Enjoy your crocheting!